Transform your baby's nursery from drab to fab with a charming DIY valance, crafted in a surprisingly swift ten minutes! Forget expensive, store-bought options; this simple project allows you to personalize your little one's room with a touch of handmade love and perfectly coordinated style. Whether you're aiming for a whimsical fairytale theme or a modern minimalist aesthetic, a custom valance adds a delightful finishing touch that elevates the entire space. Choosing your fabric becomes an enjoyable part of the process, letting you express your creativity and design a room that truly reflects your baby's personality.
This quick and easy tutorial will guide you through the steps, requiring minimal sewing experience and only basic supplies you likely already have. Ready to add a touch of elegance and personality to your nursery without spending hours crafting? Let’s dive into the simple, step-by-step instructions that will have your adorable DIY baby room valance hanging in no time.
Preparation and Safety Guidelines
- Fabric (100% cotton recommended)
- Rod
- Scissors
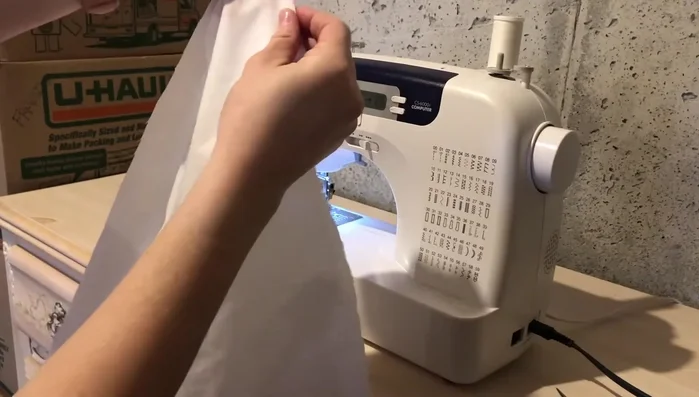
- Sewing Machine (optional, hand-sewing possible)
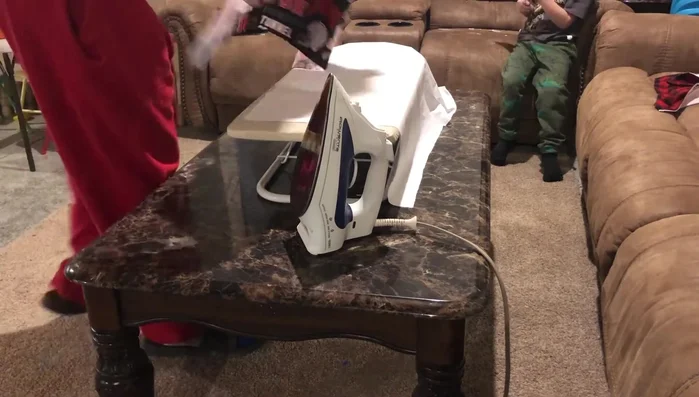
- Iron
- Protective fabric layer (for ironing white fabric)
- Always supervise young children near any fabric or hanging items to prevent choking hazards or entanglement.
- Ensure the valance is securely attached to the rod to prevent it from falling and potentially injuring your baby.
- Choose fabrics that are non-toxic and meet safety standards for baby products. Avoid anything with small, loose parts that could be a choking hazard.
Step-by-Step Instructions
Prepare the Fabric
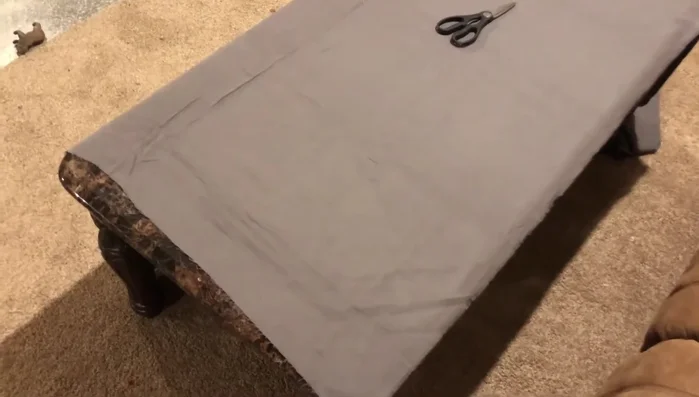
- Cut the fabric. For a 15-inch drop valance, cut the fabric 18 inches long (15 inches + 3 inches for folding). The width depends on your rod and desired fullness; 4.5 feet is used in this example.
- Iron the fabric to ensure it's straight.

Prepare the Fabric Hem the Sides
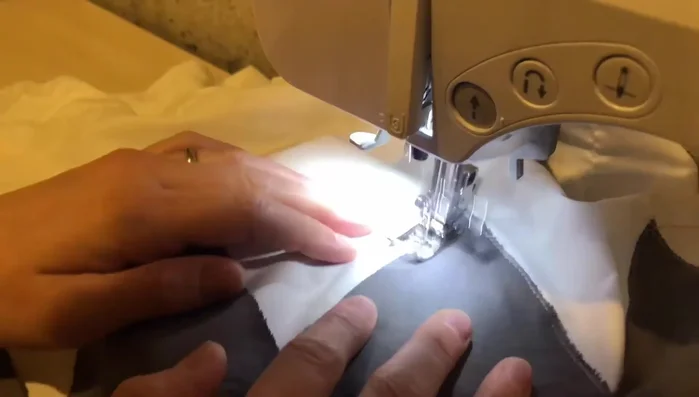
- Fold the bottom edge of the fabric ¼ inch and sew along the seam.
- Repeat step 3 on both sides of the fabric.
Hem the Sides Hem the Bottom
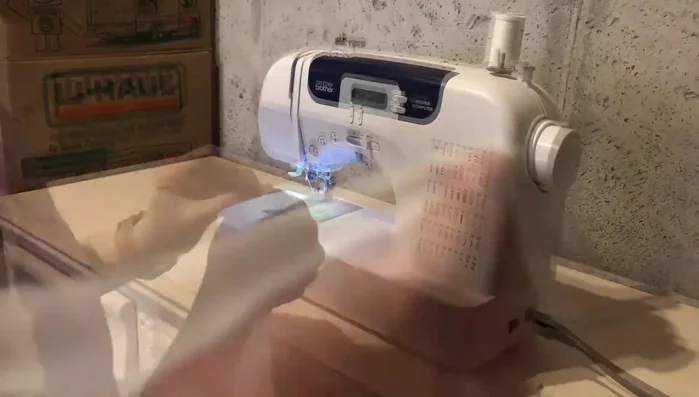
- Fold the bottom raw edge over, creating a hem, and sew across the entire bottom.
Hem the Bottom Create the Rod Pocket
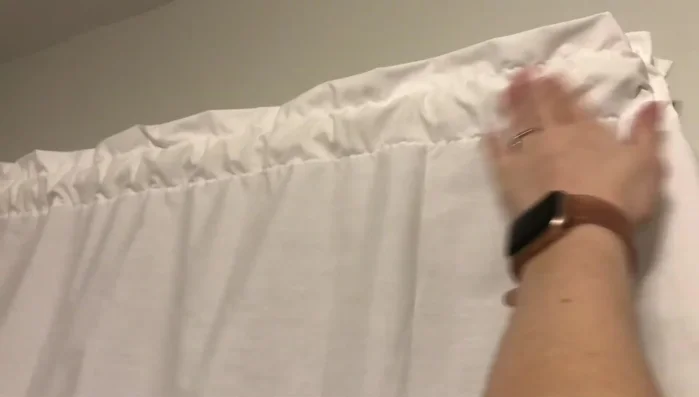
- Fold the top edge down 3 inches and sew a line across the bottom of the folded section.
- Sew another line 1 inch down from the top edge to create a ruffle.
Add Optional Decorations
- Add decorative elements like fabric mountains (cut and sewn on using a zigzag stitch).
- Add trim along the bottom edge (optional).
Add Optional Decorations Hang the Valance
- Insert the rod through the opening created in step 7.
Hang the Valance
Read more: DIY Super Cute Whale Shower Curtain: A Step-by-Step Tutorial
Tips
- Add extra fabric length to accommodate folding and create a ruffle.
- Use a protective layer when ironing white fabric to prevent discoloration.
- For a cleaner finish (especially for gifts), fold and stitch the raw edges twice.
- A zigzag stitch prevents fraying when adding decorative elements.
- Use a gray thread for sewing gray fabric to minimize visibility of stitching on the white fabric.