Autumn is in the air, bringing with it the crisp scent of fallen leaves and the cozy feeling of snuggling up indoors. Transform your living space into a warm and inviting haven with the simple addition of beautifully crafted autumn-themed pillow covers. Forget expensive store-bought options; this season, embrace the creativity and cost-effectiveness of DIY! With readily available materials and a little bit of time, you can easily create stunning pillow covers that perfectly capture the essence of fall, adding a touch of handcrafted charm to your home décor. Whether you're a seasoned crafter or a complete beginner, this project is perfectly accessible.
This guide will walk you through a straightforward and elegant method for creating your own autumnal pillow covers using the easy envelope closure technique. This eliminates the need for zippers or buttons, resulting in a clean and professional finish. Ready to add a warm and personalized touch to your home? Let's dive into the step-by-step instructions and create some beautiful, autumnal pillow covers!
Preparation and Safety Guidelines
- Sewing Machine
- Scissors
- Pins
- Fabric (main & backing)
- Pillow Form
- Felt Leaf (or other decoration)
- Fabric Glue (optional)
- Always use sharp scissors or a rotary cutter away from your body to prevent accidental cuts. Handle fabric scissors carefully, and never leave them lying around where children or pets could reach them.
- If using a sewing machine, ensure it's properly plugged in and operating correctly. Keep your fingers clear of the needle at all times. Use a sewing machine finger guard if you have one.
- When ironing, always unplug the iron when not in use and place it on a heat-resistant surface. Test the iron's heat setting on a scrap piece of fabric before using it on your project to avoid damaging or burning your materials.
Step-by-Step Instructions
Prepare the Fabric
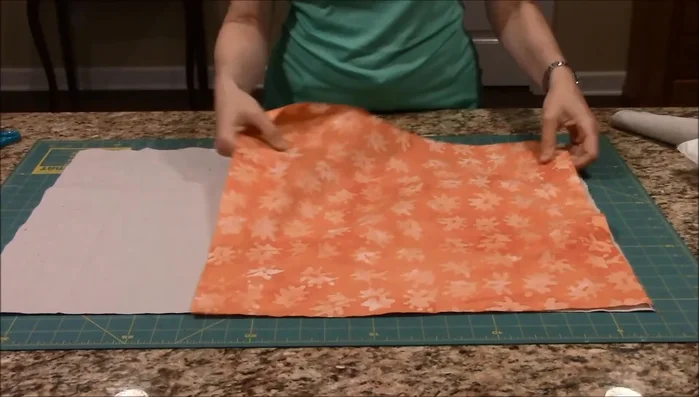
- Measure your pillow form and cut the front fabric piece, adding 1-2 inches for seam allowance. For a square pillow, ensure all sides are equal.
- Cut the backing fabric. The width should match the front piece. Add extra length to create an envelope closure (approximately 10 inches more).
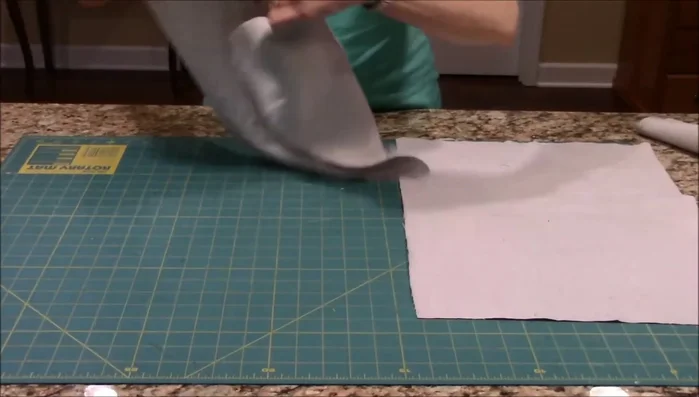
- Fold the backing fabric in half lengthwise and cut it in half, creating two pieces.

Prepare the Fabric Hem the Backing
- Create a narrow hem on each of the two backing pieces using your sewing machine.
Hem the Backing Decorate the Front
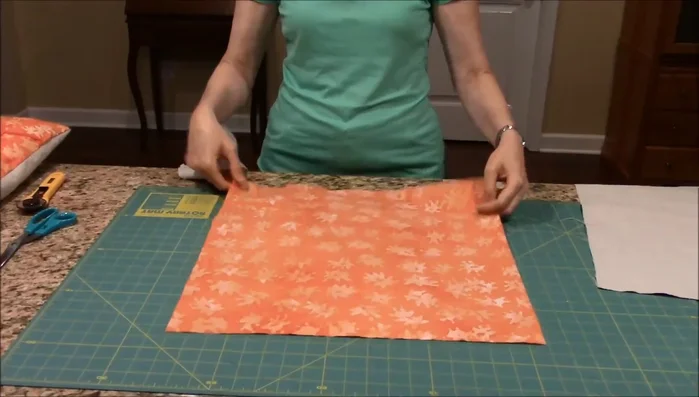
- Decorate the front fabric piece. Glue or sew on your chosen embellishment (felt leaf, silk leaves, buttons, etc.).
Decorate the Front Sew the Back
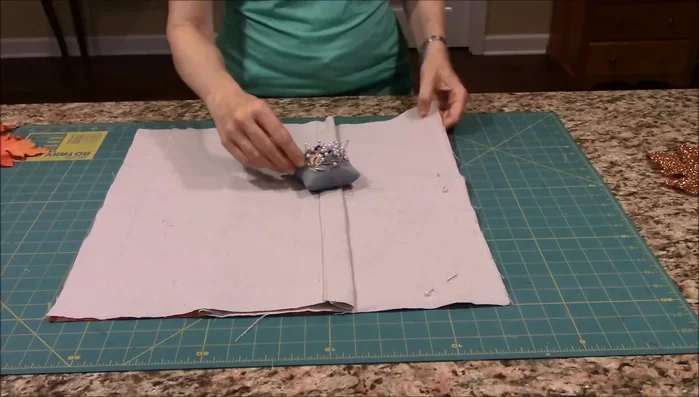
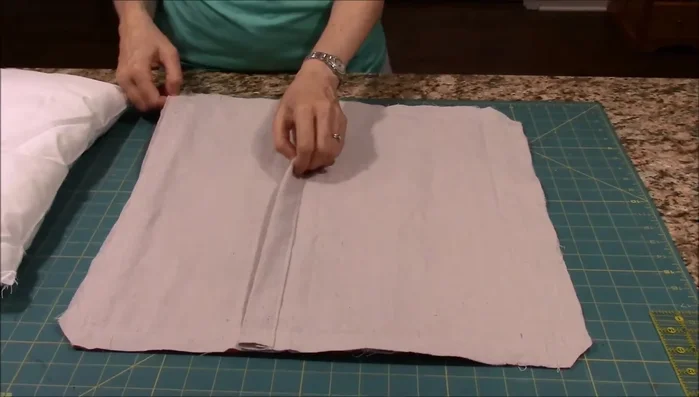
- Place the two backing pieces right sides together, matching corners. Pin around the edges.
- Sew all the way around the backing pieces. No need to leave an opening; the envelope closure creates the opening for inserting the pillow.
Sew the Back Finish the Pillow Cover
- Turn the pillow cover right side out. Use pins or a needle to poke out the corners for a crisp finish.
- Insert the pillow form into the cover through the envelope opening in the back.
Finish the Pillow Cover


Read more: DIY Super Cute Whale Shower Curtain: A Step-by-Step Tutorial
Tips
- Use a more expensive fabric for the front and a less expensive one (like a painter's drop cloth or muslin) for the back to save costs.
- Make the pillow cover so it can be easily removed for seasonal changes or cleaning.
- Snip the corners of the sewn cover before turning it right side out to reduce bulk.