A-line skirts are effortlessly chic and incredibly versatile, perfect for everything from casual weekend brunches to elegant evening events. Their flattering shape suits a wide range of body types, and the best part? They're surprisingly easy to sew, even for beginners! This DIY A-line skirt tutorial will guide you through the process of creating your own custom-made skirt, allowing you to choose your favorite fabric and personalize the length to suit your style. Forget expensive store-bought options and embrace the satisfaction of crafting a beautiful garment yourself.
This project requires minimal sewing experience and readily available materials, making it an ideal weekend craft project. We'll walk you through each step, from measuring your waist and choosing your fabric to hemming the finished product. Ready to transform a simple pattern into a stylish skirt? Let's dive into the step-by-step instructions and begin creating your perfect A-line skirt!
Preparation and Safety Guidelines
- Measuring tape
- Fabric
- Scissors
- Sewing machine (optional)
- Always use sharp scissors and pins to prevent fabric slippage and injury. Handle your sewing machine needles with care and never force the fabric.
- Measure twice, cut once! Accurate measurements are crucial for a well-fitting skirt. Double-check your pattern pieces before cutting into your fabric.
- Be mindful of your fabric type. Some fabrics fray easily; use pinking shears or a zigzag stitch to prevent this. Always pre-wash your fabric to avoid shrinkage after the skirt is completed.
Step-by-Step Instructions
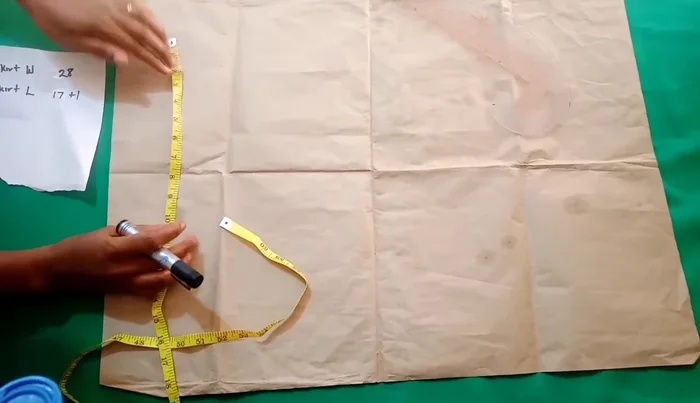
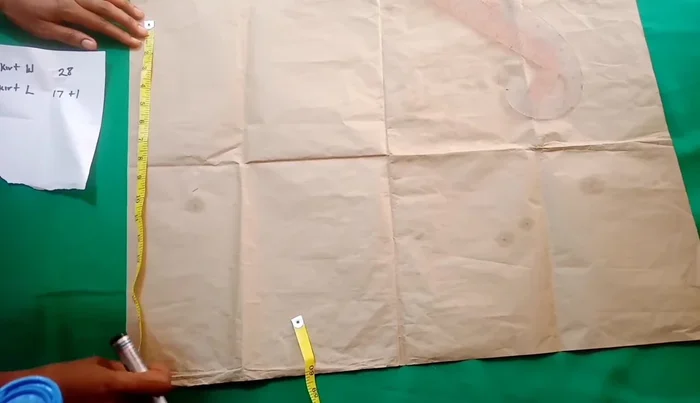
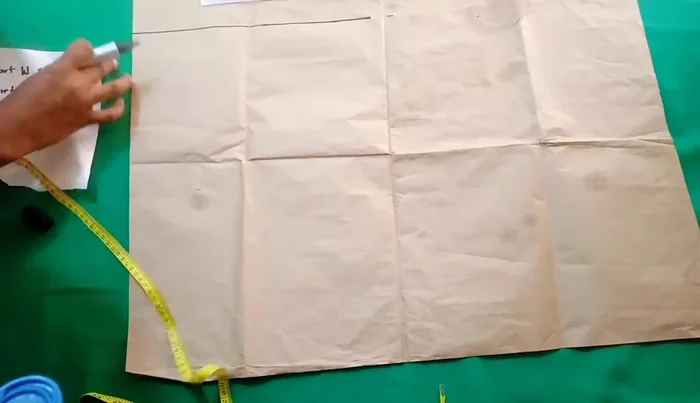
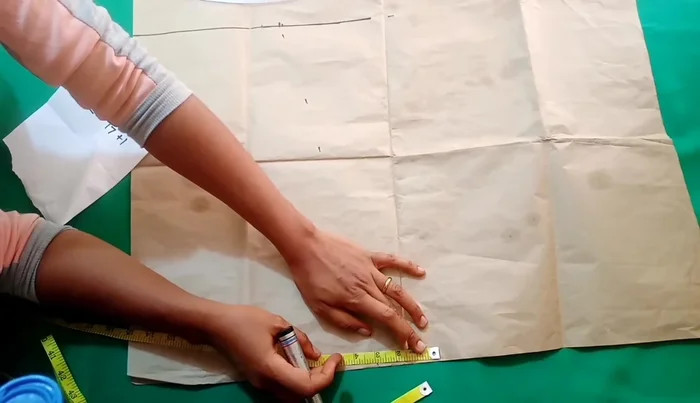
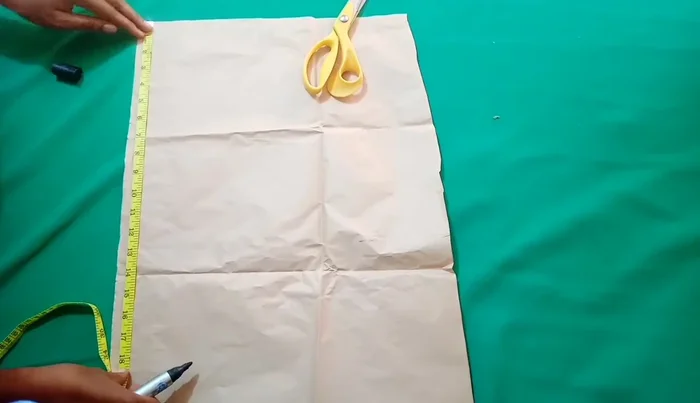
Measure and Mark Fabric
- Measure skirt length (17 inches) and add 1-inch seam allowance.
- Mark the skirt length on your fabric.
- Measure the skirt waist (28 inches), divide by four, and add a 1-inch seam allowance (resulting in 8 inches).
- Mark the waist measurement on your fabric.

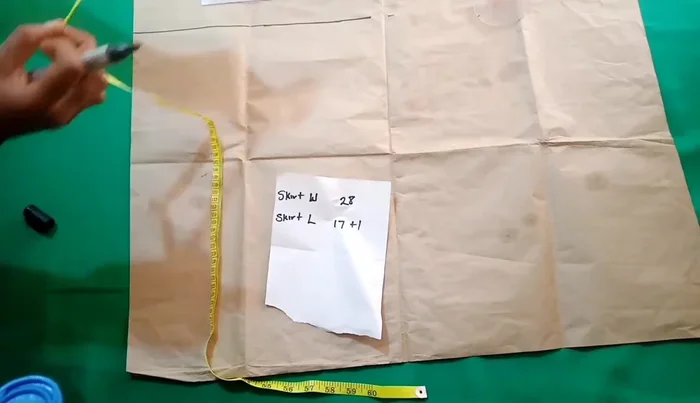
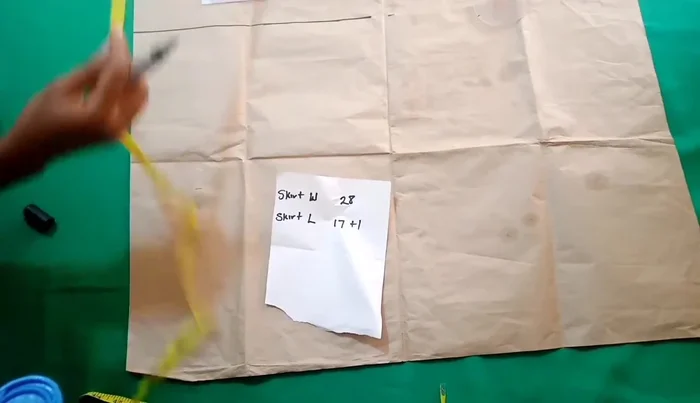
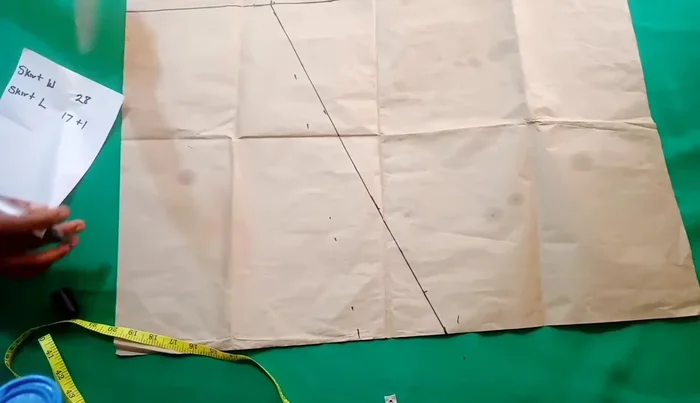
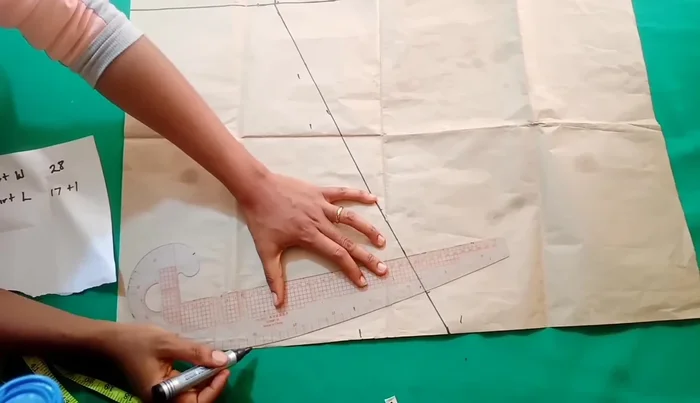
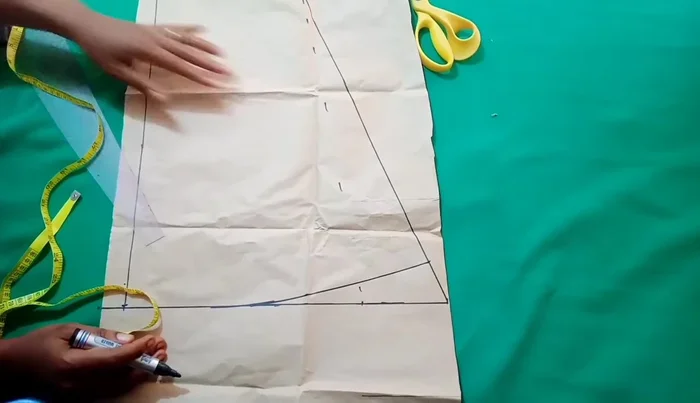
Measure and Mark Fabric Design the A-Line Shape
- Connect the marked points to create the basic A-line shape.
- Add desired extra inches for flare at the hem.
- Connect the flared hemline to the waistline.
Design the A-Line Shape Add Cuff
- Add 2 inches to the hemline for a cuff.
- Connect the cuff to the skirt's side seam.
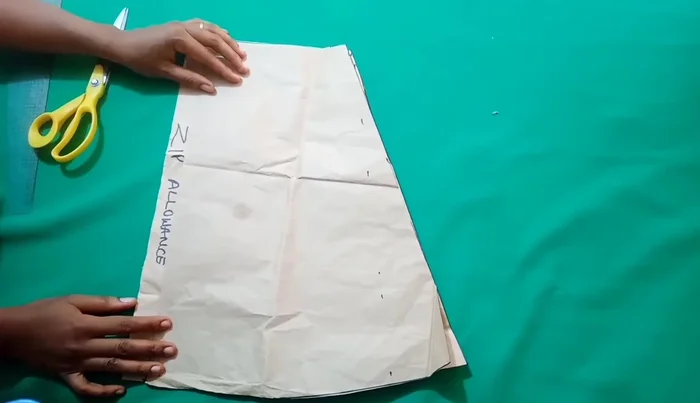
Add Cuff Create Back Panel
- Repeat steps 1-9 for the back panel, adding 1 inch for the zipper allowance.
Create Back Panel Cut and Sew
- Cut out both front and back panels.
- Sew the panels together.
Cut and Sew

Read more: Raglan Sleeve Sewing Tutorial: A Step-by-Step Guide
Tips
- Use hip measurements instead of waist measurements for a more comfortable fit.
- Adding a cuff prevents excess fabric at the sides and creates a more polished look.