A-line skirts are timeless wardrobe staples, effortlessly chic and flattering on a variety of body types. However, the thought of sewing one from scratch can often feel daunting, conjuring images of complex patterns and hours of meticulous work. But what if I told you crafting a beautiful A-line skirt could be surprisingly quick and easy? This guide unveils the fastest and simplest drafting method, eliminating the need for complicated pattern pieces or extensive sewing experience. Forget hours spent wrestling with intricate instructions; we're focusing on efficiency and achieving professional results with minimal effort.
This streamlined approach prioritizes speed and simplicity without sacrificing style. We'll cut out the unnecessary steps and focus on the core elements needed to create a perfectly fitting A-line skirt. Ready to create your dream skirt in a fraction of the time you might expect? Let's dive into the step-by-step process, starting with just a few simple measurements and a little bit of fabric.
Preparation and Safety Guidelines
- Measuring tape
- Yarn or fabric tie
- Patterned paper
- Pencil
- Fabric
- Scissors
- Sewing machine (or serger)
- Iron
- Elastic
- Always use sharp fabric scissors to ensure clean cuts and prevent fraying. Dull scissors can lead to uneven edges and make sewing more difficult.
- Pre-wash your fabric before cutting and sewing to avoid shrinkage after the skirt is completed. This prevents the skirt from becoming too small after washing.
- Pin your fabric carefully before sewing to prevent shifting and ensure accurate seams. Take your time pinning to avoid mistakes.
Step-by-Step Instructions
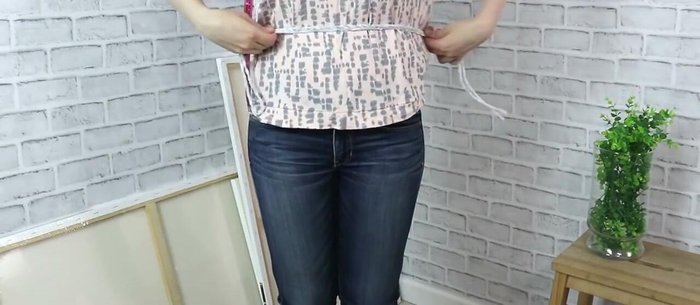
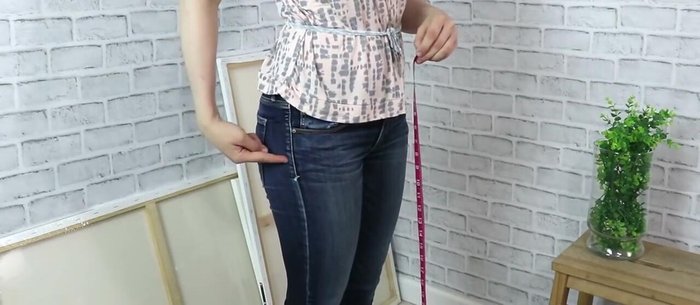
Taking Measurements
- Skirt length (from waist to desired hemline), distance from waist to hips, and hip circumference.

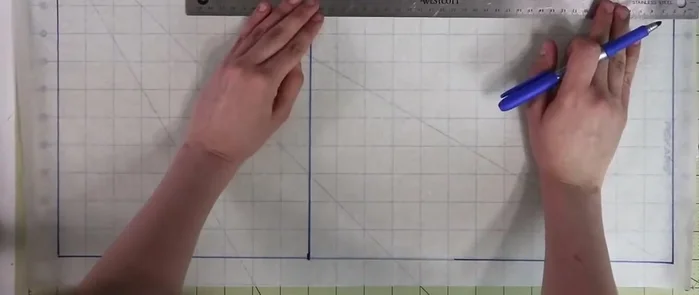
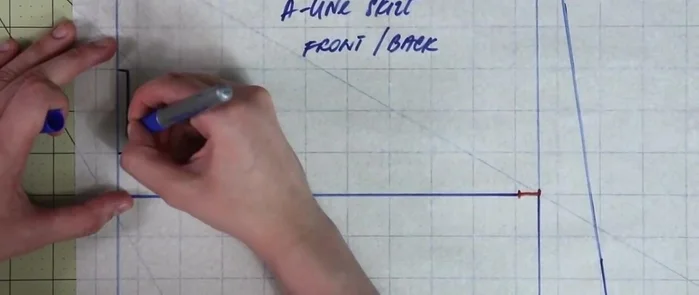
Taking Measurements Drafting the Pattern
- Transfer measurements onto patterned paper. Add wearable ease (at least 1/2 inch) to the hip circumference measurement.
- Create a rectangle using the skirt length and 1/4 of the adjusted hip measurement. Shape the top edge (waistband) by curving it inward about 1-1.5 inches. Shape the bottom edge (hem) to create the A-line flare (1-3 inches outwards depending on desired flare).
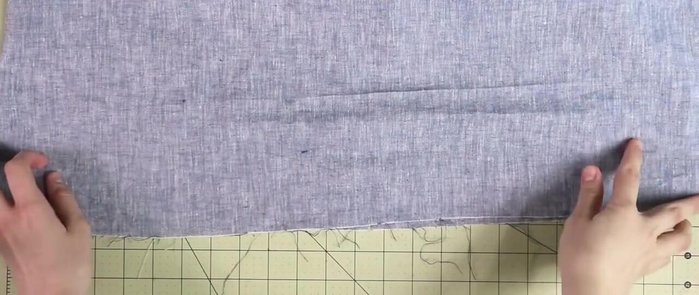
Drafting the Pattern Cutting Fabric
- Cut out two pattern pieces (front and back) on the fold. Adjust the back piece slightly if needed for better fit.
- Cut fabric pieces, adding seam allowances and hem allowance (about 2 inches).
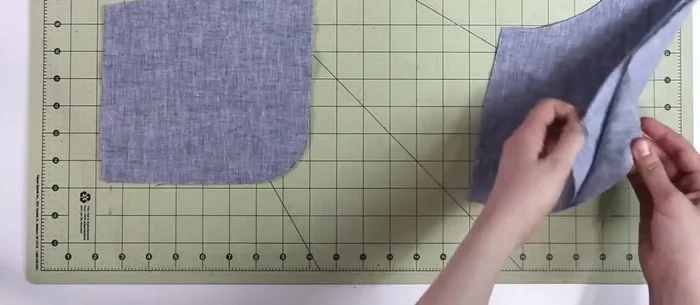
Cutting Fabric Making Pockets
- Create front and back pockets (templates provided for members, but easily self-made). Stitch, turn right side out, and press.
Making Pockets Attaching Pockets
- Attach pockets to the skirt front and back, securing them with basting stitches and then a double row of straight stitches along the curved pocket edges.
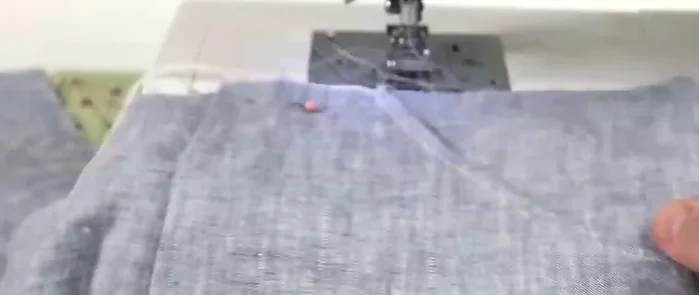
Attaching Pockets Sewing Side Seams
- Sew side seams of skirt, finishing edges to prevent fraying.
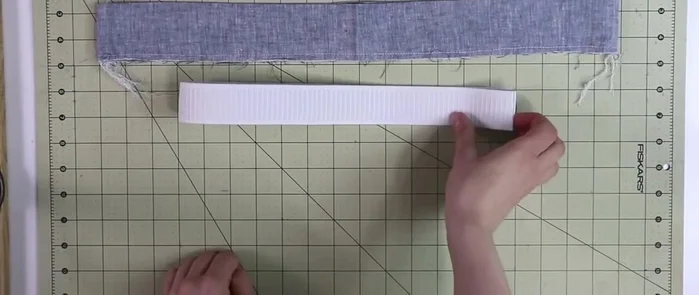
Sewing Side Seams Creating the Waistband
- Cut two fabric pieces wider than the elastic and long enough to fit around the waist (add seam allowances). Sew side seams, leaving an opening for elastic insertion.
- Insert elastic, overlap ends, and stitch closed. Finish the waistband opening.
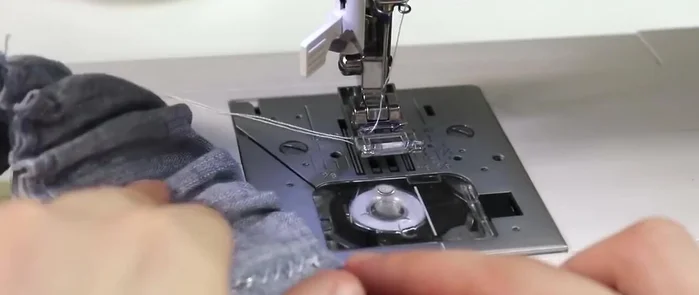
Creating the Waistband Attaching the Waistband
- Attach waistband to the skirt top, stretching the waistband while stitching to create a ruffled effect. Use the presser foot width as a guide for even stitching.
Attaching the Waistband Hemming the Skirt
- Hem the skirt.
Hemming the Skirt


Read more: Raglan Sleeve Sewing Tutorial: A Step-by-Step Guide
Tips
- Use a heat-erasable pen to mark pocket placement for even distribution.
- Use a serger to prevent fraying, especially on fabrics prone to fraying, like linen.
- Choose a fabric that is not see-through or semi-see-through.
- Lay pattern pieces on fabric and cut two identical pieces at once to ensure consistent seam allowances.