Embrace your inner fashionista and learn how to craft a stunning A-line satin skirt using a surprisingly simple, freehand method! Forget complicated patterns and precise measurements – this project is designed for beginners and seasoned sewers alike. The luxurious drape of satin fabric paired with the flattering A-line silhouette creates a skirt perfect for everything from casual weekend brunches to elegant evening events. This DIY project requires minimal sewing experience and affordable materials, making it an accessible and rewarding crafting experience. You'll be amazed at how easily you can transform a few yards of fabric into a beautiful, custom-made garment.
This freehand approach focuses on intuitive cutting and shaping, eliminating the need for a pre-made pattern. We'll guide you through each step, from choosing your perfect satin fabric to the final hem, ensuring a polished and professional finish. Ready to create your dream skirt? Let's dive into the detailed, step-by-step instructions!
Preparation and Safety Guidelines
- Satin fabric (2 yards)
- Zipper
- Measuring tape
- Ruler
- Scissors
- Sewing machine
- Interfacing
- Iron
- Use sharp fabric scissors to prevent fraying and ensure clean cuts. Dull scissors can lead to uneven edges and fabric damage.
- Always pre-wash your satin fabric before cutting and sewing to prevent shrinkage after the skirt is completed.
- Handle satin carefully to avoid snags and pulls. Use pins with protective ball tips to prevent damaging the delicate fabric.
Step-by-Step Instructions
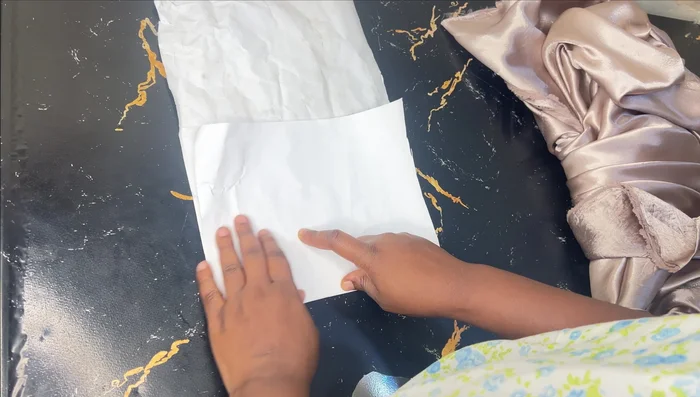
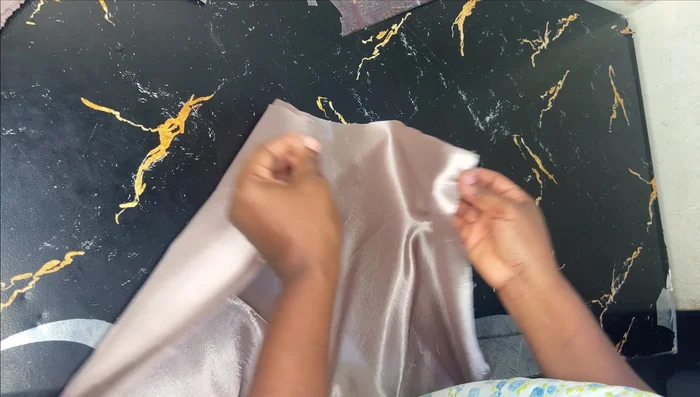
Prepare the Fabric
- Fold the fabric in half lengthwise, then in half again to create a large triangle. This allows you to cut the front and back of the skirt simultaneously.

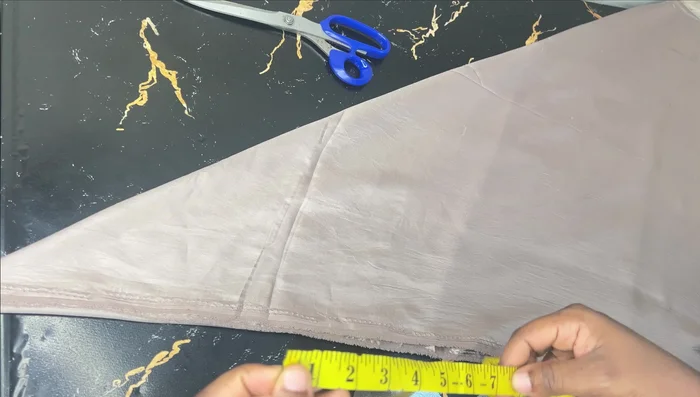
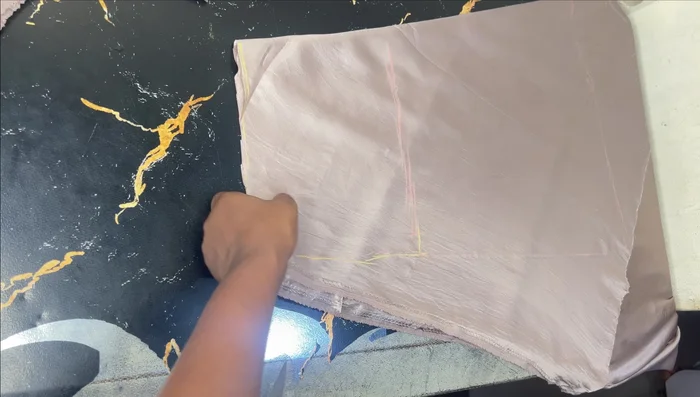
Prepare the Fabric Mark the Skirt Pattern
- Measure and mark your waistline. Add 1 inch seam allowance to your half-waist measurement (30in/2 + 1in = 16in). Mark this point on the folded triangle.
- Measure and mark your hipline. Divide your hip measurement by 4, add 1 inch seam allowance, and mark this point from the waistline (42in/4 + 1in = 11.5in).
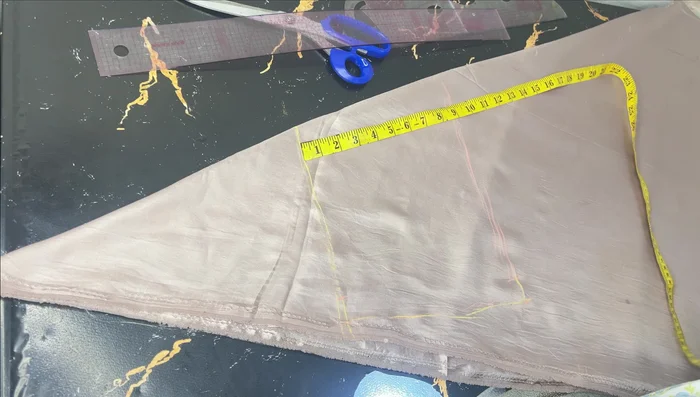
- Measure and mark your desired skirt length. This is measured from your waistline. (e.g., 27 inches).
- Connect the waistline, hipline, and skirt length marks to create the skirt pattern. Maintain a relatively straight line from the hip to the hem for an A-line effect.
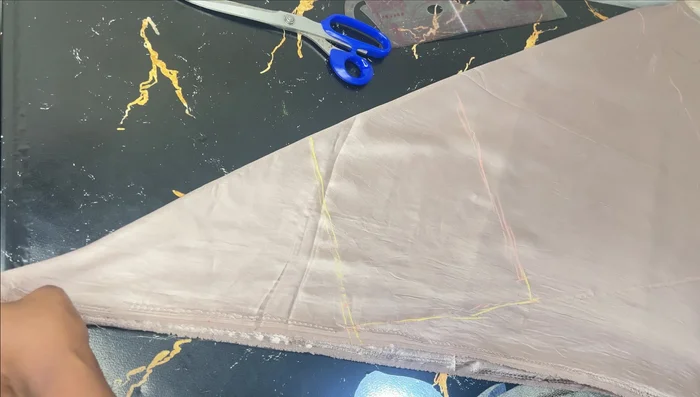
Mark the Skirt Pattern Cut the Skirt
- Cut out the skirt according to the marked lines.
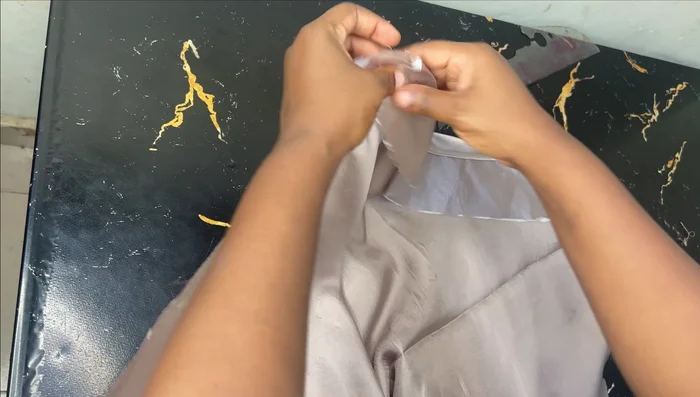
Cut the Skirt Create and Attach the Waistband
- Cut out facing for the waistline. Fold a piece of fabric in half, place the cut waistline of the skirt onto it, and cut it out.
- Add interfacing to the facing for stability. Attach the facing to the skirt’s waistline, sew, and then flip it to create a clean finish.
Create and Attach the Waistband Sew the Skirt
- Sew the side seams of the skirt together, leaving an opening for your zipper.
Sew the Skirt Add Zipper
- Insert the zipper.
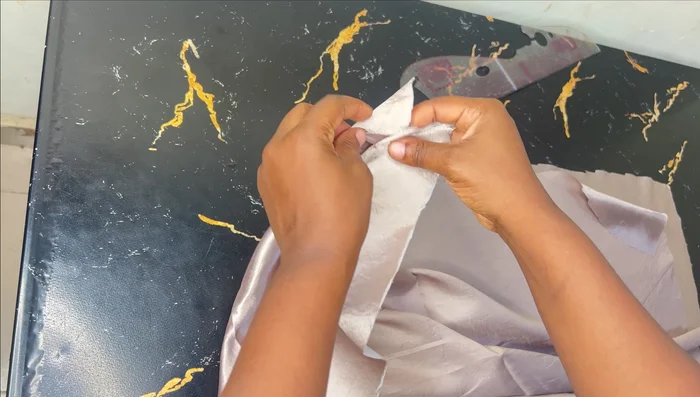
Add Zipper Finish the Hem
- Hem the bottom of the skirt.
Finish the Hem


Read more: Raglan Sleeve Sewing Tutorial: A Step-by-Step Guide
Tips
- Use a sturdy fabric like satin for a polished look, but other fabrics work as well.
- Adding interfacing to the facing provides structure and prevents stretching around the waist.
- Adjust the hip measurement to control the skirt’s fullness.