Are you dreaming of a chic and stylish A-line dress but hesitant about the price tag? Then get ready to unleash your inner fashionista! This easy sewing tutorial will guide you through creating your own beautiful, button-front A-line dress, all from the comfort of your own home. Forget expensive boutiques and complicated patterns; this project is surprisingly simple, perfect for beginners and seasoned sewists alike. You'll be amazed at how quickly you can transform inexpensive fabric into a wardrobe staple.
We'll cover everything from choosing the right fabric and taking accurate measurements to mastering the essential sewing techniques involved. With just a few basic supplies and a little bit of patience, you'll be sewing your way to a stunning, custom-made dress. Ready to get started? Let's dive into the step-by-step instructions!
Preparation and Safety Guidelines
- Fabric
- Tape Measure
- Sewing Machine
- Scissors
- Pins
- Buttons
- Thread
- Always use sharp scissors and pins to avoid accidental cuts or pricks. Handle fabric shears and needles with care.
- Before cutting into your fabric, double-check your measurements and pattern pieces to ensure accuracy. A mistake in cutting can ruin your project.
- If using a sewing machine, always keep your fingers clear of the needle and presser foot. Use a seam ripper to correct mistakes instead of trying to force the fabric.
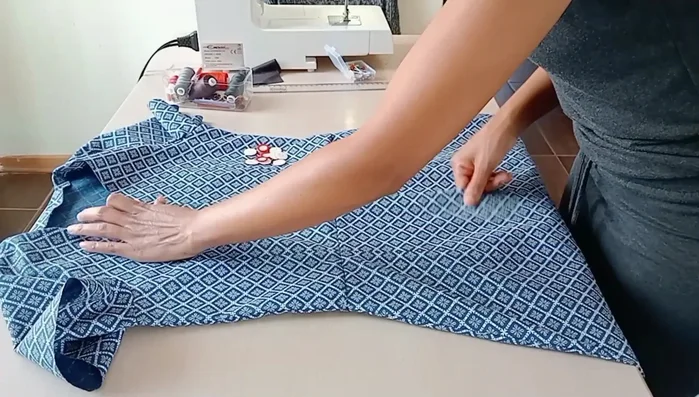
Step-by-Step Instructions
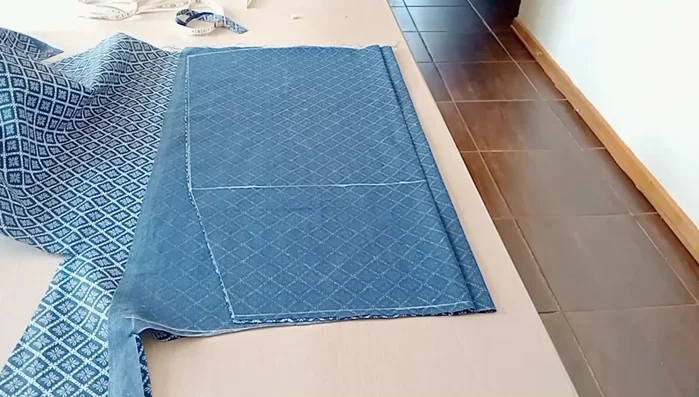
Drafting the Back Bodice
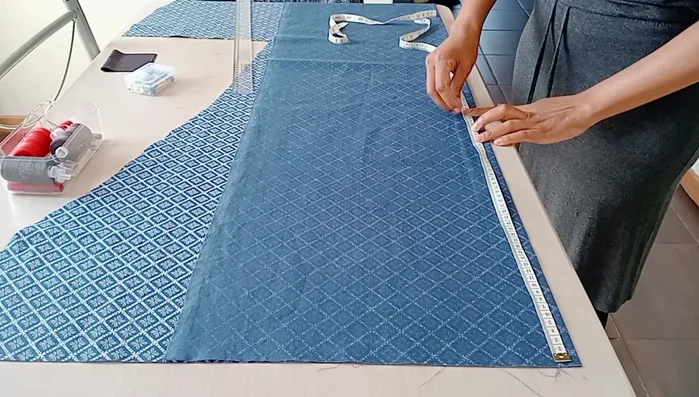
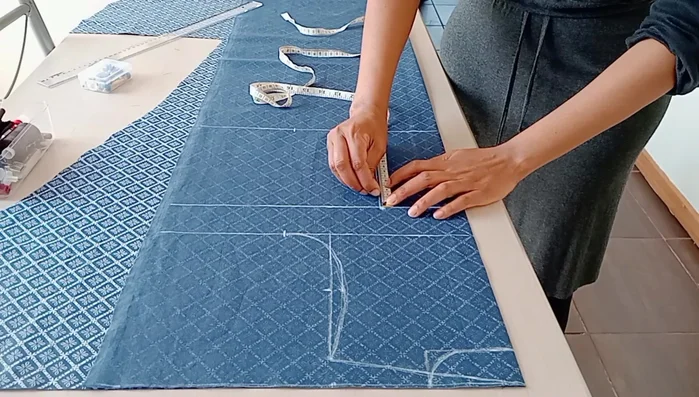
- Measure and mark shoulder to waist (42cm including seam allowance), bust line, upper bust line on the fabric (wrong side out).
- Measure shoulder to shoulder, halve it (16cm). Mark this midpoint on the shoulder line. Draw a shoulder slant (3cm). Draw armhole curve from shoulder to upper bust, touching the midpoint.
- Measure and mark ¼ bust circumference + 1-2cm seam allowance on the bust line and ¼ waist circumference + 1-2cm seam allowance on the waistline.
- Create a neckline 8cm wide and 4cm long.

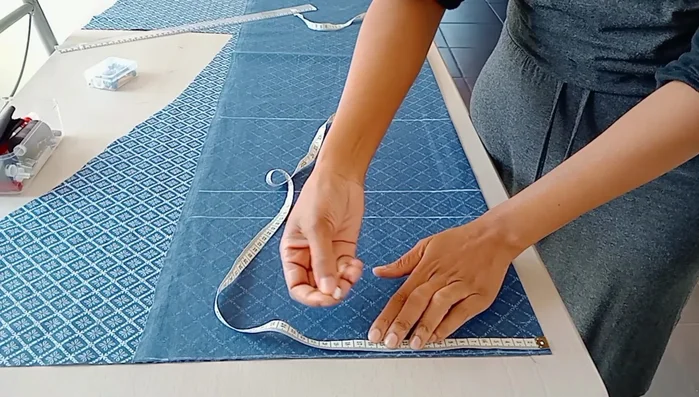
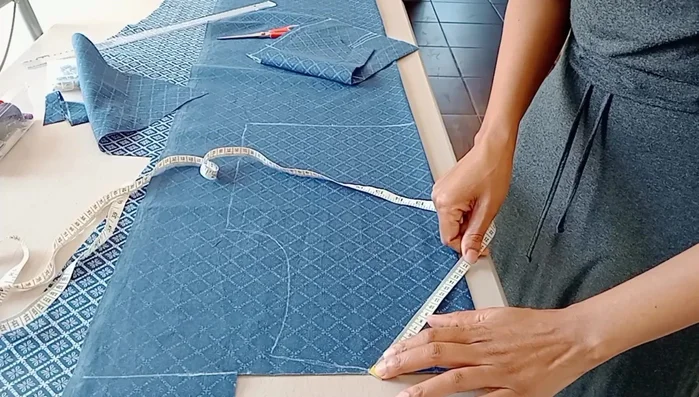
Drafting the Back Bodice - Measure nipple to nipple, subtract 20cm, halve the result (10cm). Mark this distance from the center on the bust line and connect to the waistline, creating a curve for both sides of the front and back.
- Make adjustments (3cm below bust line and 1cm on waistline) to shape the bodice.
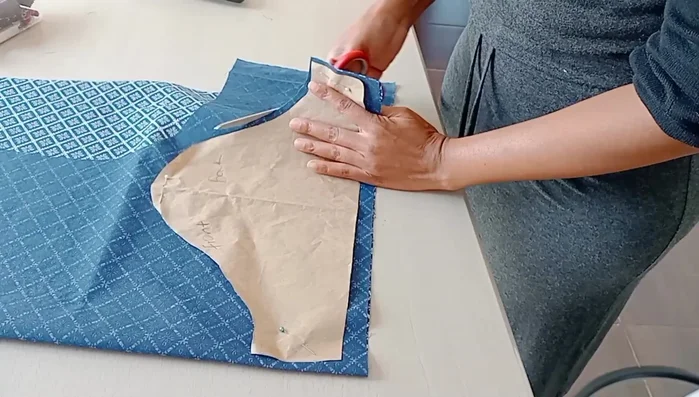
Drafting the Back Bodice Drafting the Front Bodice
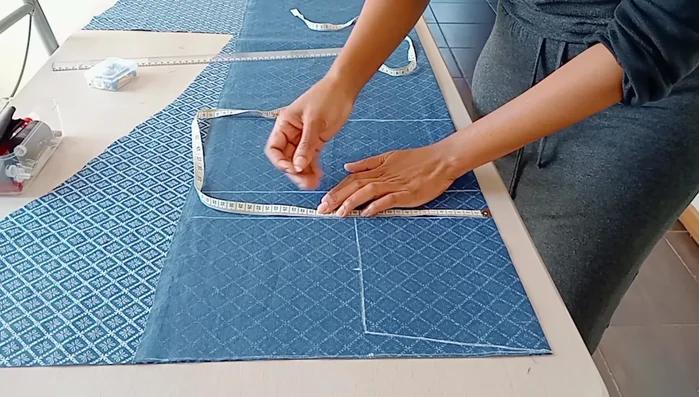
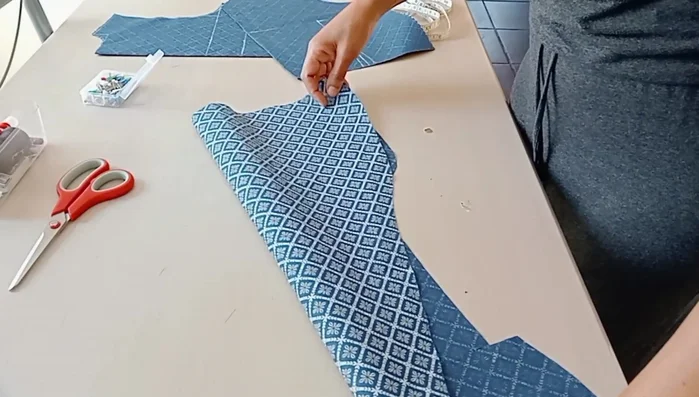
- Trace the back bodice, leaving 2.5cm for the button placket.
- Extend the neckline to 22cm, adjust armhole, and re-mark bust points considering the button placket.
Drafting the Front Bodice Creating the Neckline Facing
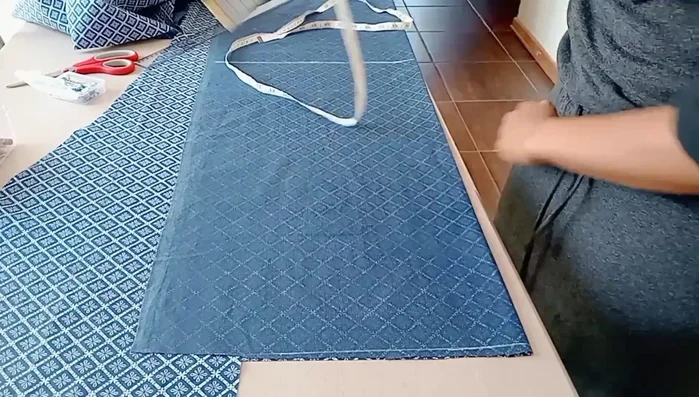
- Trace the neckline onto scrap fabric, adding 4cm width.
Creating the Neckline Facing Drafting the Skirt
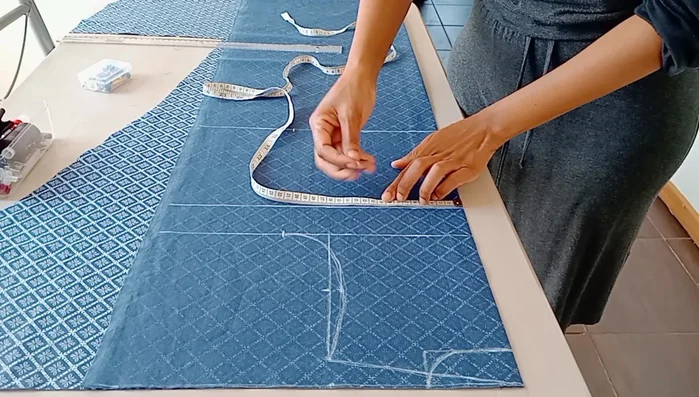
- Measure and mark the desired skirt length, hip line, ¼ waist circumference, and ¼ hip circumference + ease + seam allowance. Connect the points to shape the skirt.
- Use the back skirt sketch to create the front skirt, ensuring the 2.5cm button placket.
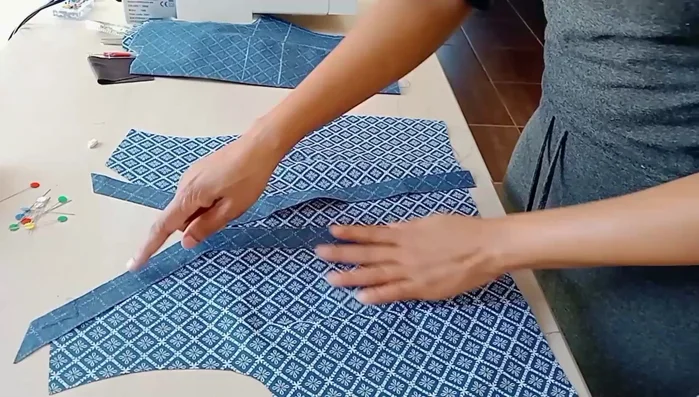
Drafting the Skirt Cutting the Sleeves
- Cut out sleeves using a pre-existing sleeve pattern.
Cutting the Sleeves Assembling the Dress
- Attach the front and back bodices at the shoulders, attach sleeves, sew side seams of the bodice and skirt.
Assembling the Dress Matching Bodice and Skirt
- Mark points on skirt to match those of bodice and stitch together.
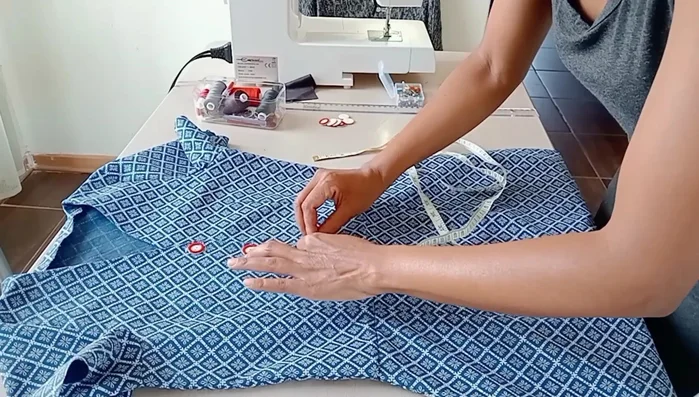
Matching Bodice and Skirt Marking and Attaching Buttons
- Try on the dress to determine button placement and mark the front accordingly.
- Measure button size and mark buttonhole placement.
- Sew buttons onto the front.
Marking and Attaching Buttons


Read more: Raglan Sleeve Sewing Tutorial: A Step-by-Step Guide
Tips
- N/A