Are you ready to ditch the boring old backpack and embrace a stylish, personalized carry-all? This easy-to-follow tutorial will guide you through creating your very own 9-patch convertible backpack, a versatile bag that transforms from a backpack to a shoulder bag in seconds! Using readily available materials and simple sewing techniques, even beginners can achieve this fantastic project. No more settling for mass-produced designs; this DIY allows you to express your creativity with a stunning array of fabric choices and personalize your backpack to perfectly match your style and needs. Imagine the compliments you'll receive!
This 9-patch design not only looks impressive but is also surprisingly straightforward to construct. The clever pattern makes for efficient fabric use and a strong, durable bag. Forget expensive designer bags; you can craft a high-quality, customizable backpack for a fraction of the cost. So, grab your favorite fabrics and let's get started! Ready to dive into the step-by-step instructions? Let's begin!
Preparation and Safety Guidelines
- Fabric (5-inch squares or solid panels)
- Zippers (all-purpose and purse size)
- Fusible woven interfacing
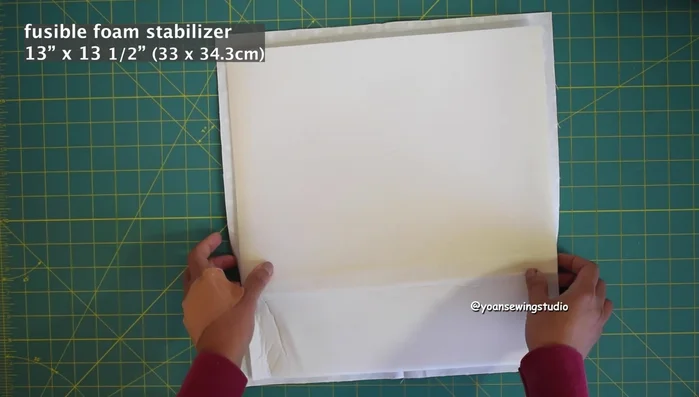
- Fusible foam stabilizer
- D-rings
- Swivel hooks
- Adjuster sliders
- Sewing machine
- Sewing clips
- Ruler
- Fabric marker
- Iron
- Pressing cloth (optional)
- Basting tape (optional)
- Fabric basting glue (optional)
- Always use sharp sewing machine needles and pins to prevent fabric slippage and injury. Dull needles increase the risk of needle breakage.
- Exercise caution when using rotary cutters and scissors. Keep fingers away from the blade's path and store them safely when not in use.
- Before starting the sewing process, ensure your sewing machine is properly threaded and the tension is correctly adjusted to avoid skipped stitches or fabric breakage.
Step-by-Step Instructions
Prepare Front Exterior
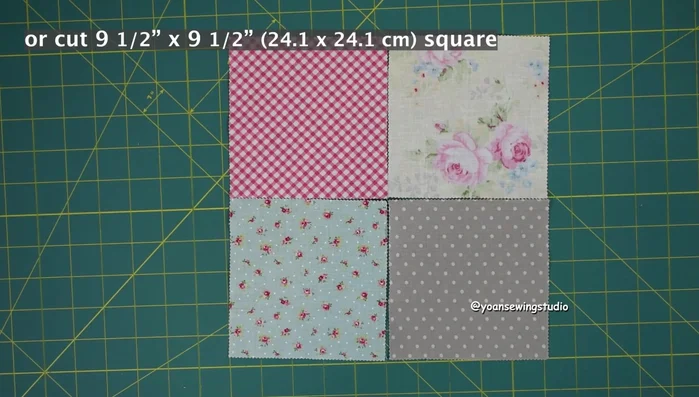
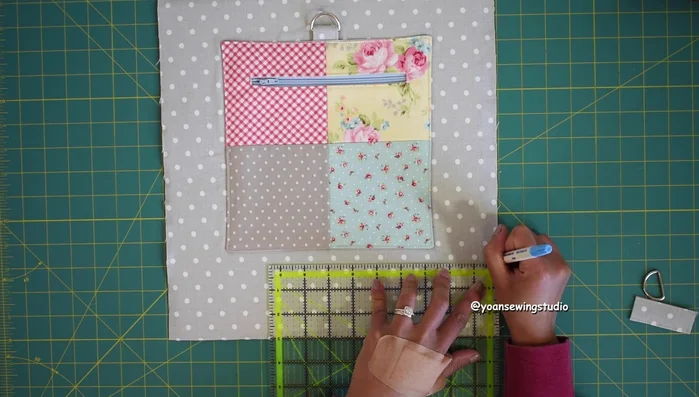
- Prepare the front exterior panel by sewing together 13 five-inch squares (or using solid panels). Apply fusible woven interfacing.

Prepare Front Exterior Prepare Front Pocket Zipper
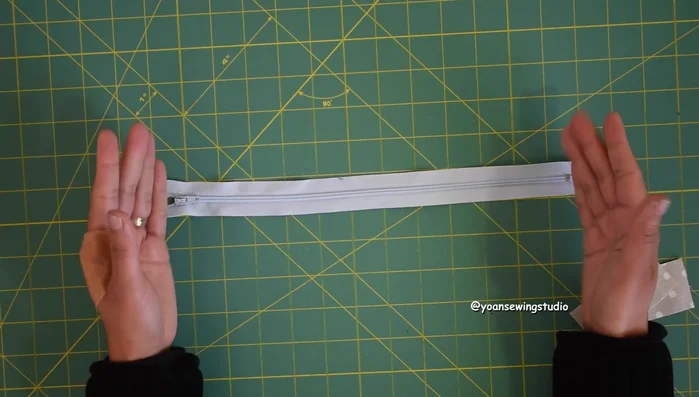
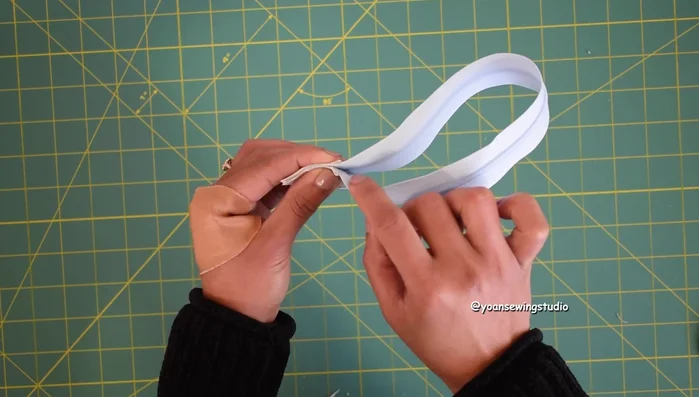
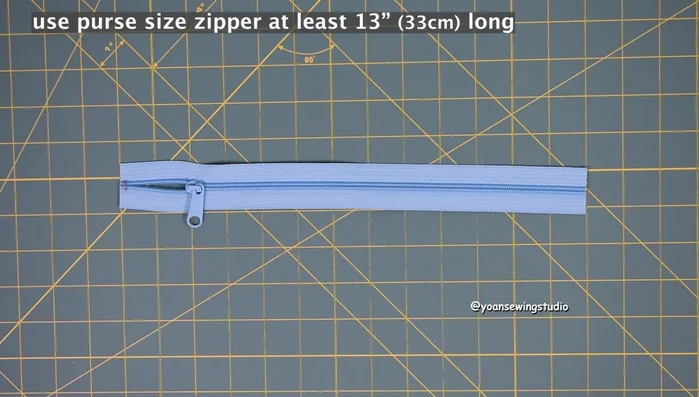
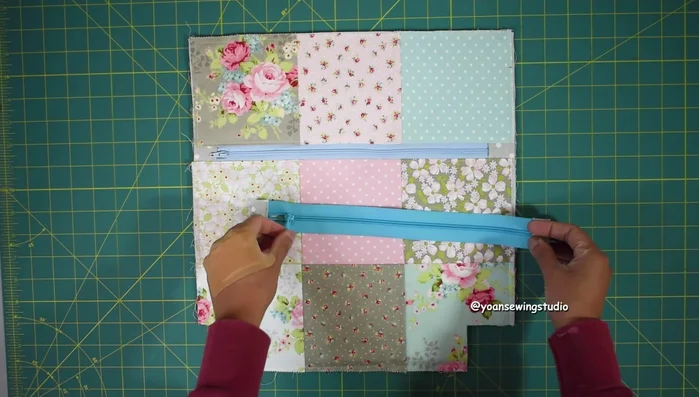
- Prepare the zipper for the front pocket (13 inches long). Install zipper tabs.
Prepare Front Pocket Zipper Assemble Front Exterior
- Install the zipper onto the upper panel, then attach the lower panel to complete the front exterior.
Assemble Front Exterior Prepare Back Exterior Pocket
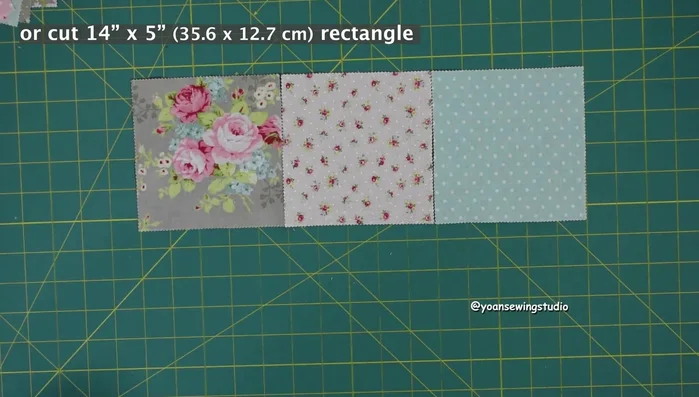
- Prepare the back exterior pocket using four five-inch squares (or solid panel). Fuse with fusible woven interfacing.
Prepare Back Exterior Pocket Prepare Back Inner Zipper Pocket
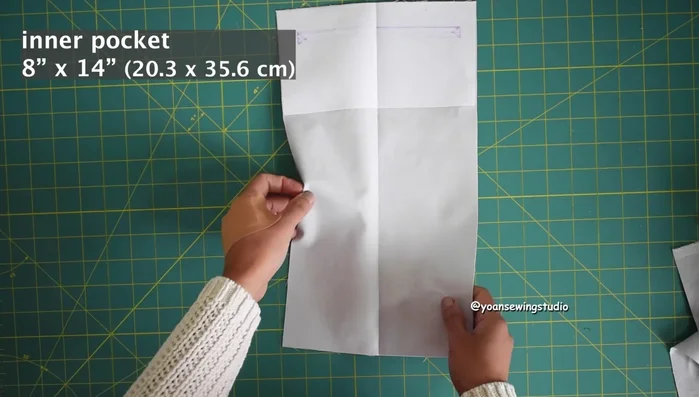
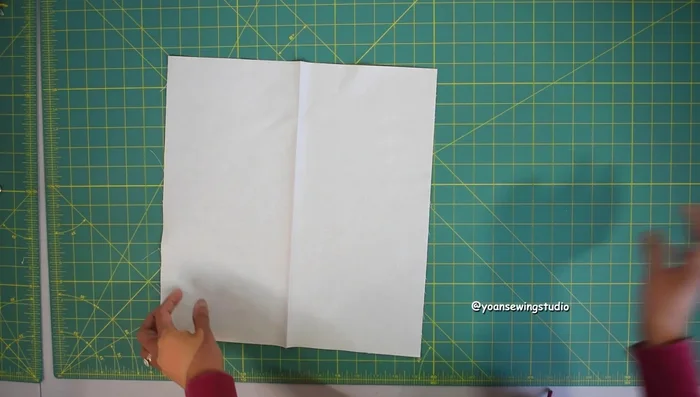
- Create the inner zipper pocket for the back, following the template provided.
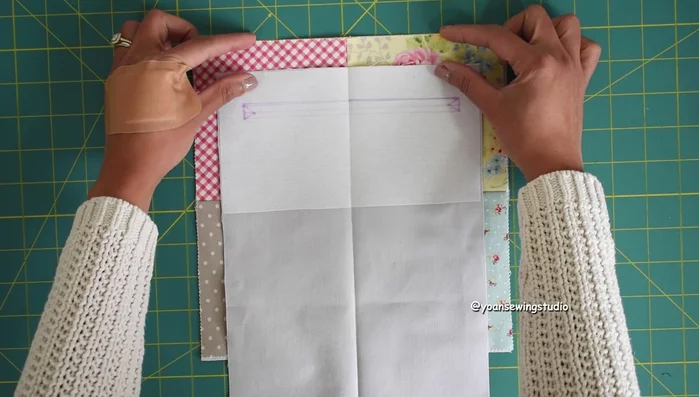
Prepare Back Inner Zipper Pocket Attach Back Inner Pocket
- Attach the inner zipper pocket to the back exterior pocket.
Attach Back Inner Pocket Prepare and Attach Back D-rings
- Prepare and attach D-ring tabs to the back exterior piece.
Prepare and Attach Back D-rings Stabilize Back Exterior
- Fuse the back exterior piece with foam stabilizer.
Stabilize Back Exterior Attach Lower Back D-rings
- Install additional D-ring tabs at the bottom of the back exterior.
Attach Lower Back D-rings Prepare and Attach Straps
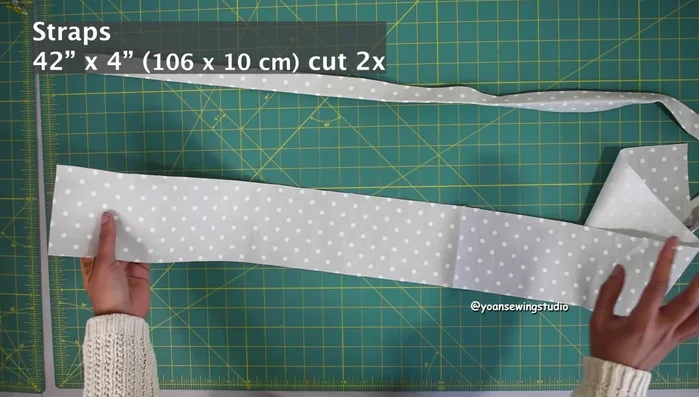
- Prepare and attach the shoulder straps, adding adjuster sliders and swivel hooks.
Prepare and Attach Straps Prepare Interior Lining
- Prepare the interior lining panels, adding slip pockets and an interior zipper pocket.
Prepare Interior Lining Prepare Main Zipper Closure
- Prepare the zipper closure (13 inches long) and zipper tabs.
Prepare Main Zipper Closure Attach Main Zipper Closure
- Attach the zipper closure to the front exterior and lining pieces, then attach the back exterior and lining pieces.
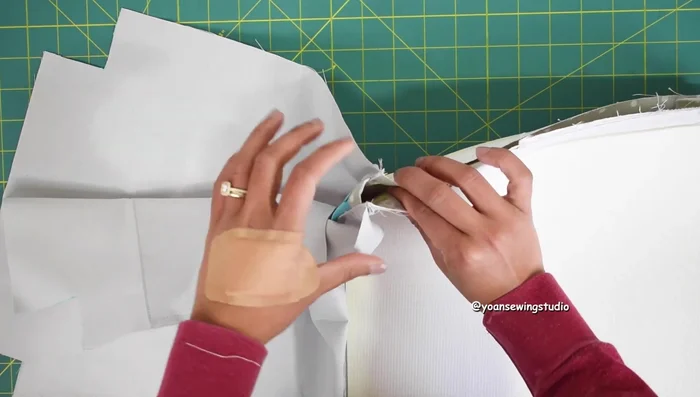
Attach Main Zipper Closure Sew Exterior and Interior Together
- Sew the exterior and interior together, leaving an opening to turn the bag right side out.
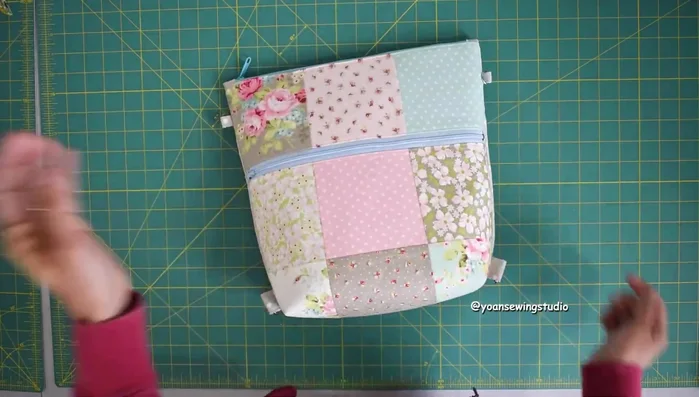
Sew Exterior and Interior Together Final Assembly
- Finish the bag by closing the opening and attaching the straps.
Final Assembly
Read more: DIY Quilted Makeup Pouch Tutorial: The Easiest and Fastest Method
Tips
- Use a walking foot for consistent stitching through multiple layers.
- Be careful not to iron directly over zippers.
- Backstitch to reinforce areas like the D-ring attachments.
- Cut notches at the bottom corners to box the corners neatly.