Love the look of a swishy, dramatic 360° circle skirt but intimidated by the sewing? Fear not! This beginner-friendly guide will walk you through creating your own stunning circle skirt, a garment that's surprisingly simpler to make than you might think. Forget expensive ready-to-wear options and embrace the satisfaction of crafting a unique piece perfectly tailored to your style and size. We’ll cover everything from choosing the right fabric to mastering the essential sewing techniques, all while keeping things manageable for even the most novice sewists.
This DIY project will empower you to unleash your creativity and add a touch of elegant flair to your wardrobe. From casual daytime looks to glamorous evening events, a circle skirt is incredibly versatile. Ready to transform a simple circle of fabric into a gorgeous, twirling garment? Let's dive into the step-by-step instructions and get started!
Preparation and Safety Guidelines
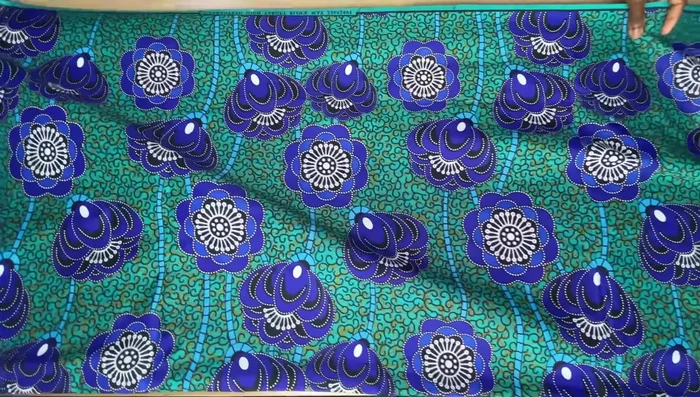
- African print fabric
- Measuring tape
- Scissors
- Sewing machine
- Zipper
- Iron
- Gum stay
- Use sharp fabric shears to ensure clean cuts and prevent fraying. Dull shears can cause uneven cuts and increase the risk of injury.
- Always measure twice, cut once. Accurate measurements are crucial for a well-fitting skirt. Double-check all measurements before cutting your fabric.
- If using a sewing machine, be mindful of your fingers and keep them away from the needle at all times. Take your time and sew slowly, especially when working with a circle skirt, to avoid mistakes and injuries.
Step-by-Step Instructions
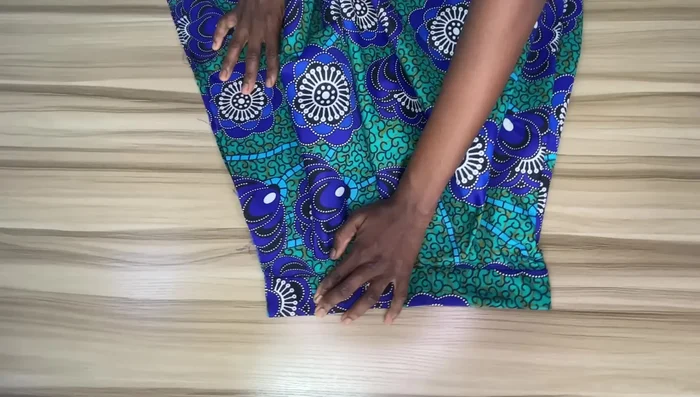
Prepare the Fabric
- Fold the fabric in half (right side to right side), then in half again to create four layers.

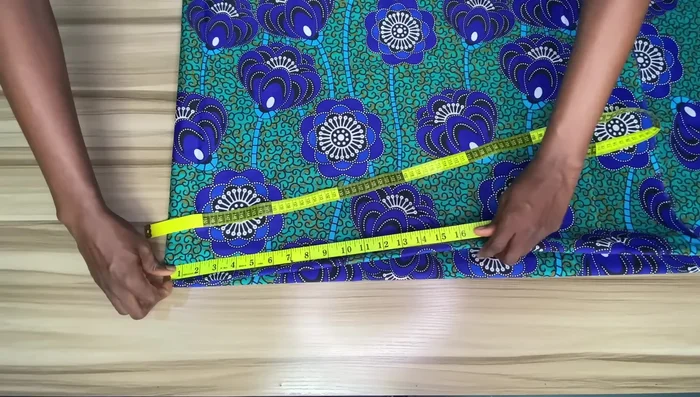
Prepare the Fabric Mark Waistline and Skirt Length
- Measure your waist circumference (add extra for zipper allowance), divide by four, and mark points on the folded fabric to create a curved waistline.
- Measure your desired skirt length (minus waistband allowance and add seam allowance), and mark points around the fabric from the waistline to create a curved hemline.
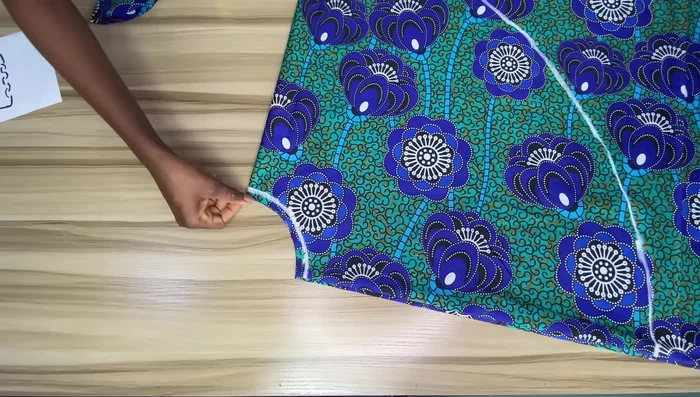
Mark Waistline and Skirt Length Cut the Skirt
- Cut along the marked lines, adding a half-inch seam allowance to the top of the waistline.
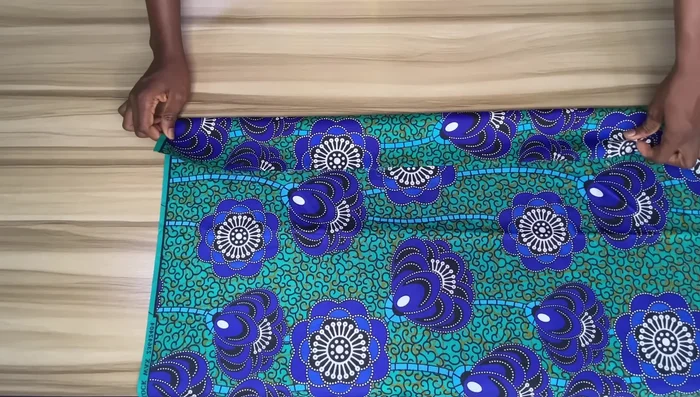
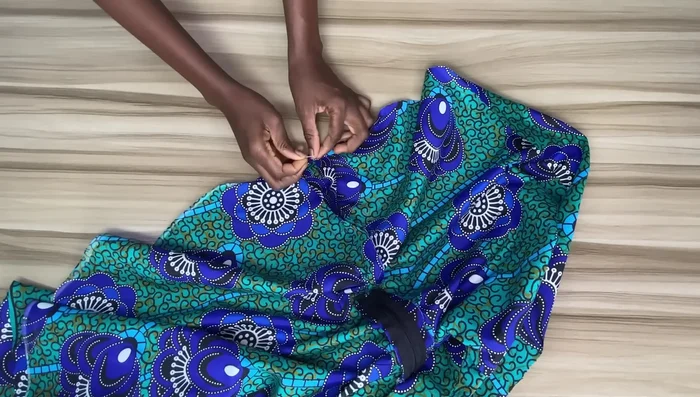
Cut the Skirt Make the Waistband
- Cut a waistband piece, adding extra width and length for seam allowance. Apply gum stay to the wrong side, press, and fold in half. Press again and fold one edge inward by half an inch. Press.
Make the Waistband Attach the Waistband
- Place the folded edge of the waistband to the wrong side of the skirt waist, pin, and stitch. Fold the other edge of the waistband over to cover the seam, pin and stitch again.
Install Zipper
- Fold the skirt in half, mark and stitch a line for the zipper placement (center back). Attach the zipper.
Install Zipper Hem the Skirt
- Fold the hem of the skirt twice, pin, and stitch to finish.
Hem the Skirt

Read more: Raglan Sleeve Sewing Tutorial: A Step-by-Step Guide
Tips
- Add extra fabric for seam allowances and zipper.
- Take your time and carefully pin the hem before stitching, especially if you are a beginner.
- Press seams as you go to ensure a neat finish.