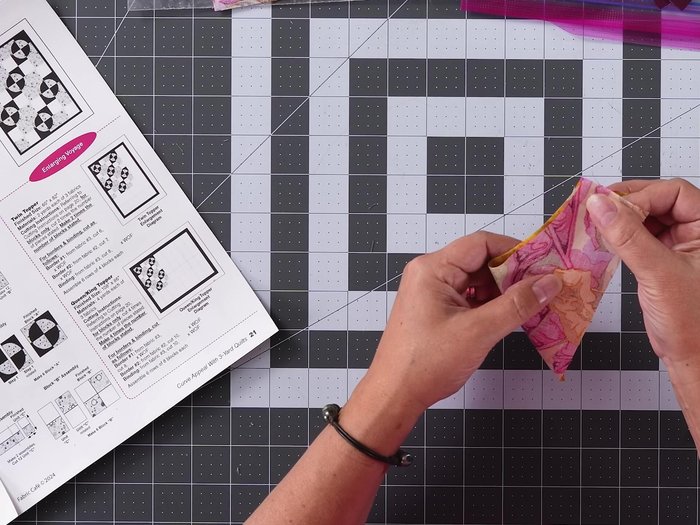
Curved piecing in quilting can be both rewarding and challenging. Achieving smooth, accurate curves often involves time-consuming methods, potentially leaving even experienced quilters frustrated. But what if you could dramatically reduce that time and effort? This tutorial unveils a surprisingly fast and efficient technique for creating stunning curved piecing, focusing on the captivating "Voyage" pattern. This method streamlines the traditional process, allowing you to craft breathtaking curves with minimal fuss and maximum precision. We'll explore innovative cutting and piecing strategies designed to minimize seams and maximize your quilting enjoyment.
Forget the tedious hours spent meticulously hand-sewing or wrestling with fiddly templates. This accelerated approach allows you to create the beautiful, flowing lines of the Voyage pattern with remarkable speed and ease. Ready to embark on this quilting adventure and significantly boost your curved piecing skills? Let's dive into the step-by-step instructions and unlock the secrets to this revolutionary method.
Preparation and Safety Guidelines
- Rotary cutter
- Ruler
- Scissors
- Iron
- Freezer paper
- Sewing machine with walking foot (optional)
- Pins
- Seam ripper
- Use sharp rotary cutters and a self-healing mat to ensure clean cuts and prevent injury. Dull blades increase the risk of slipping and accidents.
- Always pay close attention to your cutting lines and markings. Inaccurate cuts will significantly impact the final appearance and fit of your Voyage pattern quilt.
- Take breaks to avoid fatigue. Precision is key in curved piecing; tired hands lead to errors and potentially frustrating results.
Step-by-Step Instructions
Prepare Curve Templates
- Trace curve patterns onto freezer paper, labeling each and drawing a smiley face to ensure correct orientation. Cut out the templates.
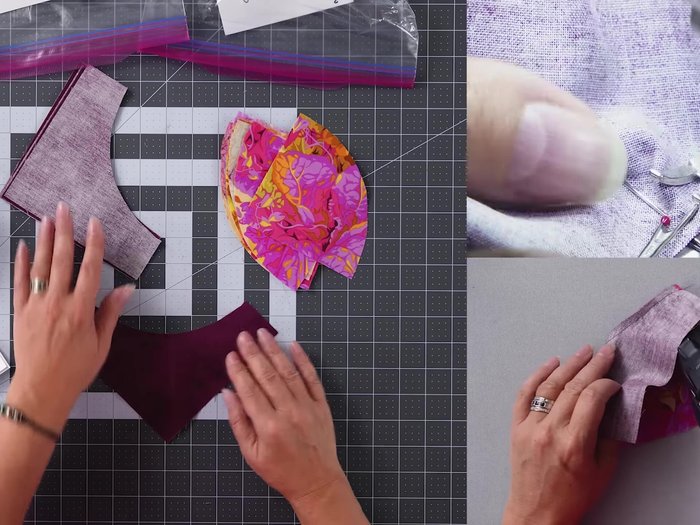
Cut Fabric Strips and Curves
- Cut fabric strips for all three fabrics. Keeping fabric folded in half, press freezer paper templates onto fabric (shiny side down) using high heat without steam. Trim excess fabric and stack layers before cutting curves using the freezer paper as a guide. Cut four curves at a time.

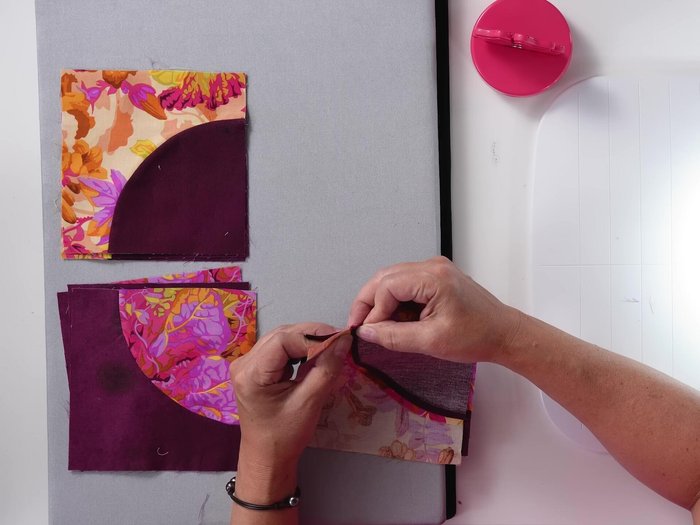
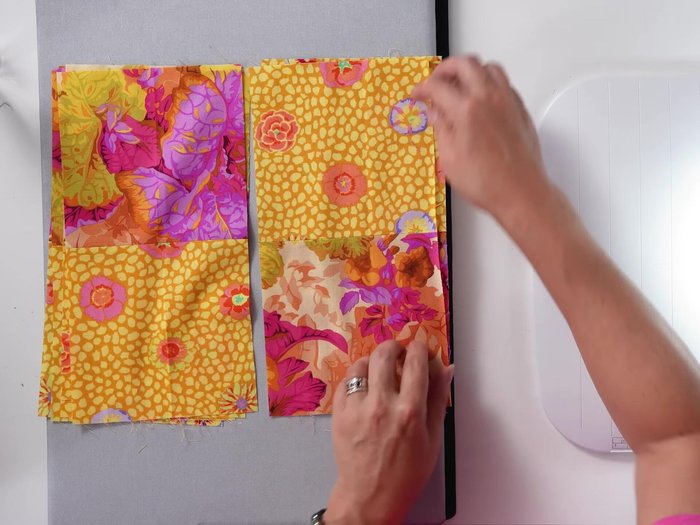
Cut Fabric Strips and Curves Assemble Unit A
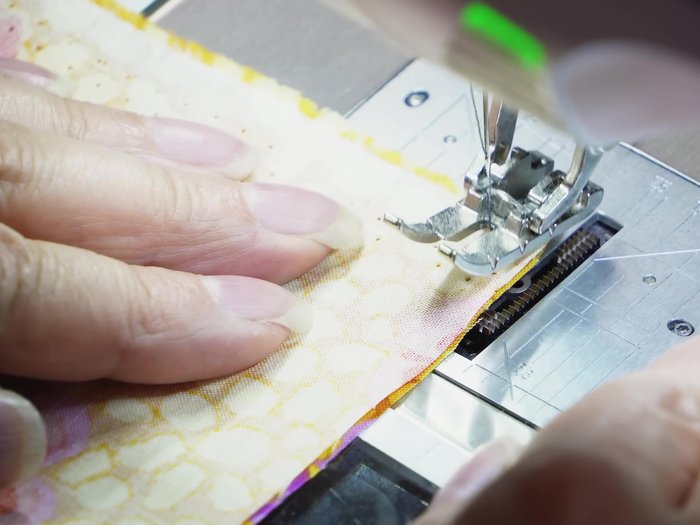
- Fold fabric pieces in half (right sides together), finger press to crease. Pin and sew curved pieces together using a scant 1/4 inch seam. Press seams open. Repeat for all Unit A pieces.
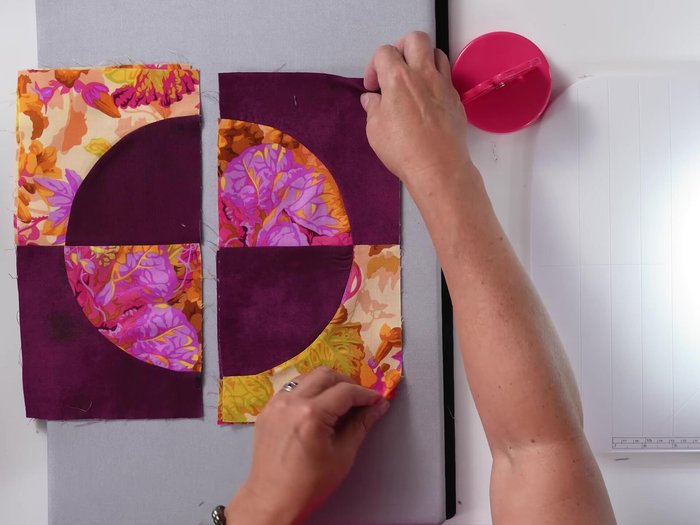
Assemble Unit A Assemble Unit B
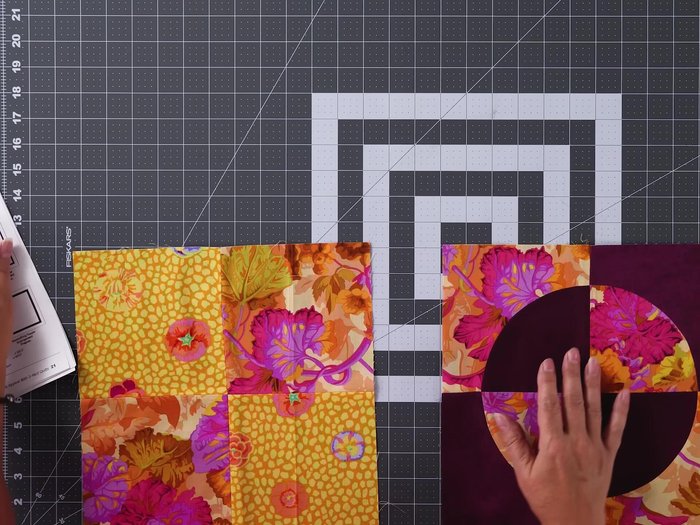
- Repeat the same pinning, sewing, and pressing method as Unit A, but with different fabric placement. Square up units.
Assemble Unit B Assemble Block A
- Sew one Unit B and one Unit A together (Unit B rotated). Press seams. Repeat for all Block A pieces.
Assemble Block A Assemble Block B
- Sew two units together (one rotated), press seams. Repeat for all Block B pieces.
- Rotate and sew Unit C pieces. Press seams. Repeat.
Assemble Block B Assemble Unit C
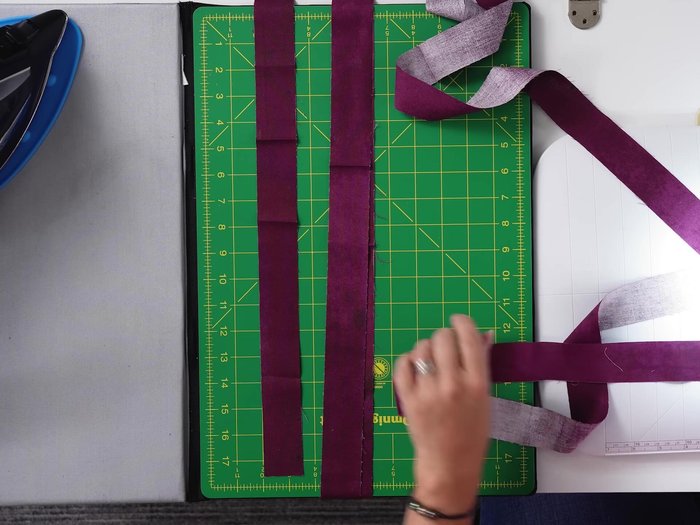
- Sew long fabric strips (Fabric 1 and Fabric 2) together. Cut into units.
Assemble Unit C Quilt Assembly
- Lay out blocks, sew rows together, and then sew rows together to complete the quilt top.
Quilt Assembly Border Application
- Sew border strips end-to-end, adding border extensions. Sew borders to the quilt top, pressing seams open and trimming excess fabric.
Border Application

Read more: King Size Quilt Tutorial: Efficient Chain Piecing Method
Tips
- Use freezer paper for easy curve cutting and pressing; it's reusable and residue-free.
- Cut four curves at a time to save time.
- Keep your needle in the down position while sewing curves for better control and pivoting.
- Press seams open for a flatter, more even quilt top.
- Square up units before assembling blocks for a more accurate quilt.