Are you dreaming of a stylish and practical crossbody bag without the hours of complex sewing? Then you've come to the right place! This tutorial will guide you through creating a stunning dewy crossbody bag using the absolute fastest and easiest method available. Forget complicated patterns and frustrating techniques; this project is designed for beginners and seasoned sewists alike, prioritizing speed and simplicity without sacrificing a chic, modern look. We'll utilize clever shortcuts and easy-to-follow instructions to get you from fabric to fabulous in record time.
This dewy crossbody bag boasts a sleek, understated elegance that's perfect for everyday wear. Get ready to ditch the complicated and embrace the effortless! Let's dive into the step-by-step process and create your dream bag together.
Preparation and Safety Guidelines
- Fabric
- Fusible woven interfacing
- Fusible fleece
- All-purpose zipper (at least 14 inches)
- Magnetic snap closure
- Sewing clips
- Sewing machine
- Iron
- O-rings (1.5 inch diameter) or D-rings (1 inch diameter)
- Basting tape
- Fabric marker
- Sewing gauge
- Always use sharp sewing machine needles and sharp fabric scissors for clean cuts and to prevent fabric damage or injury.
- Be mindful of your finger placement when using the sewing machine. Keep fingers away from the needle and presser foot to avoid accidental pricks.
- If using a rotary cutter, handle it with care and always cut away from yourself to prevent cuts. Use a cutting mat to protect your work surface.
Step-by-Step Instructions
Prepare Front Pocket
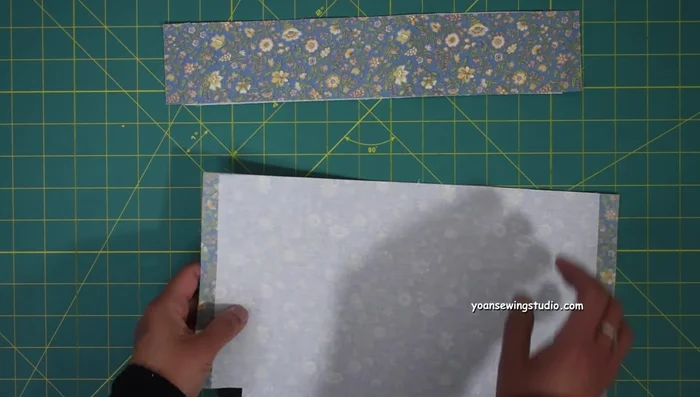
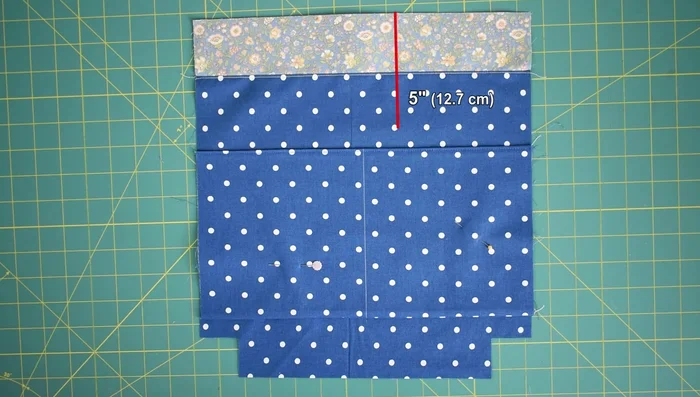
- Prepare front pocket panels (Panel 1 & 2). Fuse interfacing (half inch smaller) to the wrong side.
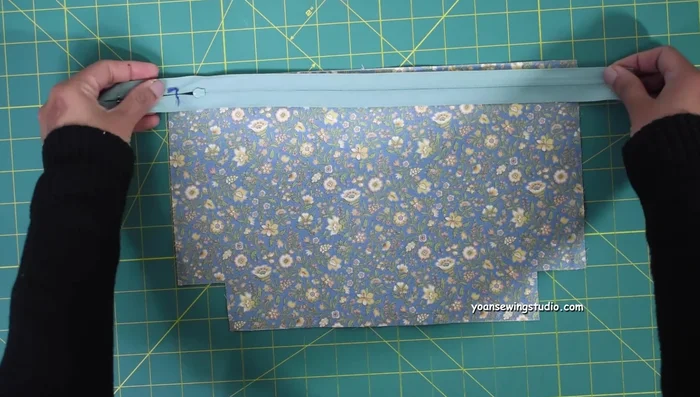
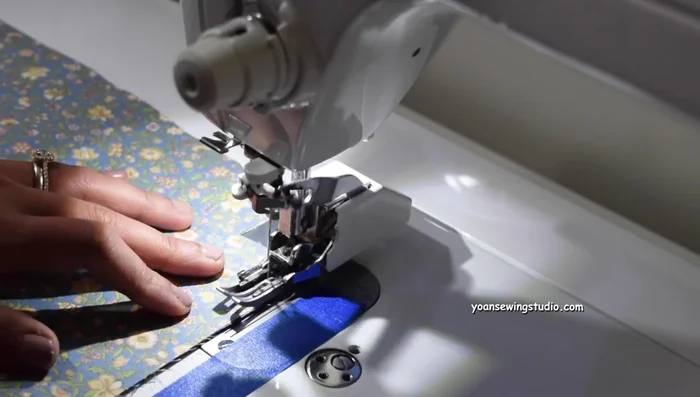
- Attach zipper to Panel 2 and Panel 3. Sew along top edges (1/4 inch seam allowance). Press and top stitch.
- Attach upper zipper panel (Panel 1). Sew with 1/4 inch seam allowance. Press and top stitch.
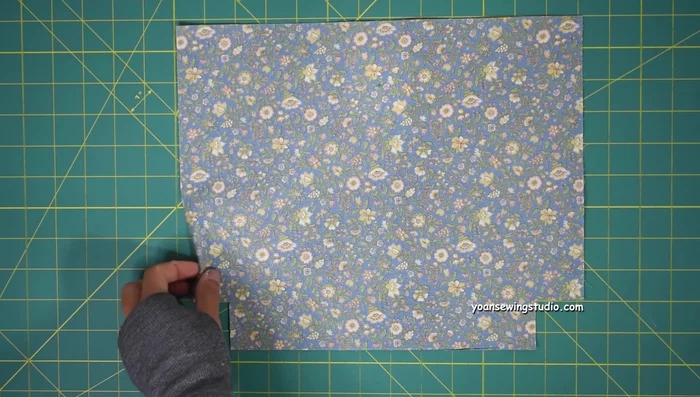
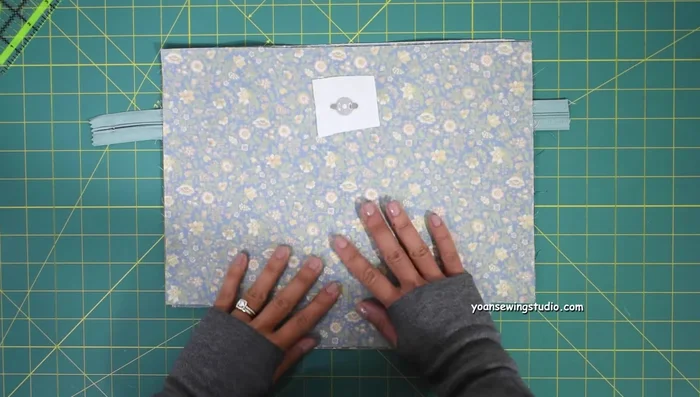
- Prepare Panel 4. Cut notches. Install magnetic snap closure (2 inches down from top center).

Prepare Front Pocket - Attach Panel 4 to zipper panel. Sew along top edges (1/2 inch seam allowance). Press, fold, and top stitch.
- Baste stitch sides and bottom of the pocket (1/4 inch seam allowance). Trim excess zipper.
Prepare Front Pocket Prepare Exterior Shell
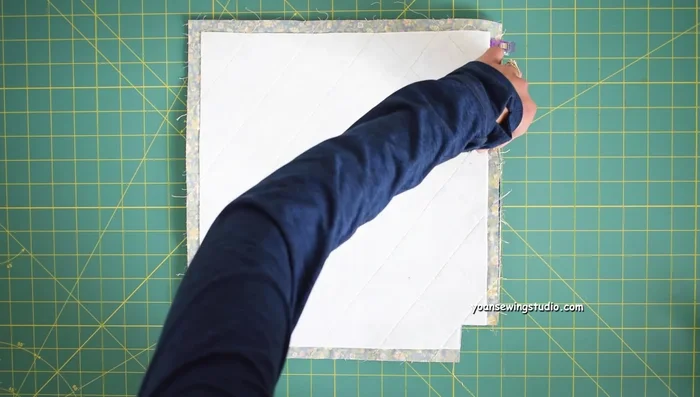
- Quilt fabric.
- Attach front pocket panel to front exterior piece. Install female magnetic snap closure.
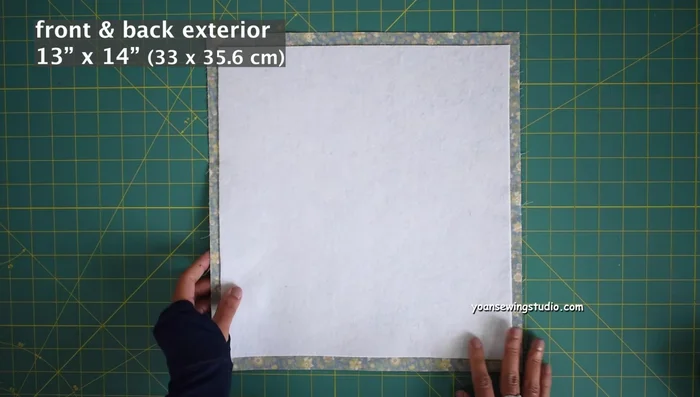
- Assemble front and back exterior pieces. Sew sides and bottom (1/2 inch seam allowance). Clip corners and sew.
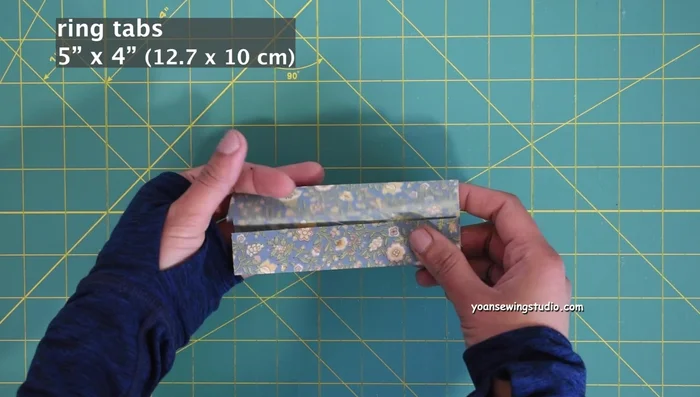
Prepare Exterior Shell Prepare Ring Tabs
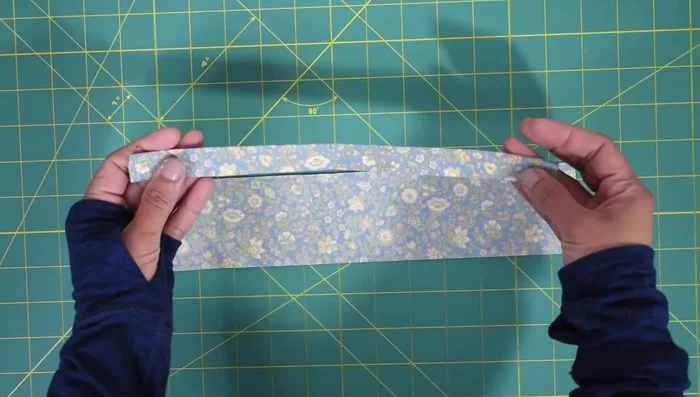
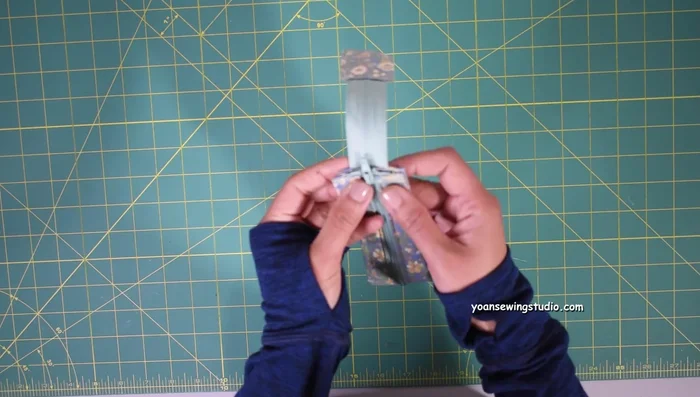
- Make ring tabs (1 inch strips). Sew long sides (1/8 inch seam allowance). Cut in half.
- Attach ring tabs to exterior shell. Sew (1/4 inch seam allowance).
Prepare Ring Tabs Prepare Strap
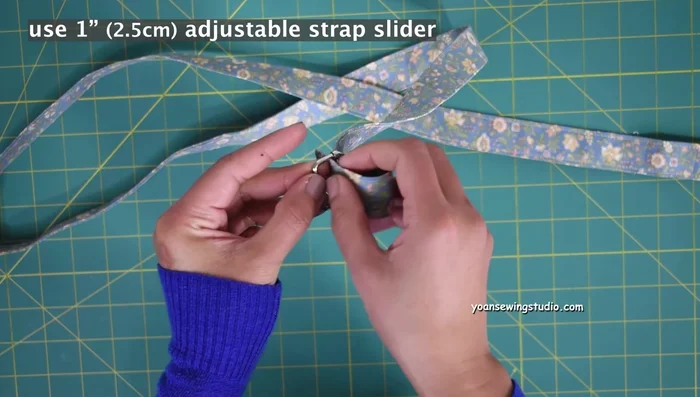
- Prepare adjustable strap (55-60 inches long). Join strips if needed (bias join). Apply fusible interfacing (optional). Fold, press, and sew (1/8 inch seam allowance).
Prepare Strap Prepare Interior Lining
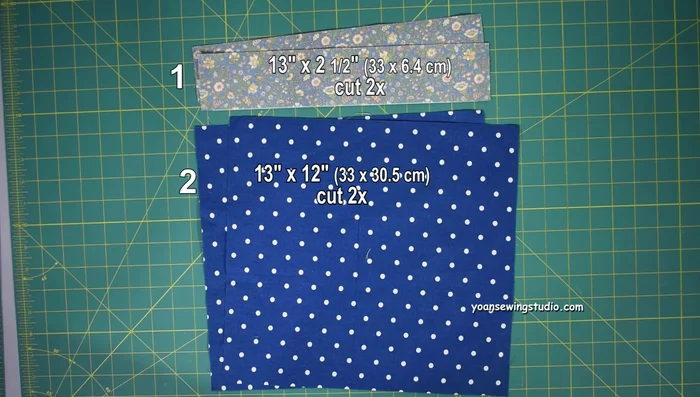
- Prepare interior pieces (Panel 1 – main fabric, Panel 2 – lining fabric). Fuse interfacing to Panel 1 (1 inch smaller). Sew together (1/4 inch seam allowance). Press and top stitch.
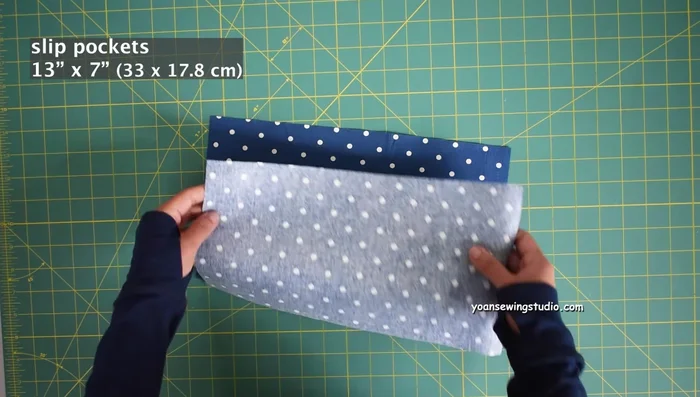
- Make slip pockets. Sew sides (1/4 inch seam allowance), press, turn, and top stitch.
- Attach slip pockets to interior fabric. Sew sides and bottom (1/4 inch & 1/8 inch seam allowance).
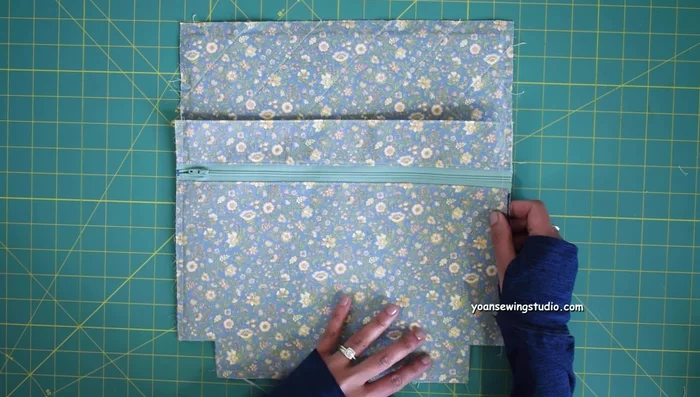
- Prepare zipper panels. Fold and press (1/2 inch). Sew zipper to panels (1/8 inch seam allowance).
Prepare Interior Lining - Attach zipper panels to interior pieces. Sew (1/8 inch seam allowance).
- Assemble interior pieces. Sew sides and bottom (1/2 inch seam allowance). Leave opening to turn right side out.
Prepare Interior Lining Assemble Bag
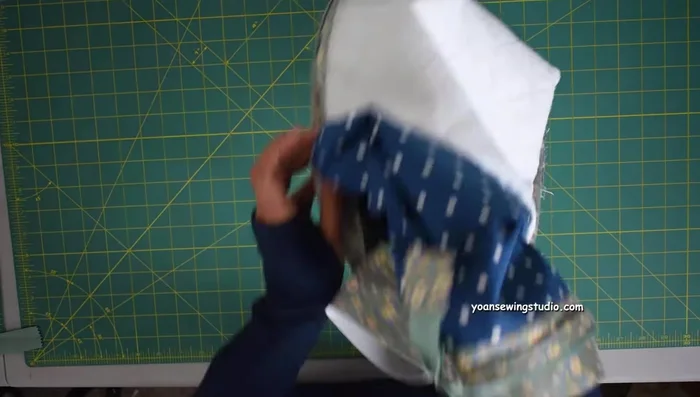
- Insert interior into exterior shell. Sew around (1/2 inch seam allowance). Turn right side out through opening. Neaten and top stitch.
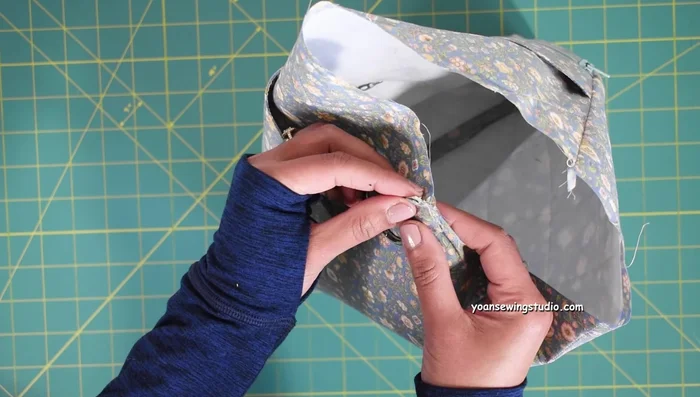
Assemble Bag Attach Strap
- Attach strap to rings.
Attach Strap


Read more: DIY Quilted Makeup Pouch Tutorial: The Easiest and Fastest Method
Tips
- Minimize bulk around side seams by cutting interfacing slightly smaller.
- Use a hair marker, finger pressing, or low-heat iron to press seams neatly.
- Use a walking foot attachment for even fabric distribution when sewing zipper panels.
- Leave a gap between zipper panel and zipper teeth (1/8 inch) to prevent fabric from getting caught.
- Open zipper completely when assembling the bag to avoid bulkiness.