Dive into the adorable world of amigurumi with this quick and easy crochet pattern for a tiny turtle! Perfect for beginners or seasoned crocheters looking for a satisfyingly small project, this charming little turtle is surprisingly simple to create. Imagine the delightful possibilities: a keychain companion, a quirky desk decoration, or even a unique embellishment for a handmade gift. This pattern utilizes basic crochet stitches and requires minimal materials, making it ideal for crafting on the go or squeezing in a quick project during downtime.
The sweet little turtle’s endearing features and compact size will win you over instantly. From its delicate shell to its tiny, endearing flippers, each stitch contributes to its overall cuteness. Ready to embark on this fun and rewarding crafting journey? Let's get started with the step-by-step instructions below!
Preparation and Safety Guidelines
- Chunky or super chunky plush yarn (two colors)
- Hook to match yarn
- Polyfill
- 5 mm safety eyes
- Scissors
- Yarn needle
- Stitch markers
- Always supervise young children when they are around small crocheted items to prevent choking hazards. Tiny amigurumi pieces are not suitable for children under 3 years old.
- Use only high-quality, safe yarn intended for amigurumi or toys. Avoid using yarns with loose fibers or small parts that could easily detach and pose a choking risk.
- Secure all ends firmly to prevent unraveling. Loose threads can be a strangulation hazard for young children.
Step-by-Step Instructions
Create the Turtle Shell
- 8 single crochet in a magic ring (or chain 2, 8 sc in first chain)
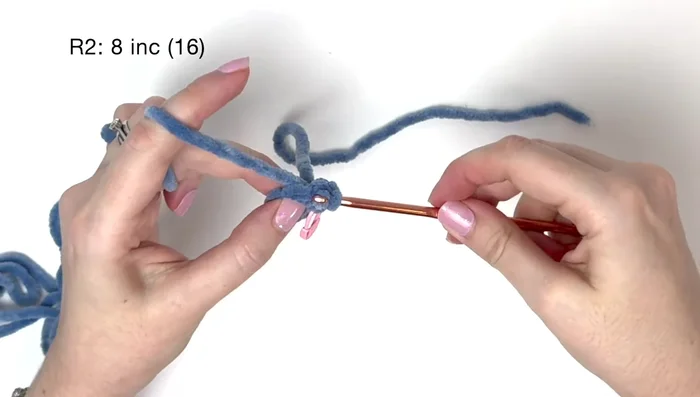
- 8 increases (2 sc in each stitch from round 1) - 16 stitches total
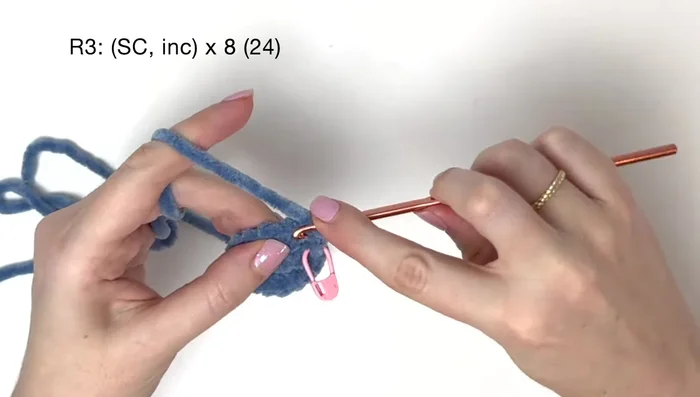
- (sc, inc) x 8 - 24 stitches total
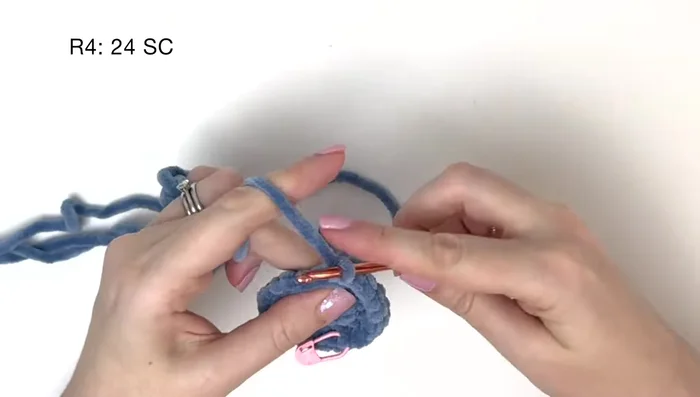
- 24 single crochet - Add stitch markers to the first and last stitches in the back loops only

Create the Turtle Shell - 24 single crochet in the front loops only (change color before last stitch)
- 24 single crochet in the back loops of round 4 (work over the tails from the color change)
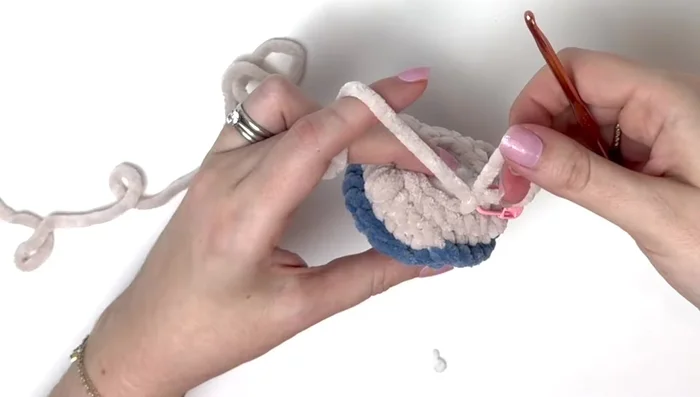
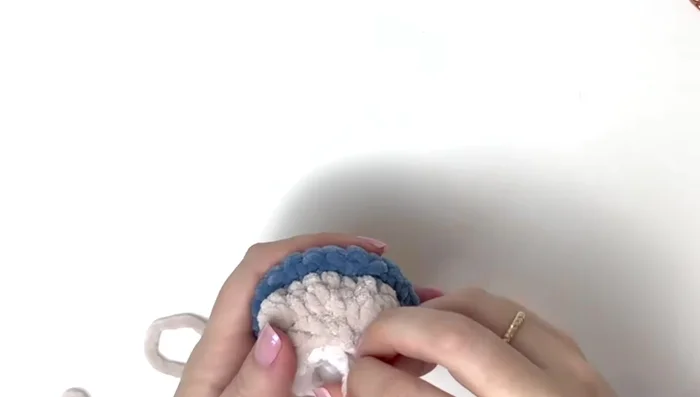
Create the Turtle Shell Create the Turtle Legs and Body
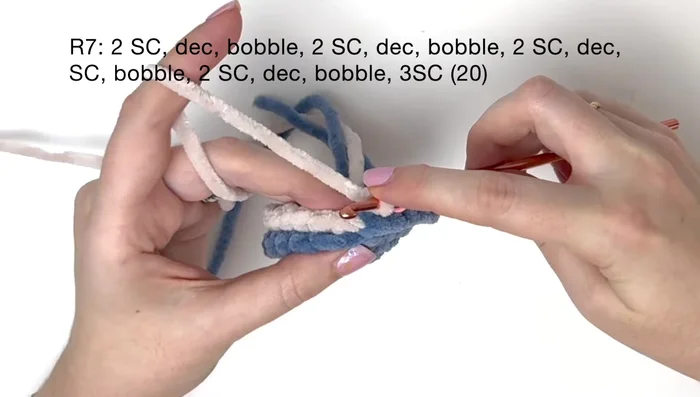
- Make legs - (2 sc, dec) x 4, (bubble stitch, 2 sc, dec) x 4, 3 sc
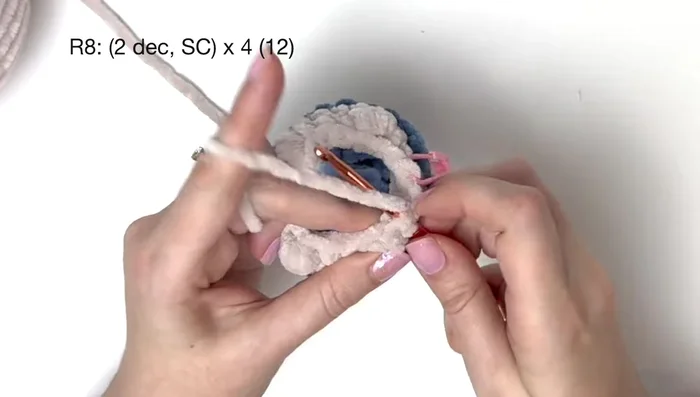
- (2 dec, sc) x 4 - 12 stitches
- 6 decreases - close and cut yarn
- Stuff the body
Create the Turtle Legs and Body Create the Turtle Head
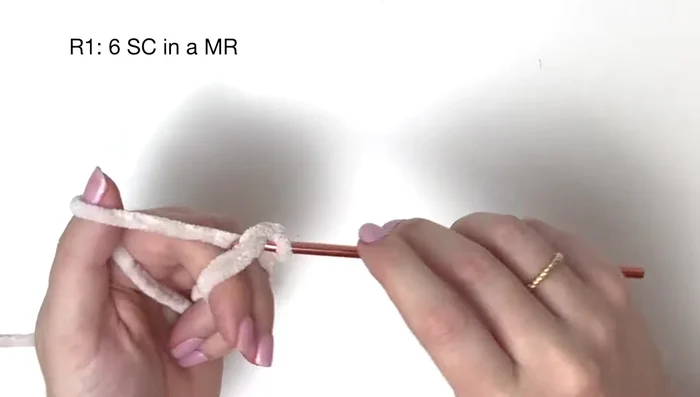
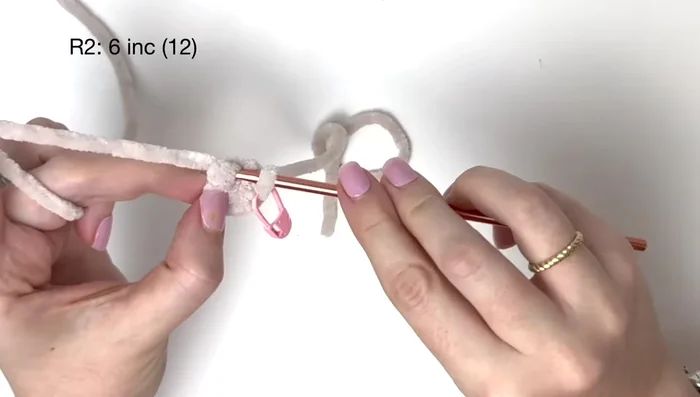
- Round 1: 6 sc in magic ring
- Round 2: 6 increases - 12 stitches
- Round 3: 12 sc
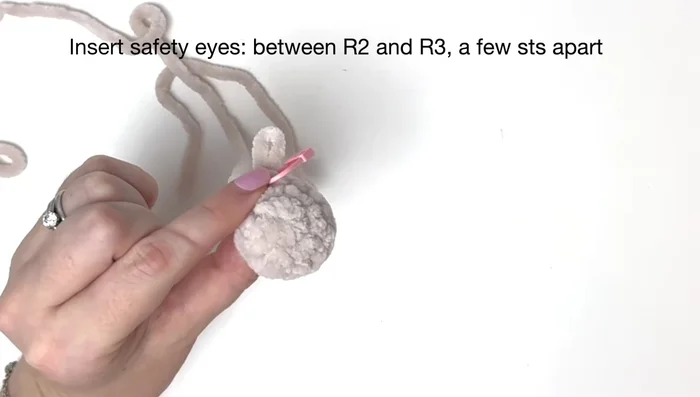
- Attach safety eyes between rounds 2 and 3
Create the Turtle Head - Round 4: 6 decreases - close with slip stitch
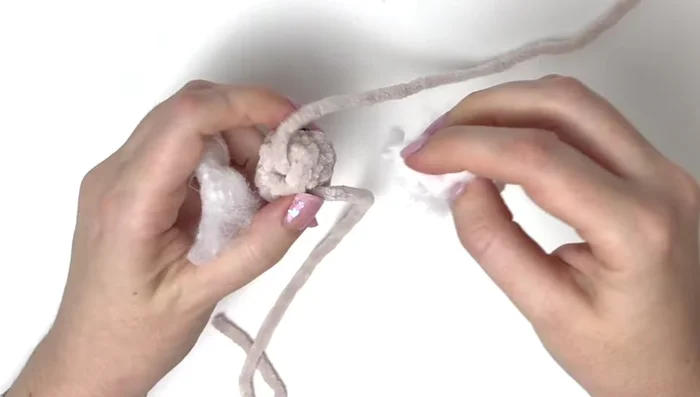
- Stuff the head
Create the Turtle Head Assemble the Turtle
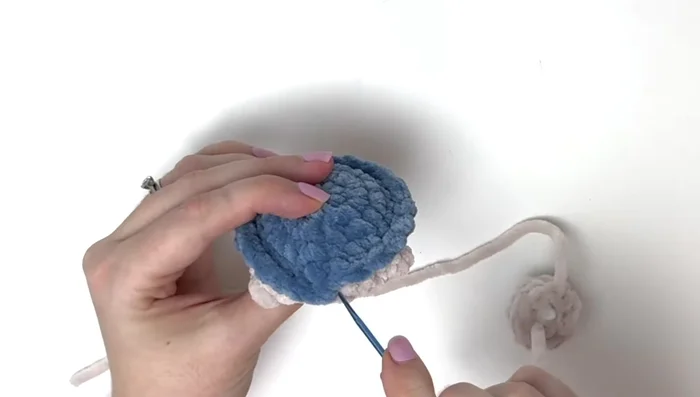
- Sew head to body using tails from magic rings
- chain 2, slip stitch into first chain, slip stitch into body, close and cut yarn
Assemble the Turtle


Read more: DIY Fluffy Duck Plushie Tutorial: A Step-by-Step Guide
Tips
- Use a stitch marker in the last stitch of each round.
- Twist the new yarn color over the old color before bringing it through for a neat color change.
- Work slowly and carefully when working over bubble stitches.
- Leave out the tail from the magic ring on the head to help with attaching it to the body.