Ever wanted a cuddly, miniature marsupial to brighten your day? Well, get ready to hop into a world of adorable crochet creations! This easy-to-follow pattern and tutorial will guide you through making your very own charming sitting kangaroo. Perfect for beginners and experienced crocheters alike, this project requires minimal supplies and offers maximum cuteness. Imagine the satisfaction of crafting this unique little friend, a perfect addition to your home décor, a delightful gift for a loved one, or even a cherished toy for a child.
This pattern utilizes simple stitches and techniques, making it accessible even if you're new to crochet. The clear instructions and accompanying photos will walk you through each step, ensuring a smooth and enjoyable crafting experience. Forget complicated patterns and frustrating instructions; let's create something truly special together! Ready to begin crafting your own adorable sitting kangaroo? Let's dive into the step-by-step process now!
Preparation and Safety Guidelines
- yarn
- crochet hook
- needle
- scissors
- pattern (PDF)
- Use age-appropriate yarn and hook sizes. Small parts pose a choking hazard for young children; ensure the finished kangaroo is made with securely fastened pieces and is only given to children under adult supervision.
- Always follow the yarn manufacturer's care instructions for washing and drying. Harsh treatments can damage your handmade kangaroo and potentially cause the yarn to shrink or fade.
- If you are using a crochet hook for the first time, practice basic stitches on scrap yarn before beginning the project to get comfortable with the technique. This will prevent frustration and wasted materials.
Step-by-Step Instructions
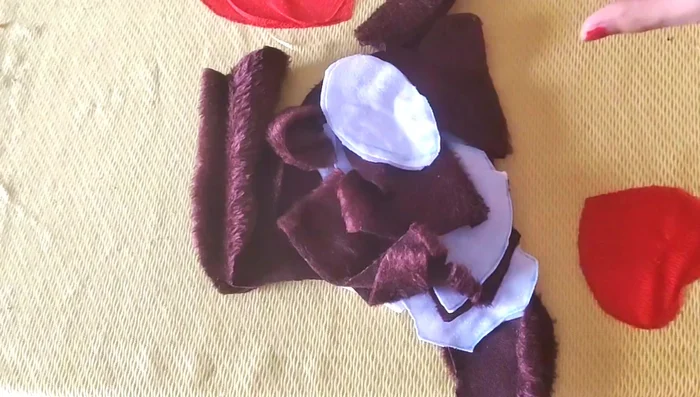
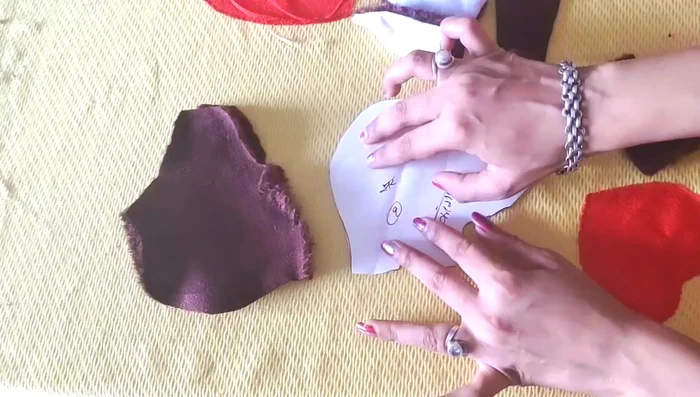
Prepare Pattern Pieces
- Cut out all the pattern pieces.

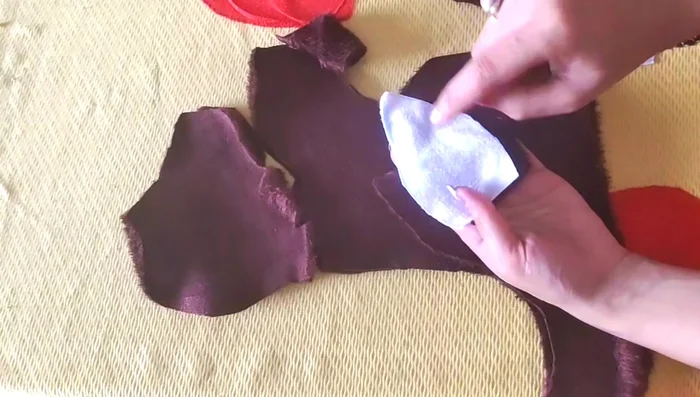
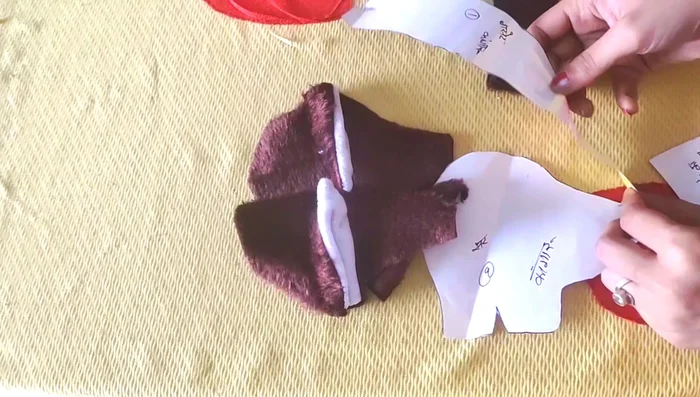
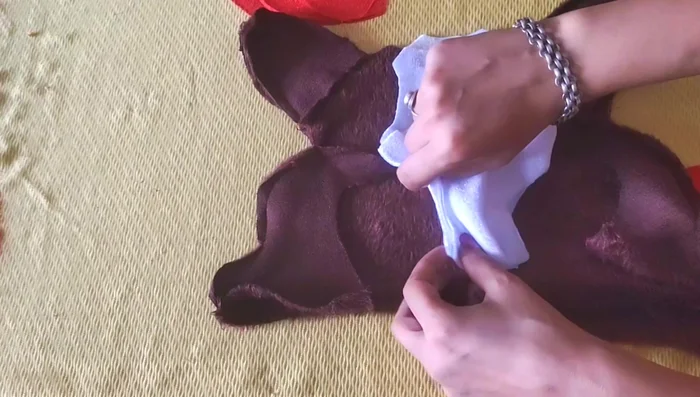
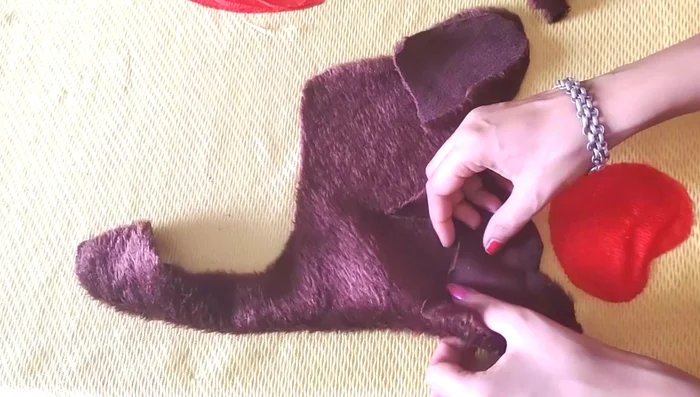
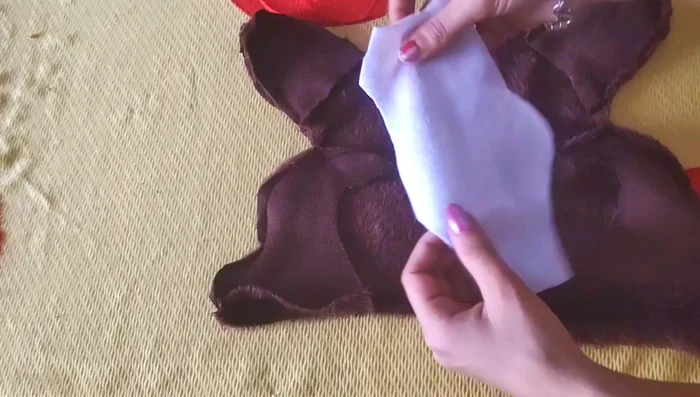
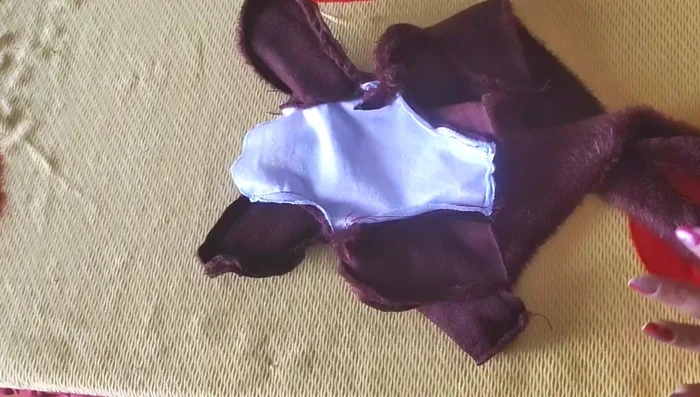
Prepare Pattern Pieces Create the Kangaroo's Head
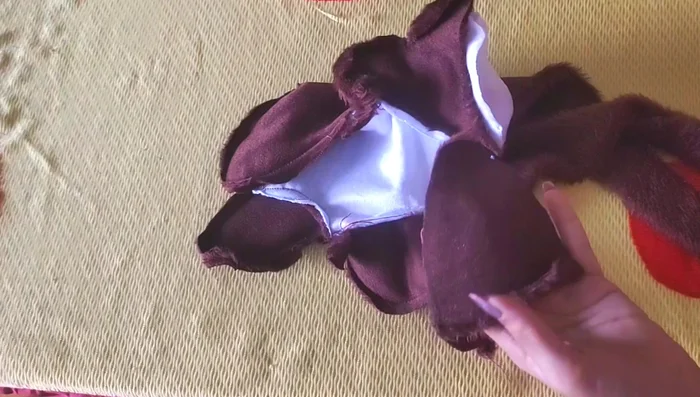
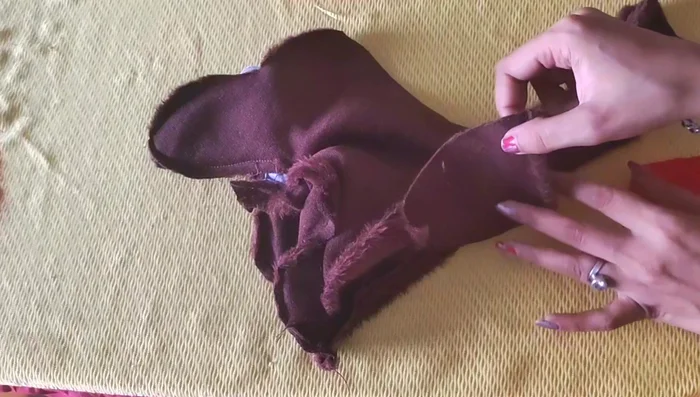
- Stitch the white and brown ear pieces together, leaving the bottom open.
- Stitch the face pieces together, following the pattern instructions. Remember to leave openings for stuffing.
- Attach the ears to the face.
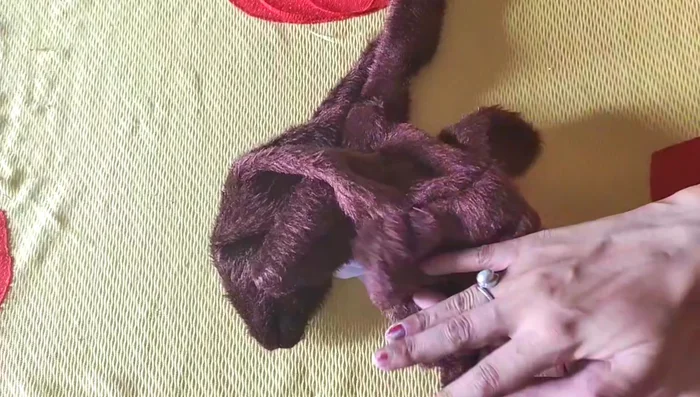
Create the Kangaroo's Head Create the Kangaroo's Body
- Stitch the body pieces together, leaving openings for stuffing and attaching the legs and arms.
- Stitch the front and back body pieces together, leaving an opening for stuffing.
Create the Kangaroo's Body Assemble the Kangaroo
- Attach the legs and arms to the body.
- Attach the head to the body.
- Stuff the body, head, and legs.
- Attach the tail.
Assemble the Kangaroo - Close the openings on the body, head, and legs with a hidden stitch.
Assemble the Kangaroo Create the Baby Kangaroo
- Make the baby kangaroo (repeat steps 2-11 on a smaller scale).
Create the Baby Kangaroo Finishing Touches
- Place the baby kangaroo in the mother kangaroo's pouch.
Finishing Touches

Read more: DIY Fluffy Duck Plushie Tutorial: A Step-by-Step Guide
Tips
- Use a free PDF pattern for easy following.
- This pattern creates a sitting kangaroo that requires no additional support.
- Take your time and follow the instructions carefully for a neat finish.