Granny squares: those charming, versatile motifs that have graced countless projects for generations. Today, we're transforming their timeless appeal into a stylish and practical accessory: a crochet granny square bag! This delightful project is perfect for crafters of all levels, from beginners eager to tackle their first bag to experienced crocheters seeking a fun, customizable project. The satisfying click of the hook as you create each square, the vibrant colors you can choose, and the ultimate reward of a handmade bag – it's a truly fulfilling experience.
Whether you're looking for a chic everyday tote, a playful market bag, or a unique gift for a loved one, this guide will walk you through every step of the process. From creating the individual granny squares to assembling them into a sturdy and beautiful bag, let's dive into our step-by-step instructions and begin crafting your own personalized crochet granny square bag.
Preparation and Safety Guidelines
- Yarn (neutral color, e.g., white)
- Crochet hook
- Use sharp scissors to cut yarn; blunt scissors can cause fraying and make it harder to work with.
- Always check your tension throughout the project to ensure even squares and a well-proportioned bag. Inconsistent tension can lead to misshapen squares.
- When joining squares, ensure the connecting stitches are secure to prevent the bag from falling apart. Use a secure joining method appropriate for your chosen yarn weight.
Step-by-Step Instructions
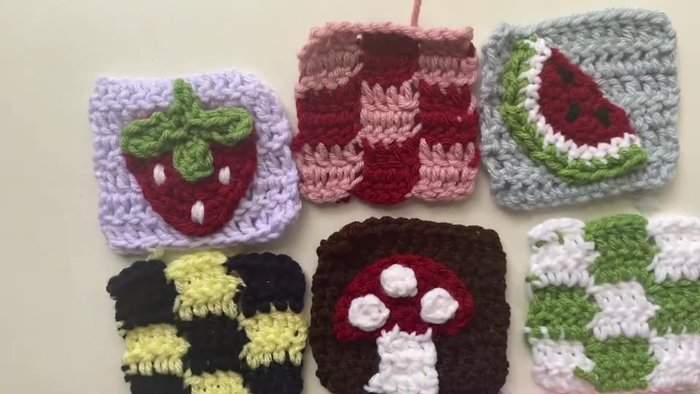
Prepare Granny Squares
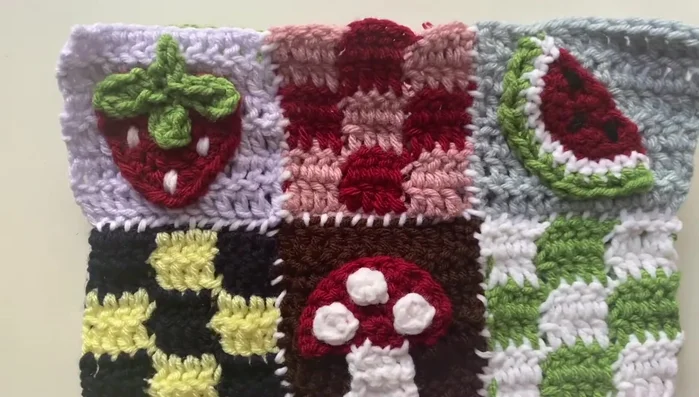
- Organize your granny square panels for sewing. Avoid placing similar colors adjacent to each other.

Prepare Granny Squares Sewing the Panels Together
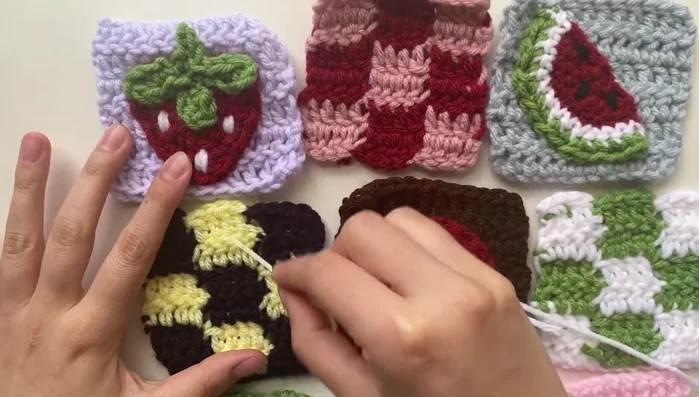
- Sew the panels together using a technique of sewing three squares at a time (one central square and the two adjacent ones).
- When sewing, aim for two stitches per double crochet to ensure sturdiness.
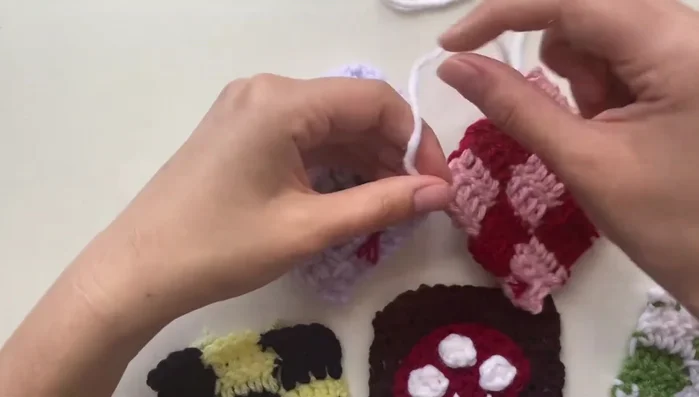
- Begin sewing by securing the yarn through the last stitch of the last row of the first panel. Sew by going up into one panel and down into the other, creating connecting stitches between panels.
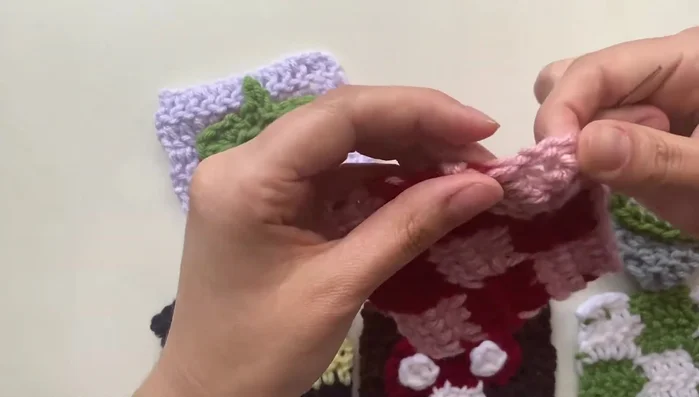
- Continue sewing the panels together by alternating between the panels, securing stitches between them and tying off at the end. It's okay to adjust the stitches if they are uneven or spaced strangely.
Sewing the Panels Together - Sew the top and bottom panels together. Match corresponding stitches for an even seam.
Sewing the Panels Together Create Bag Handles
- Create two handles by crocheting chains of five, then working single crochets along them to the desired length. Make sure to create straps slightly longer than needed to ensure secure fastening.
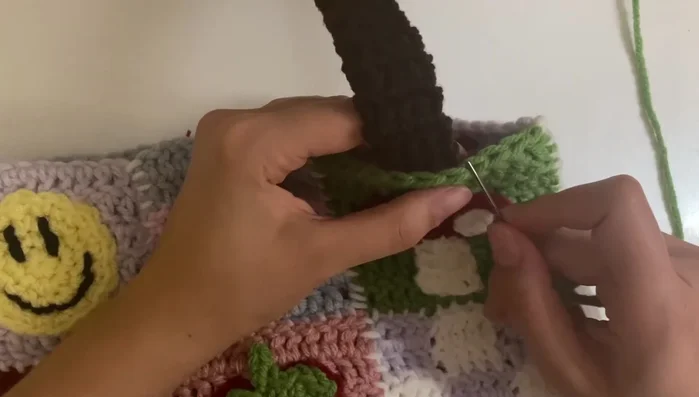
Create Bag Handles Attach Handles to Bag
- Attach handles by securing them to the bag with yarn matching the bag's background. Ensure even spacing and sturdiness.
Attach Handles to Bag
Read more: DIY Quilted Makeup Pouch Tutorial: The Easiest and Fastest Method
Tips
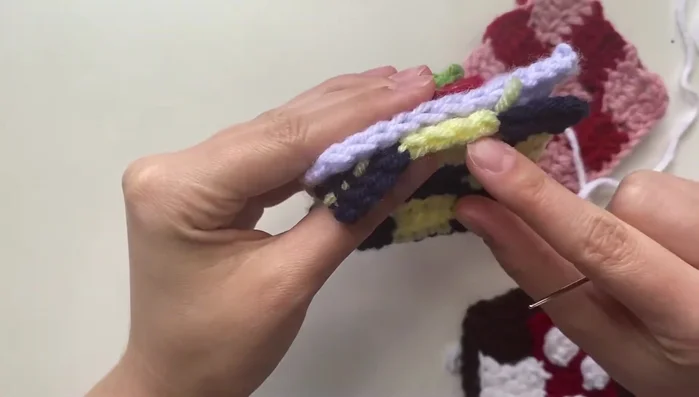
- When sewing panels, keep them facing downwards for better control.
- Adjust stitches as needed for a neat finish. It’s easy to undo and redo stitches if you are unsatisfied.
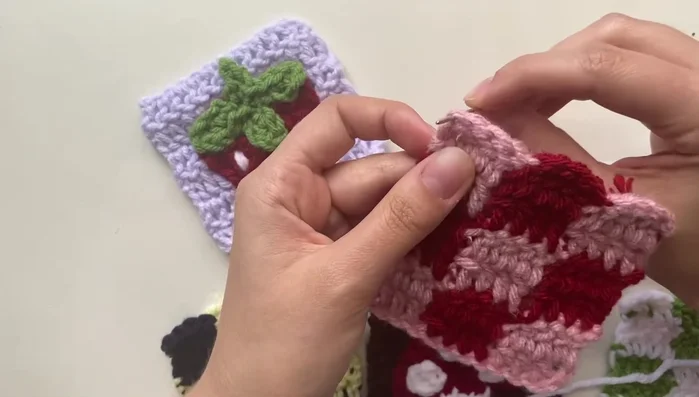
- Align the rows of double crochets for even sewing.
- When sewing the edges, ensure both large and small loops are included in each stitch for a secure seam.
- Use a color matching the bag's background to sew on the straps for a seamless look.