Creating adorable handmade gifts for little ones is a rewarding experience, and what's cuter than a charming crocheted giraffe rattle? This delightful project is perfect for both beginner and experienced crocheters, offering a satisfying blend of simple techniques and endearing results. Imagine the joy on a baby's face as they grasp this soft, textured friend, their tiny hands exploring the friendly giraffe's patterned body and the gentle clinking of the interior rattle. This isn't just a toy; it's a piece of handmade love, carefully crafted with your own two hands.
This comprehensive tutorial will guide you through each step of creating your own crochet giraffe rattle, from gathering materials to securing the finishing touches. We'll provide clear instructions and helpful images to ensure a smooth and enjoyable crafting process, regardless of your skill level. Ready to begin creating this endearing keepsake? Let's dive into the easy step-by-step guide!
Preparation and Safety Guidelines
- 4 millimeter crochet hook
- Wooden ring (approx. 5-6 dollars for a pack of 10)
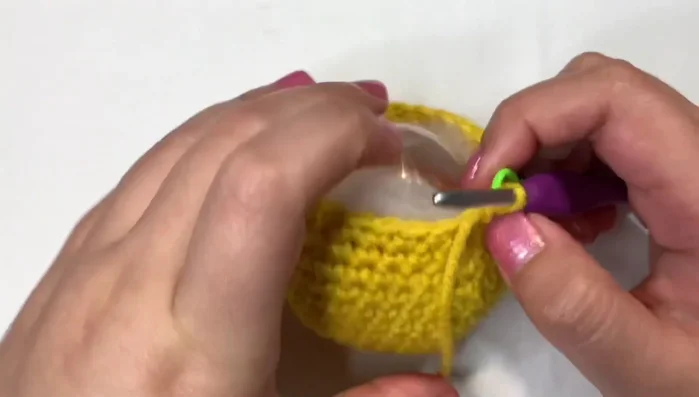
- Small container (e.g., from a toy machine)
- Rice or beans (for rattle)
- Scissors
- Stitch marker
- Stuffing/fiberfill
- Embroidery needle
- Embroidery thread (black, optional pink)
- Black felt (for eyes)
- Hot glue gun
- Yellow yarn (Karen's One Pound, Sunflower color, weight 4)
- Dark brown yarn
- Off-white yarn
- Adult supervision is required at all times when making and using this rattle, especially around young children. Small parts pose a choking hazard.
- Use only high-quality, baby-safe yarn and stuffing materials. Avoid using anything that could unravel or release harmful fibers.
- Ensure all seams are securely fastened to prevent unraveling and potential ingestion of small parts.
Step-by-Step Instructions
Create Giraffe Head Base
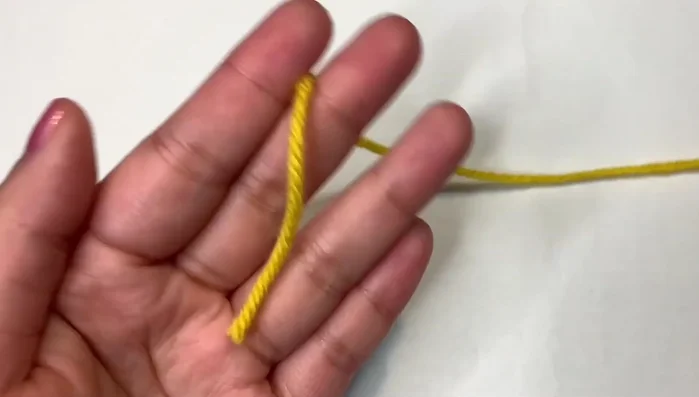
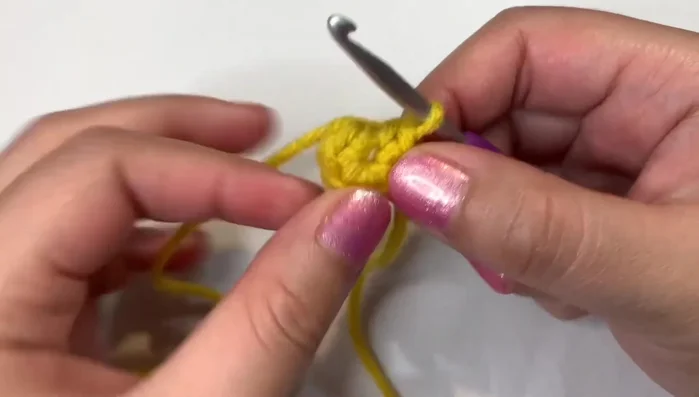
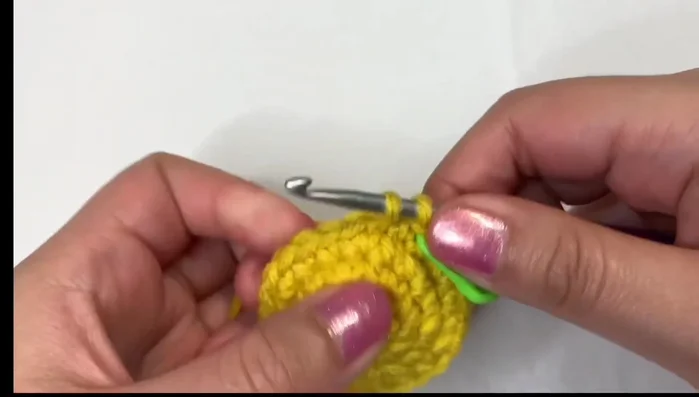
- Create the top of the giraffe's head using the magic circle method with yellow yarn. Crochet six single crochets into the circle.
- Increase in each stitch (12 stitches total).
- Increase in the first stitch, single crochet in the next stitch, repeat (18 stitches total).
- Increase in the first stitch, single crochet in the next two stitches, repeat (24 stitches total).

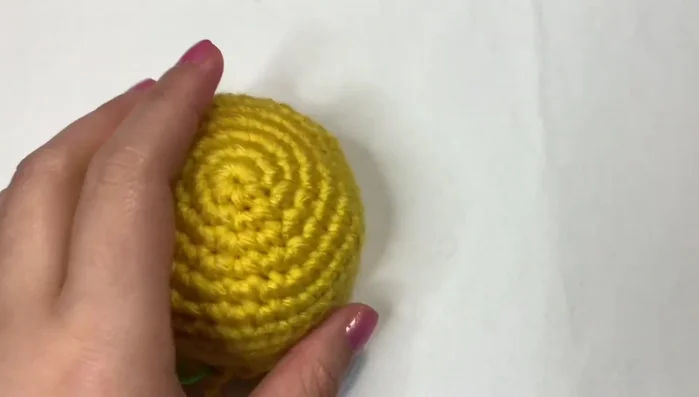
Create Giraffe Head Base - Increase in the first stitch, single crochet in the next three stitches, repeat (30 stitches total).
- Increase in the first stitch, single crochet in the next four stitches, repeat (36 stitches total).
Create Giraffe Head Base Create Giraffe Head Length
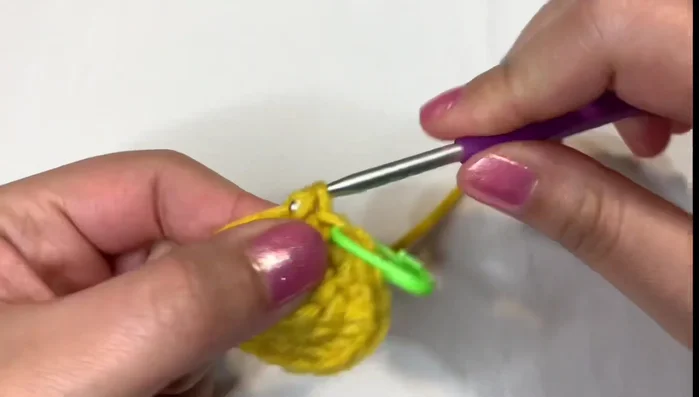
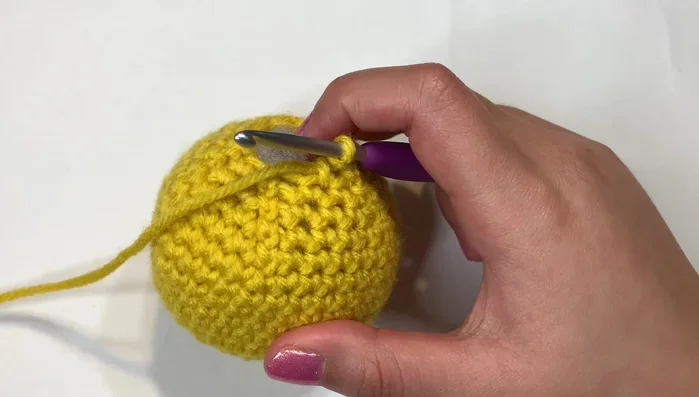
- Single crochet around (36 stitches).
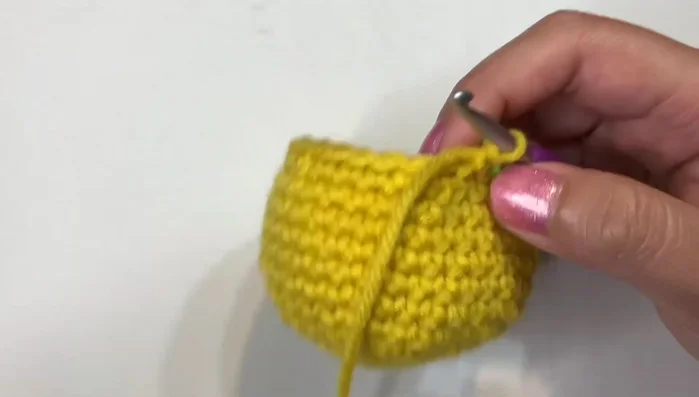
Create Giraffe Head Length Decrease and Shape Head
- Invisible decrease, single crochet in the next four stitches, repeat (30 stitches total).
- Invisible decrease, single crochet in the next three stitches, repeat (24 stitches total). Add stuffing.
- Invisible decrease, single crochet in the next two stitches, repeat (18 stitches total).
- Invisible decrease, single crochet in the next stitch, repeat (12 stitches total).
Decrease and Shape Head Finishing Touches
- Continue invisible decreases until desired tightness. Secure yarn and weave in ends. Attach to wooden ring.
Finishing Touches


Read more: DIY Fluffy Duck Plushie Tutorial: A Step-by-Step Guide
Tips
- Use a smaller container for the rattle to avoid over-stuffing.
- Don't pull too tightly when creating the magic circle; you need the yarn to move.
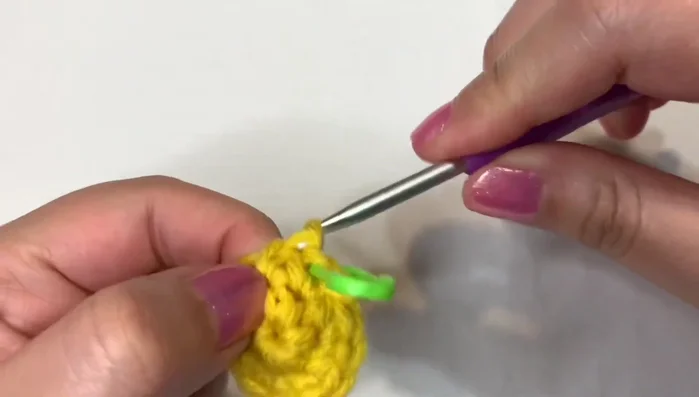
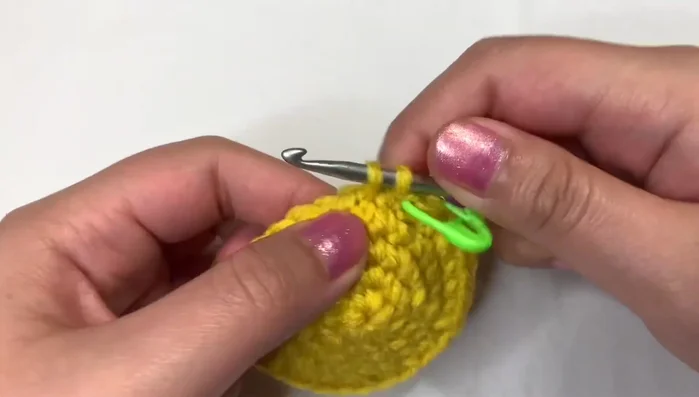
- You can add a stitch marker after round 1, but it's not strictly necessary.
- For invisible decreases, only work into the front loops of the stitches.
- Add stuffing gradually throughout the process, especially if using a larger container.