Buzz, buzz! Get ready to add a touch of adorable whimsy to your home or create a delightful gift with this easy-to-follow crochet bee tutorial. Whether you're a seasoned crocheter looking for a quick and charming project or a beginner eager to tackle something sweet and satisfying, this pattern is perfect for you. This little bee is surprisingly simple to make, requiring only basic crochet stitches and a small amount of time. Its charming design, complete with fuzzy body and delicate wings, is guaranteed to bring a smile to anyone's face.
Forget those complicated amigurumi patterns! This guide provides clear instructions and helpful images to guide you through each step. From creating the body and head to adding the intricate wings and antenna, we'll walk you through the entire process, ensuring you create a perfectly cute crocheted bee. Let's get started with the step-by-step instructions below!
Preparation and Safety Guidelines
- Parfait chunky yarn (yellow, black, white)
- 4.5 millimeter crochet hook
- Scissors
- Starting needle
- Stitch marker
- Plastic safety eyes
- Stuffing
- Always use sharp scissors to cut yarn; avoid using your teeth or other unsafe methods.
- Keep small crochet hooks and finished bee away from young children to prevent choking hazards.
- If you experience any hand or wrist pain during crocheting, stop and rest. Take breaks to avoid repetitive strain injuries.
Step-by-Step Instructions
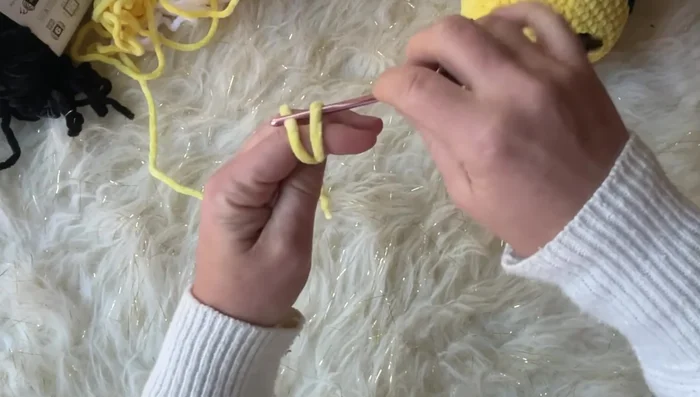
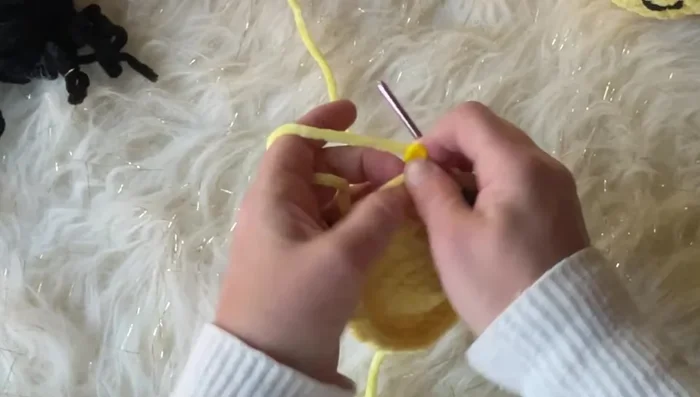
Create the Bee's Body
- Create a magic circle and work 6 single crochets.
- Single crochet 2 into each stitch (12 stitches total).
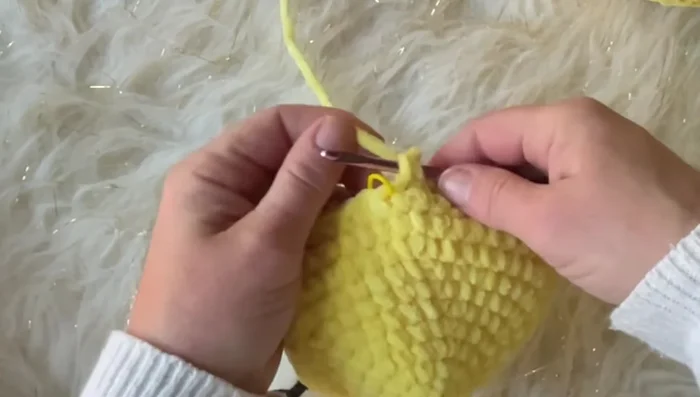
- Continue increasing each round by single crocheting in the next (n) stitches and then doing a single crochet increase in the next stitch, where n increases by 1 each round (18, 24, 30, 36, 42, 48 stitches).
- Single crochet in each stitch (48 stitches).

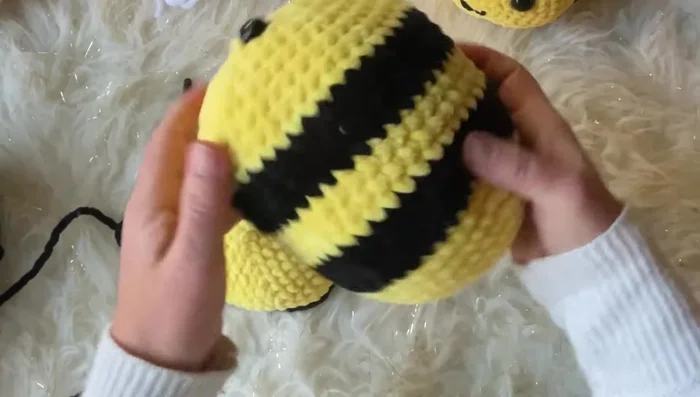
Create the Bee's Body Add Stripes
- Change to black yarn and work single crochet in each stitch for three rounds.
- Repeat color changes (yellow, black, yellow) for three rounds each.
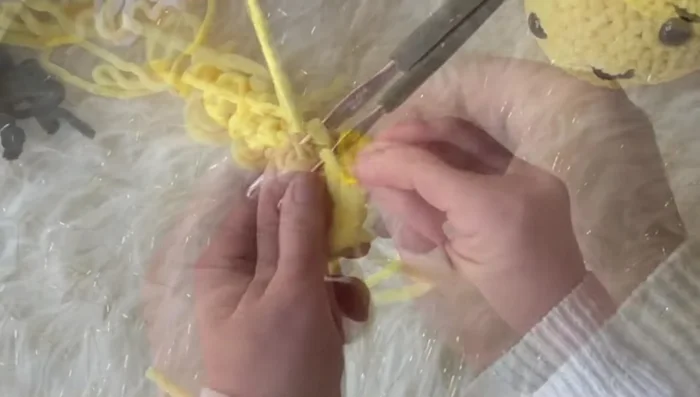
Add Stripes Decrease and Shape
- Begin decreasing. The pattern is to single crochet in (n) stitches then decrease, where n decreases by 1 each round .
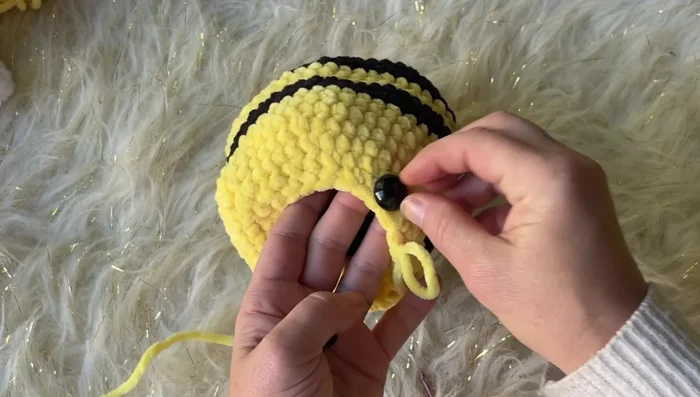
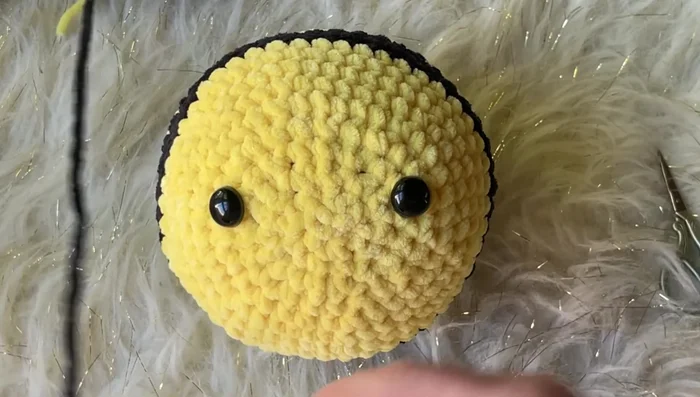
- Add safety eyes between rounds 28 and 29, spaced about 7 stitches apart. Stuff the bee firmly.
- Continue decreasing until the hole is small enough to close. Close the hole with a darning needle.
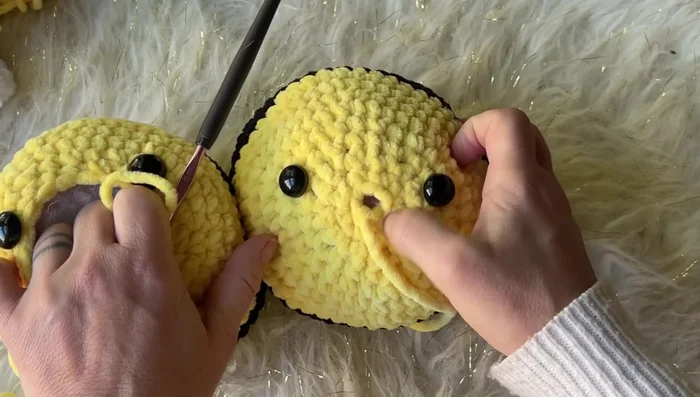
Decrease and Shape Add Facial Features
- Use yarn to embroider a smile.
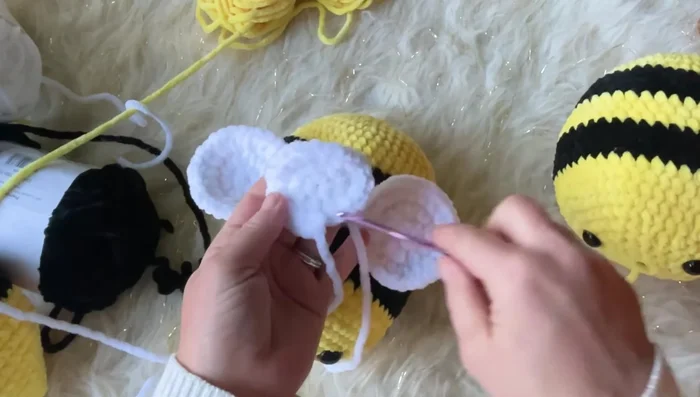
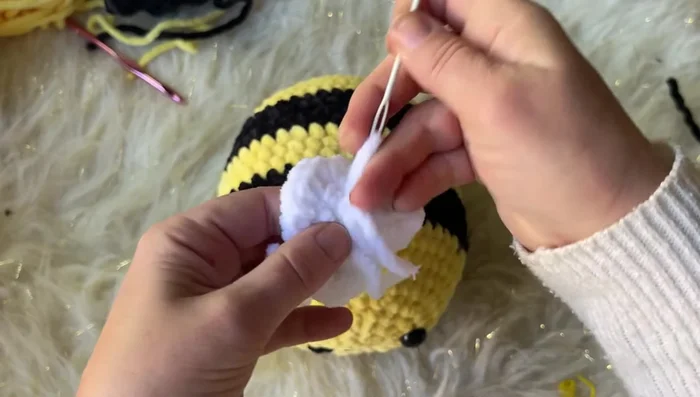
Add Facial Features Create and Attach Wings
- Create two wings using single crochet or half double crochet in a magic circle, increasing until desired size is reached. Attach to the body using a whip stitch.
Create and Attach Wings Finishing Touches
- Weave in all ends.
Finishing Touches


Read more: DIY Fluffy Duck Plushie Tutorial: A Step-by-Step Guide
Tips
- Work stitches loosely, especially in early rounds.
- Use a stitch marker to keep track of the first stitch of each round.
- Count your stitches at the end of each round to ensure accuracy.
- Adjust the number of increase and decrease rounds to control the bee’s size.
- Change colors seamlessly by pulling the new color through before cutting the old color.