Dive into the delightful world of amigurumi with this adorable crochet duck tutorial! Learn to craft a charming, cheerful duck plus a unique eggshell-designed base – perfect for adding a touch of springtime cuteness to your home or as a delightful handmade gift. This charming little fellow is surprisingly simple to make, even for beginner crocheters, requiring only basic stitches and readily available materials. The result? A wonderfully satisfying and utterly endearing addition to your amigurumi collection, or a treasured present for someone special.
Prepare to be charmed as we guide you through each step of creating this delightful duck and its cleverly designed eggshell base. This comprehensive tutorial provides clear instructions and helpful images, ensuring a smooth and enjoyable crafting experience. Let's get started with the step-by-step process, and soon you’ll have your own adorable crocheted duck!
Preparation and Safety Guidelines
- Yellow yarn
- Orange yarn
- Crochet hook
- Stitch marker (bobby pin suggested)
- Polyfill stuffing
- Felt (for eyes)
- Embroidery thread or pins (for attaching eyes)
- Eggshell (optional)
- Always supervise young children when they are near crafting materials, especially small parts like safety eyes which pose a choking hazard.
- Use only high-quality, safe yarn intended for amigurumi projects. Avoid using yarns with loose fibers or those that might shed excessively.
- Securely fasten all components, such as eyes and beaks, to prevent them from detaching and becoming a choking hazard.
Step-by-Step Instructions
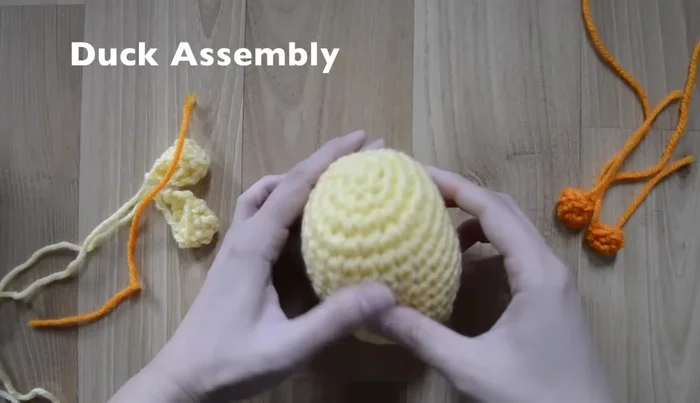
Create the Duck Body
- Begin with a magic ring (not explicitly shown, but implied) and follow the increasing/decreasing rounds as described.
- Follow the specified increase patterns to shape the body.
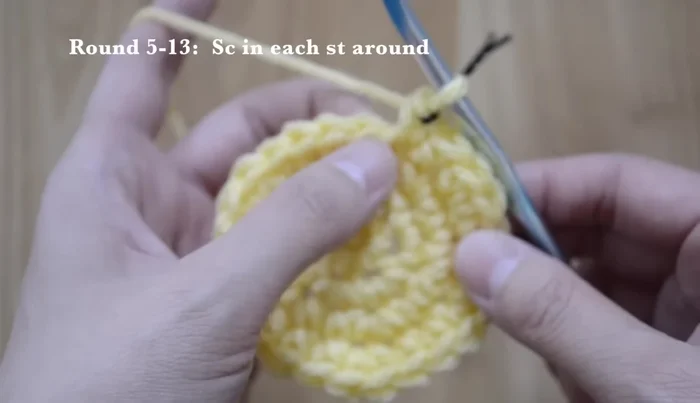
- Single crochet stitches in each stitch without increasing.
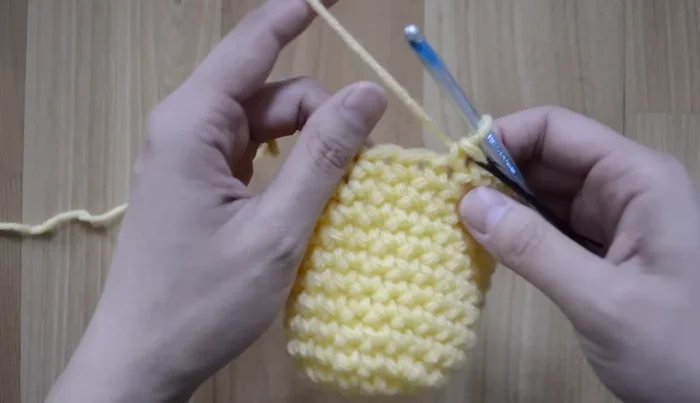
- Decrease stitches to close the body, working into the back loop only for round 15.

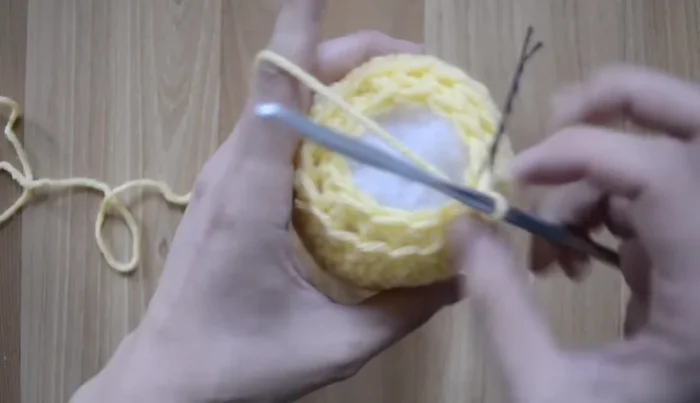
Create the Duck Body - Stuff the duck body firmly with polyfill.
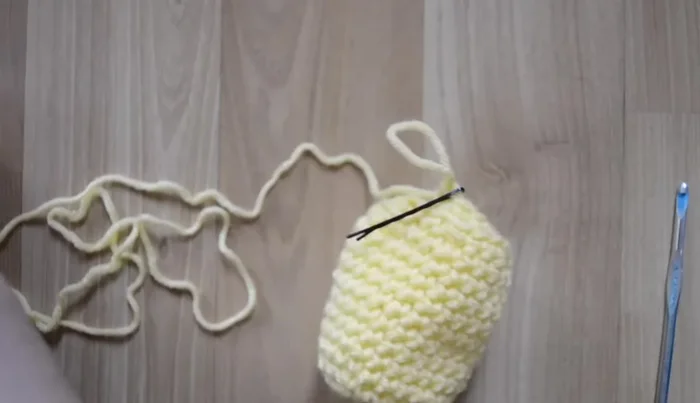
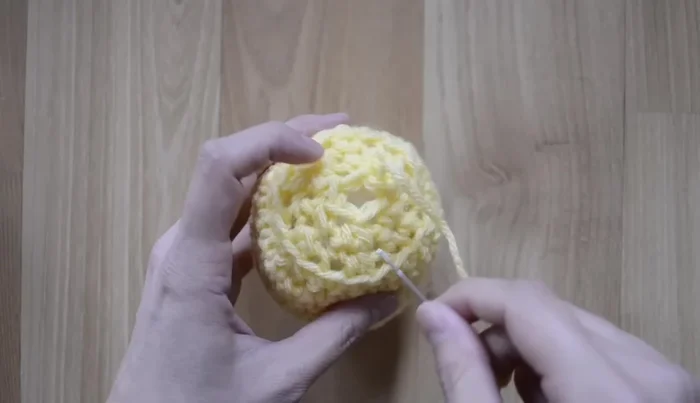
- Decrease stitches all the way around to close the opening.
- Sew the opening closed.
Create the Duck Body Create the Wings
- Chain 2, single crochet 4 stitches in the first chain. Increase to 8 stitches in the second round. Third round: single crochet in each stitch.
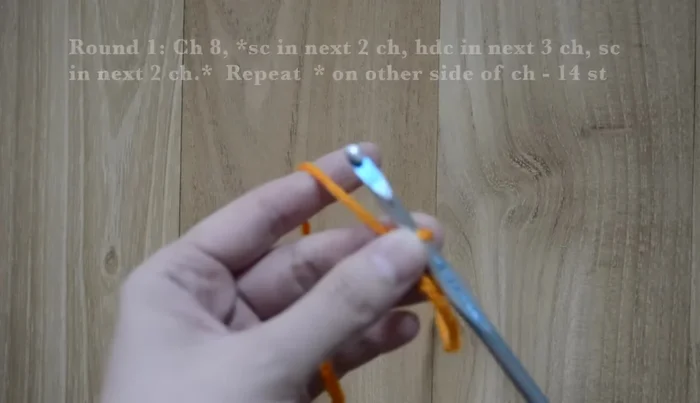
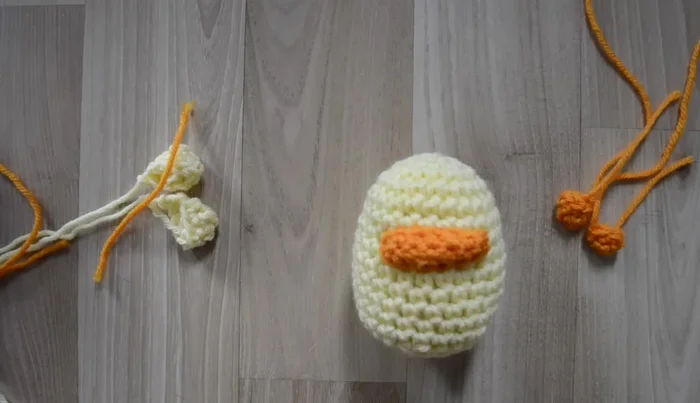
Create the Wings Create the Bill
- Chain 8. Single crochet in 2 chains, half double crochet in 3 chains, single crochet in 2 chains.
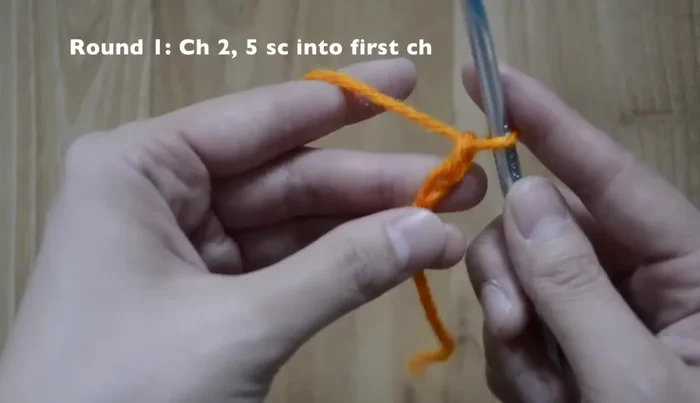
Create the Bill Create the Feet
- Chain 2, single crochet 5 stitches in the first round. Single crochet in each stitch for subsequent rounds.
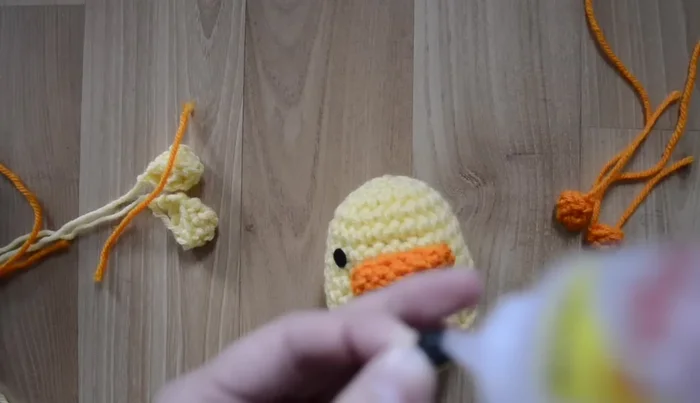
Create the Feet Assemble the Duck
- Sew on the bill and feet.
- Attach the wings.
- Attach eyes (felt circles suggested).
Assemble the Duck


Read more: DIY Fluffy Duck Plushie Tutorial: A Step-by-Step Guide
Tips
- Use a bobby pin as a stitch marker for easy removal.
- Don't overstuff the duck to avoid stretching the yarn.
- Working into the back loop on round 15 of the body provides better stability.