The Christmas season is brimming with festive traditions, and crafting beautiful, handmade gifts is a cherished one for many. This year, why not create a stunning Christmas Star Pillow Block quilt? This charming quilt design is surprisingly easy to construct, even for beginner quilters, making it a perfect project for busy holiday schedules. Its classic star motif, reminiscent of the star of Bethlehem, lends a touch of elegant simplicity, ensuring it will become a treasured heirloom for years to come. The joyful colours and cozy texture are perfect for snuggling up on cold winter nights.
This tutorial provides a clear, step-by-step guide to creating your very own Christmas Star Pillow Block quilt, complete with helpful tips and tricks to ensure a flawless finish. We'll also showcase a delightful variation inspired by my mother’s unique quilting style, offering an opportunity to personalize your project and add a special, sentimental touch. Let's dive into the process and begin creating this festive masterpiece!
Safety Guidelines
- Always use a sharp rotary cutter and cutting mat to prevent injury. Improper cutting tools can lead to slips and cuts.
- When using an iron, ensure the surface is heat-resistant and the iron is set to an appropriate temperature for your fabric to avoid scorching or burning.
- Supervise young children around sewing machines, sharp objects, and hot irons at all times.
Methods: Creating the Christmas Star Pillow Block
Tools Needed
- fabric
- sewing machine
- ironing board
- iron
Step-by-Step Instructions
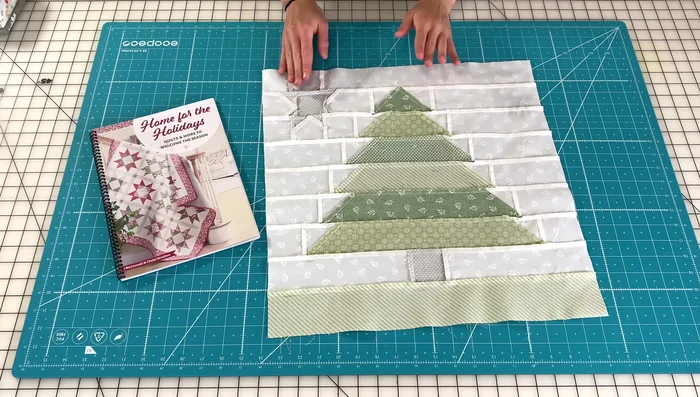
Prepare Fabric Pieces
- Cut and press all fabric pieces according to the pattern in the book.

Prepare Fabric Pieces Sew Rows
- Sew all pieces in rows.
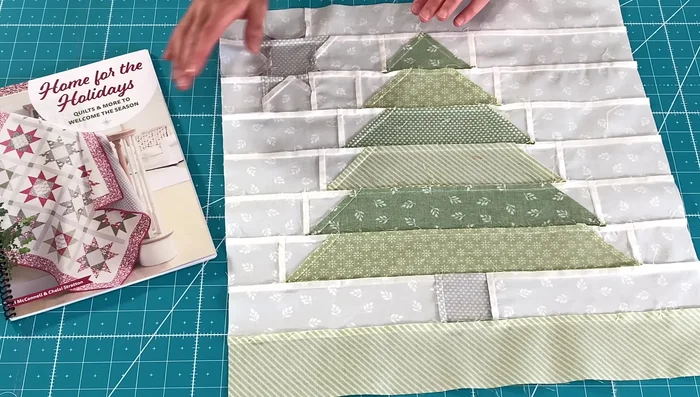
Sew Rows Press Rows
- Press all rows towards the top of the block.
Press Rows Assemble Block
- Assemble the rows to create the finished block.
Assemble Block

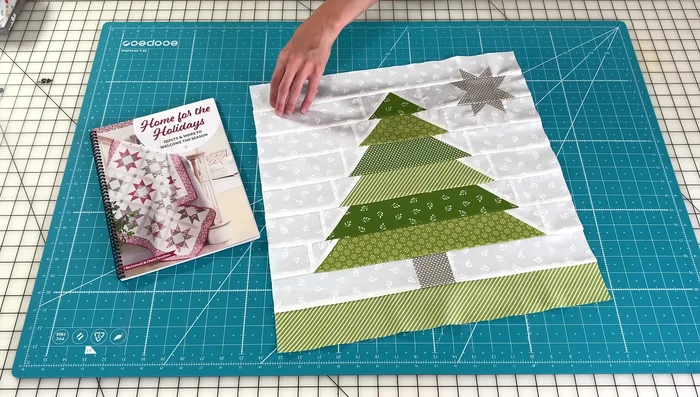
Tips
- Don't be intimidated by the number of pieces; it's an easy process.
- Use directional pressing to make assembly easier.
- The book provides arrows to guide pressing.
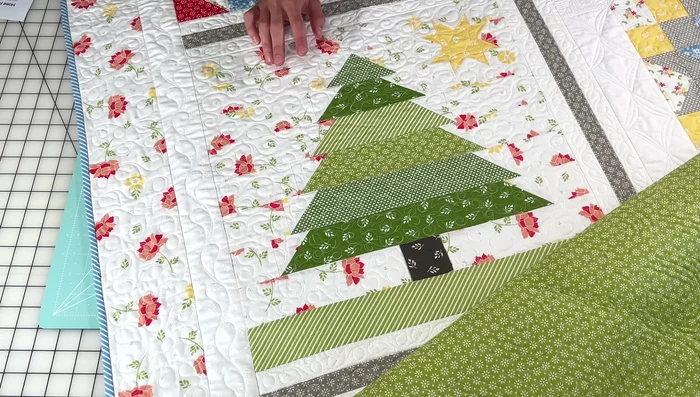
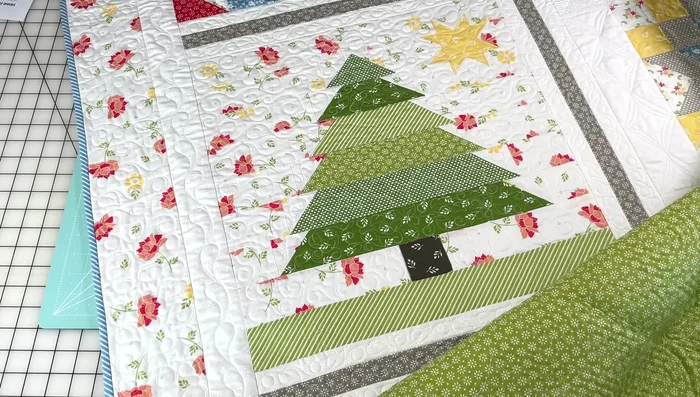
Methods: Mom's Variation: Using All Emma Fabrics
Tools Needed
- fabric
- sewing machine
- ironing board
- iron
Step-by-Step Instructions
Background Selection
- Use a print low volume for the background.
Background Selection Trunk Fabric Selection
- Choose a different print for the trunk than the star.
Trunk Fabric Selection Main Fabric Selection
- Use various fabrics from the Emma collection.
Main Fabric Selection
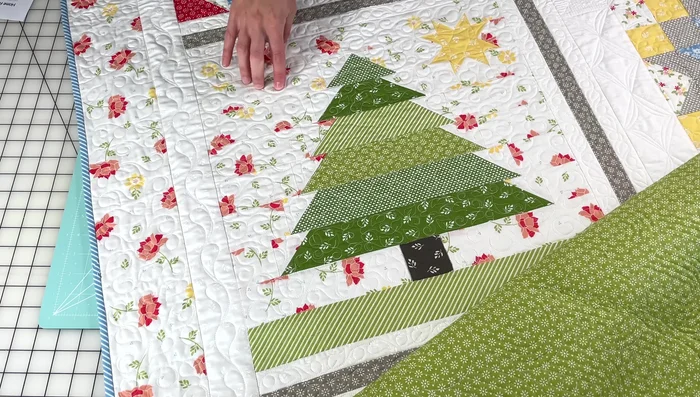
Tips
- This variation offers a fun alternative using all Emma Fabrics.
- Consider using a charcoal dark gray for the trunk.
- Experiment with different colors for the star.
Read more: 3 Easy Pieced Heart Tutorials for Quilting Projects