Chevron quilts, with their striking V-shaped patterns, often appear intimidating to beginner quilters. However, the beauty of this design belies a surprisingly simple construction, making it the perfect project for those looking to expand their quilting skills beyond basic squares. This easy chevron quilt top tutorial is designed to guide you through the process, step-by-step, regardless of your experience level. We'll demystify the seemingly complex angles and show you how to achieve a professional-looking chevron pattern with minimal effort and frustration.
Forget complicated templates and intricate piecing techniques! This tutorial utilizes a straightforward method, focusing on accurate cutting and simple sewing to create a stunning chevron effect. You'll learn how to efficiently plan your fabric layout, ensuring a balanced and visually appealing quilt. Ready to create your own vibrant chevron masterpiece? Let's dive into the detailed instructions and begin crafting your quilt top!
Preparation and Safety Guidelines
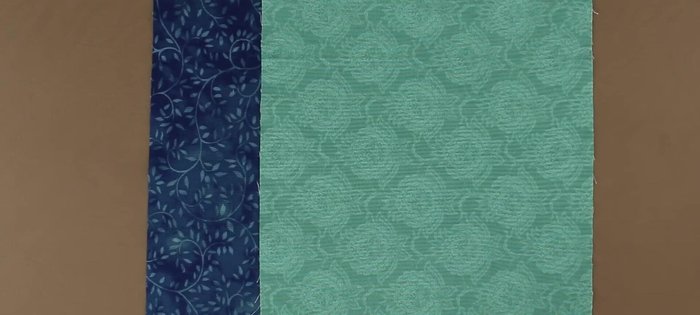
- Cotton fabrics (4 different colors)
- Quilter's cotton (100%, 44/45 inches wide)
- Pattern (downloadable)
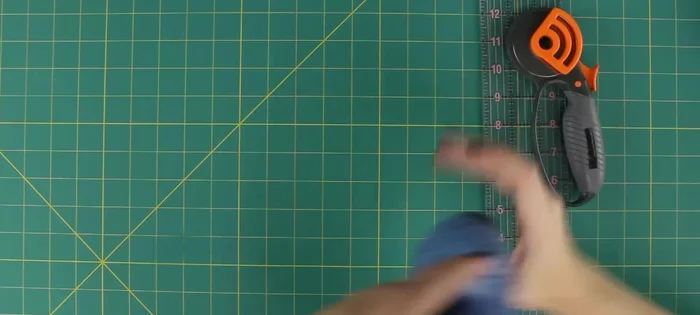
- Rotary cutter
- Cutting mat
- Ruler
- Cotton thread
- Fabric marker
- Pins
- Iron
- Ironing board
- Sewing machine
- Use sharp fabric scissors to ensure clean cuts and prevent fraying. Dull scissors can lead to inaccurate cuts and make piecing more difficult.
- Press your seams carefully after each step. Accurate pressing is crucial for achieving straight lines and a neat finished quilt top.
- Pay close attention to matching points and seams, especially when working with the angled chevron pattern. Accurate matching will result in a more professional-looking quilt.
Step-by-Step Instructions
Prepare Fabrics
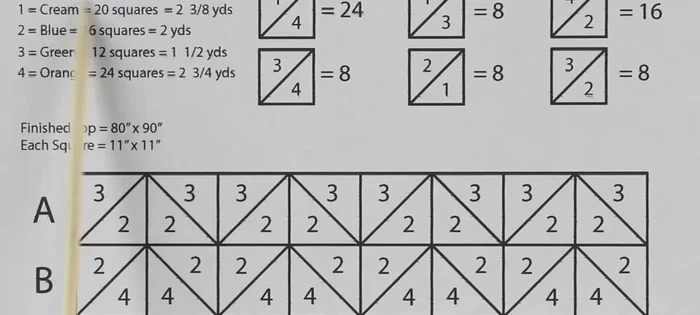
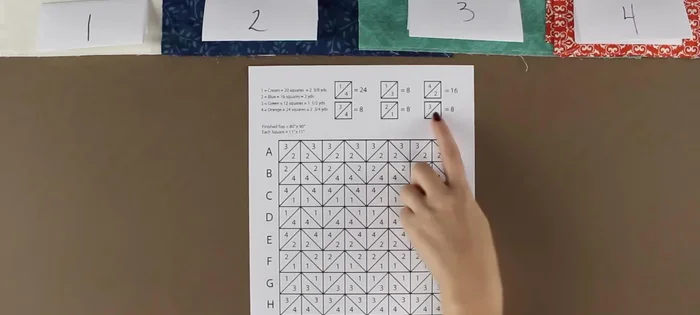
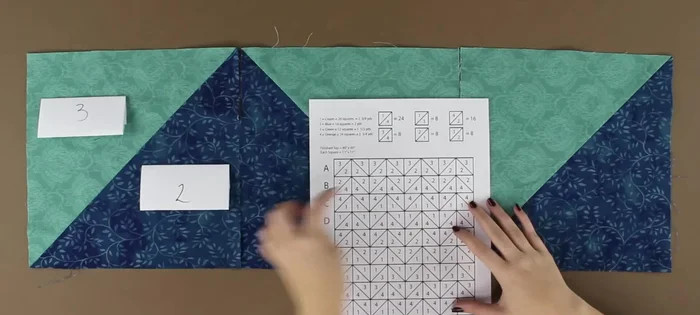
- Assign numbers to your fabrics for organization.
- Use non-directional fabrics for easier sewing.

Prepare Fabrics Cut Fabric Squares
- Cut strips of 11 inches and then cut those strips into 11-inch squares.
Cut Fabric Squares Create Chevron Blocks
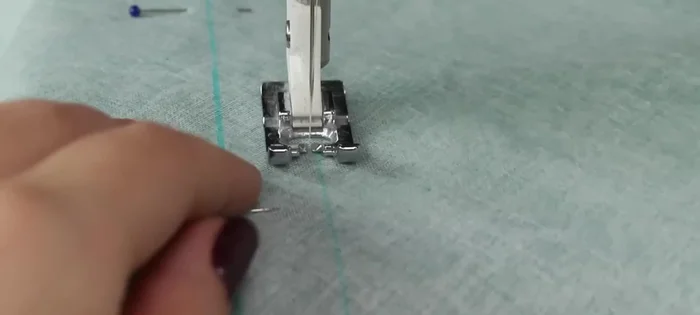
- Sew two squares together (right sides facing), then mark diagonal stitch lines 10.5 inches from each corner. Stitch along the marked lines and cut along the lines to create two squares from one.
- Sew together multiple squares in an assembly line for efficiency, back stitching at the ends of each seam.
- Press the seams open to create neat, flat squares.
Create Chevron Blocks Assemble Rows
- Arrange the squares according to the pattern, ensuring proper alignment. Pin and stitch the rows together, pressing seams open.
Assemble Rows Assemble Quilt Top
- Stitch the completed rows together, precisely aligning the seams and raw edges.
Assemble Quilt Top


Read more: King Size Quilt Tutorial: Efficient Chain Piecing Method
Tips
- Pre-wash and pre-treat your fabric before cutting.
- Use a rotary cutter for faster and more accurate cutting.
- Sew multiple squares together in an assembly line to save time.
- Precisely align seam allowances when stitching rows and blocks together for a clean, professional finish.