Get ready to dive into a world of sugary-sweet crafting! This tutorial will guide you through creating the most adorable plush toy imaginable: a candy cane shark! Combining the festive cheer of candy canes with the playful charm of a shark, this DIY project is perfect for holiday gifting or adding a unique touch to your own home décor. Forget store-bought plush toys; this unique design uses sublimation printing for vibrant, long-lasting colour on a custom-cut fabric, combined with easy-to-follow sewing techniques, resulting in a truly one-of-a-kind cuddly companion.
We'll be walking you through every step of the process, from preparing your sublimation design to the final stitch, ensuring even beginner sewers can achieve this charming creation. Prepare to be amazed by how easily you can transform a simple fabric pattern into this delightful candy cane shark plush. Let's get started on this fun and rewarding project!
Preparation and Safety Guidelines
- Canva
- Sublimation printer
- 8.5 x 14 inch sublimation paper
- HTV Rulon Auto Heat Press
- Copy paper or butcher paper
- Minky fabric (white and candy cane print)
- Teflon sheet
- Whale shark sewing pattern
- Sewing machine
- 15mm safety eyes
- Stuffing
- Always supervise children when using a heat press or iron for sublimation. High temperatures can cause burns.
- Handle sharp sewing needles and pins with extreme caution to avoid injury. Keep them away from children.
- Ensure your work area is well-ventilated when using sublimation inks to avoid inhaling fumes.
Step-by-Step Instructions
Design and Print
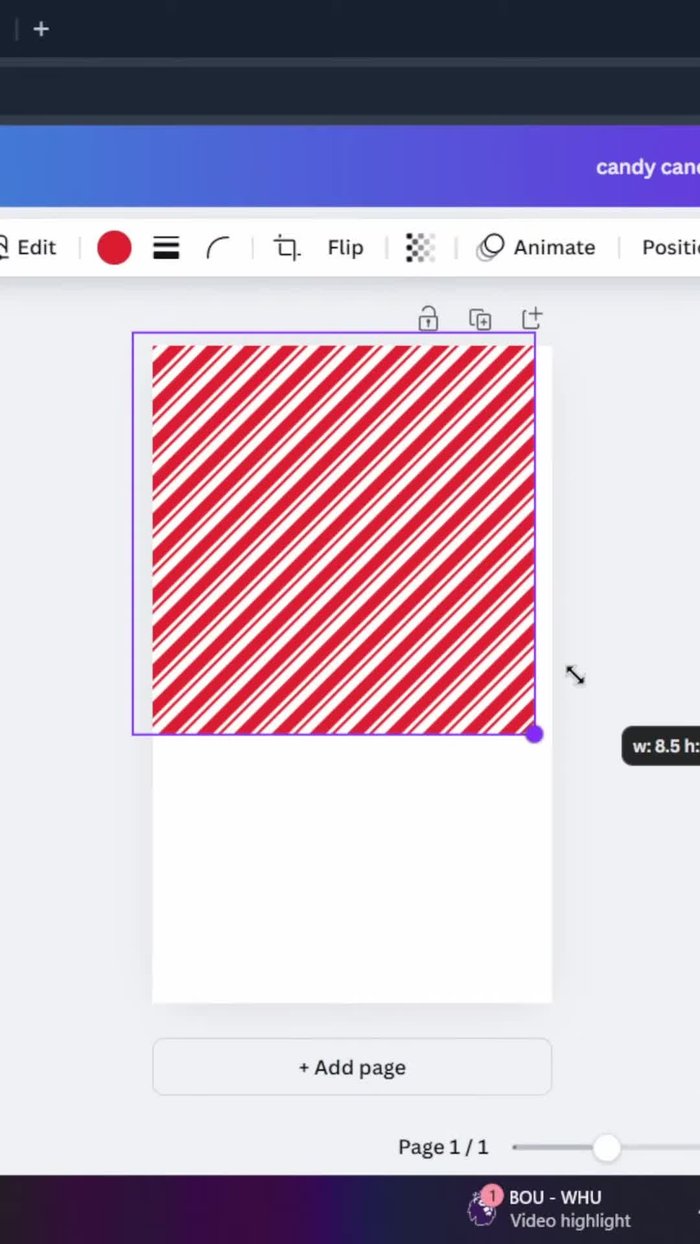
- Design the candy cane print in Canva.
- Print the design onto sublimation paper (8.5 x 14 inches).

Design and Print Sublimation
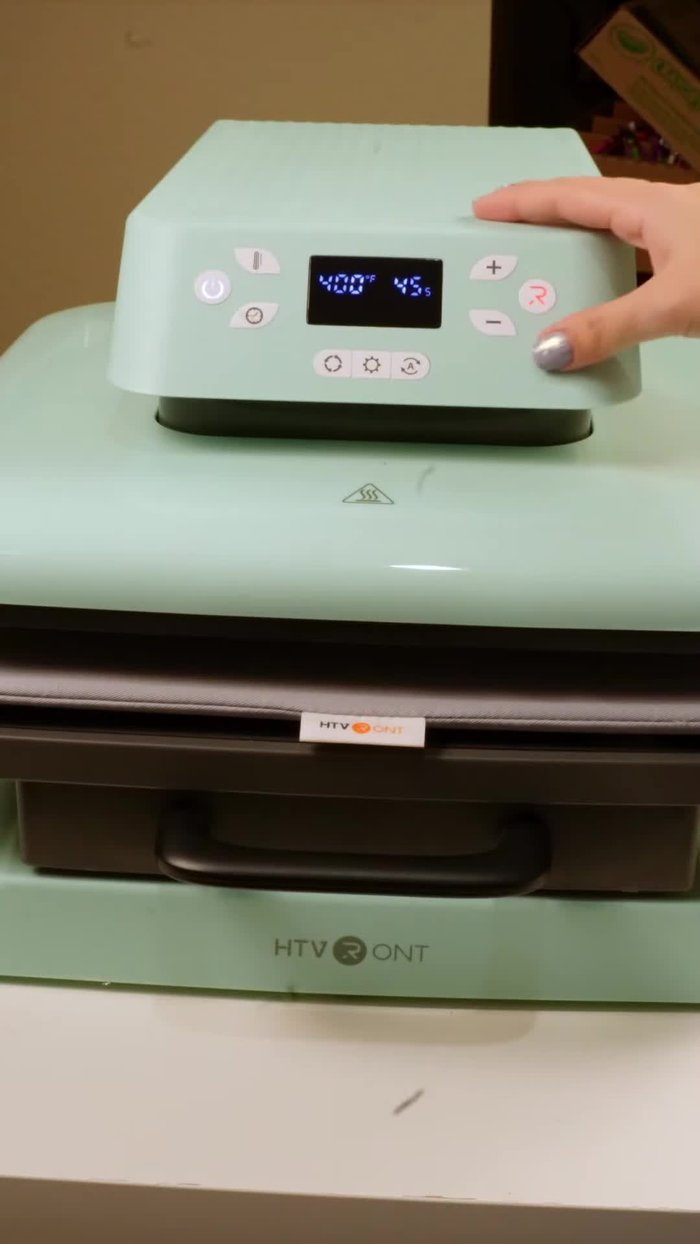
- Sublimate the design onto minky fabric using a heat press (400°F for 45 seconds). Repeat for two sheets.
Sublimation Cut Fabric
- two top pieces from the candy cane minky and one bottom piece from white minky.
Cut Fabric Sew Shark Body
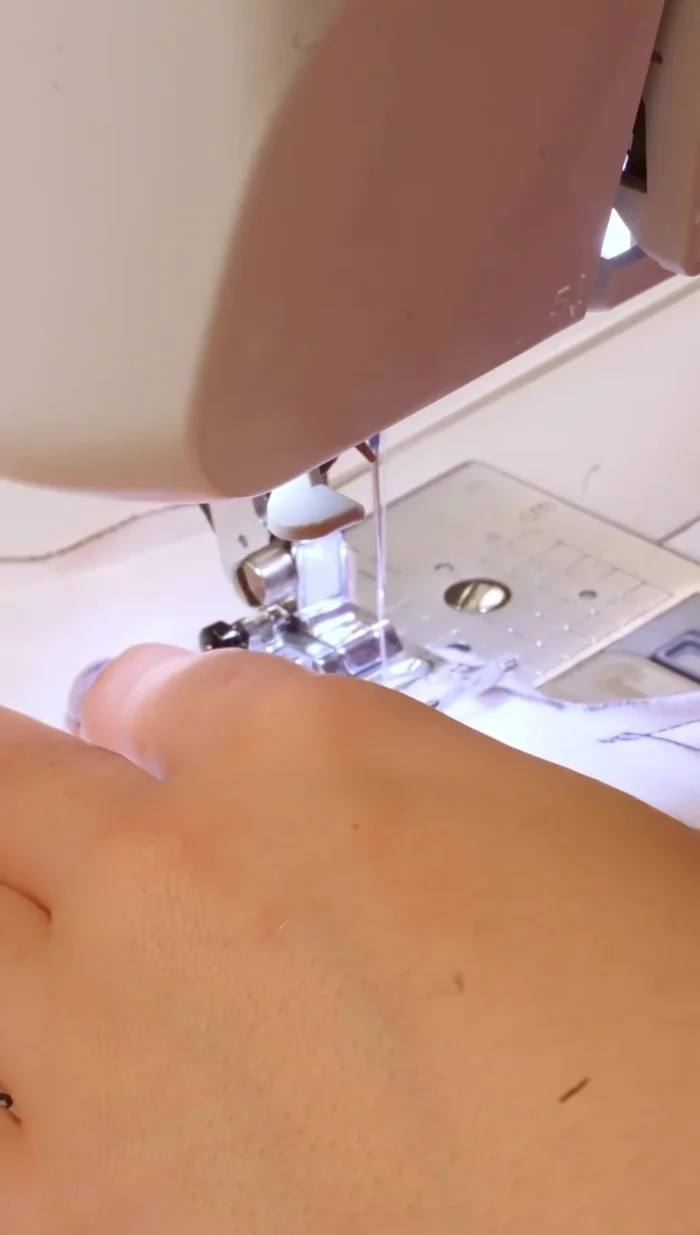
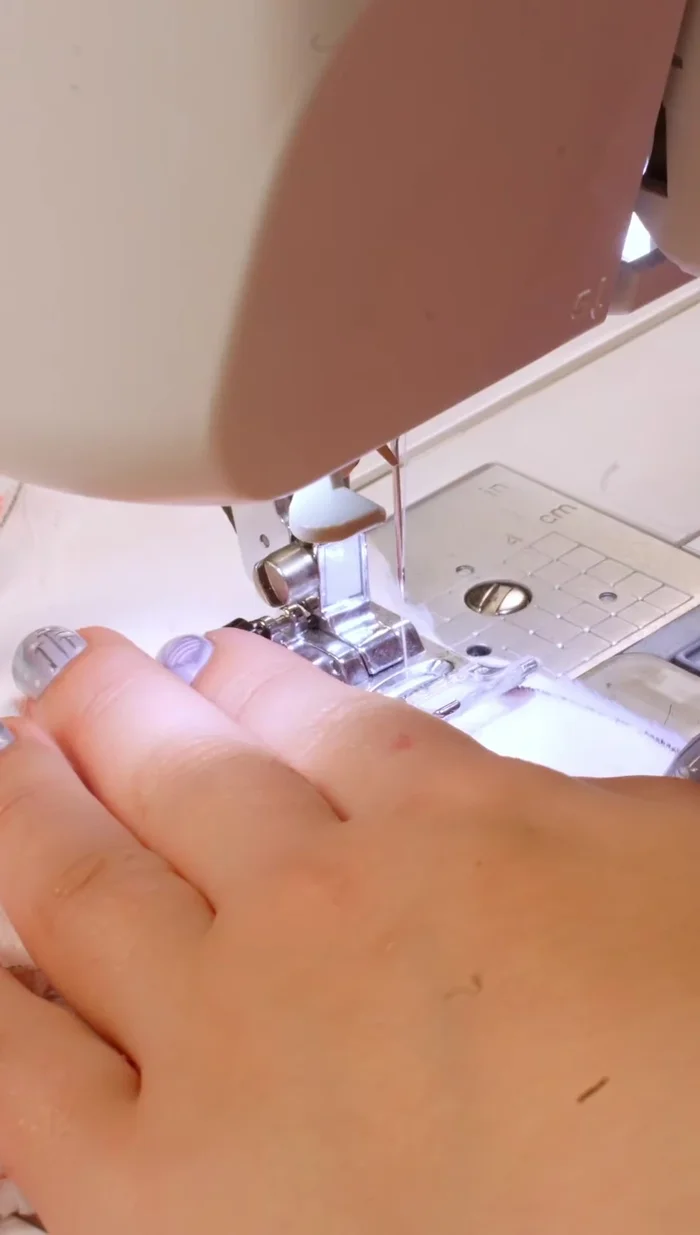
- Sew the two top shark pieces together along the middle seam.
- Attach the top shark pieces to the white minky bottom, leaving a small opening for turning and stuffing.
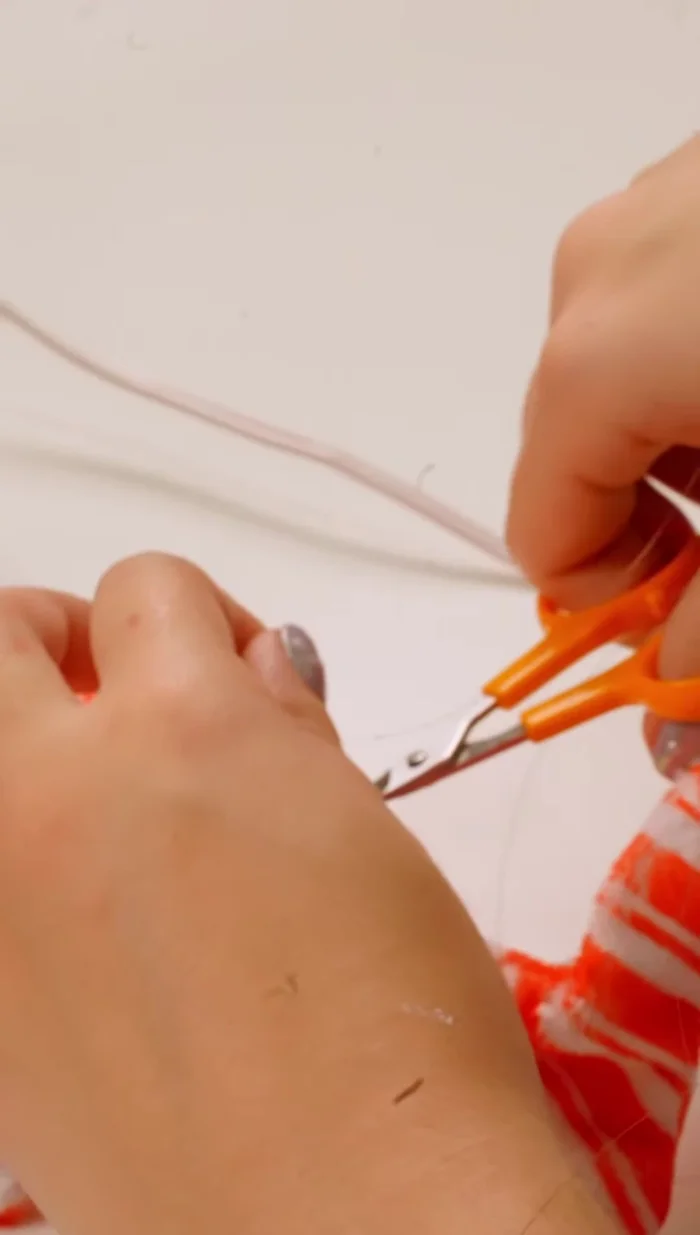
Sew Shark Body Finishing Touches
- Top stitch the fins to help them lay flat.
- Add safety eyes (15mm).
- Stuff the shark firmly.
- Close the opening with a ladder stitch.
Finishing Touches


Read more: DIY Fluffy Duck Plushie Tutorial: A Step-by-Step Guide
Tips
- Cover the heat press with copy paper or butcher paper to prevent ink seepage.
- Use a Teflon sheet between the fabric and the heat press for even sublimation.
- Refer to a whale shark pattern for the cutting and sewing instructions.