The Camille shift dress: a timeless silhouette that effortlessly blends sophistication with comfort. Its clean lines and versatile design make it a wardrobe staple, perfect for everything from casual daytime wear to elegant evening events. This classic style, however, often intimidates beginner sewists, particularly when considering the inclusion of seemingly complex details like an invisible zipper and a professional-looking blind hem. Fear not! This comprehensive guide will walk you through each step of constructing your own perfect Camille shift dress, equipping you with the skills and confidence to create a garment you'll cherish for years to come.
We’ll delve into the details of selecting the right fabric, cutting accurate patterns, and mastering the techniques needed for a flawless finish. From preparing your fabric to the final pressing, this guide provides clear instructions and helpful tips, ensuring even novice sewists can achieve professional results. Let's begin the journey of crafting your own beautiful Camille shift dress by diving into the step-by-step process outlined below.
Preparation and Safety Guidelines
- sewing machine
- zipper foot (or invisible zipper foot)
- serger (optional)
- ironing board
- iron
- pins
- scissors
- measuring tape
- interfacing
- Always use sharp sewing machine needles appropriate for your fabric to prevent skipped stitches and fabric damage. Dull needles can cause injury.
- When working with the zipper, be cautious of the zipper teeth. They can be sharp and cause injury. Use a zipper foot for consistent stitching and to protect your fingers.
- Before cutting your fabric, double-check your pattern pieces and measurements to avoid costly mistakes. Pre-wash your fabric to prevent shrinkage after completion.
Step-by-Step Instructions
Prepare the Front Dress Piece
- Transfer and sew darts on the front dress piece.

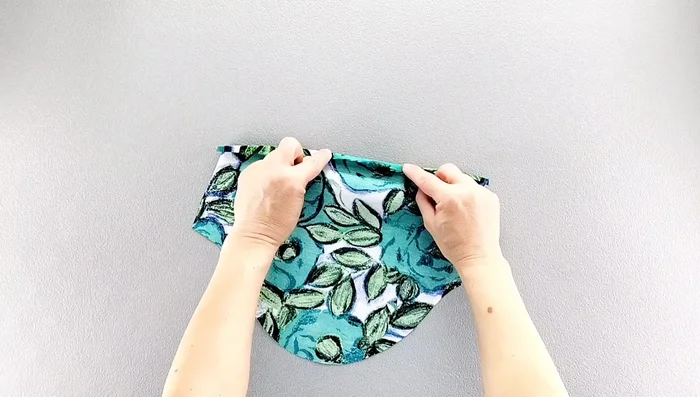
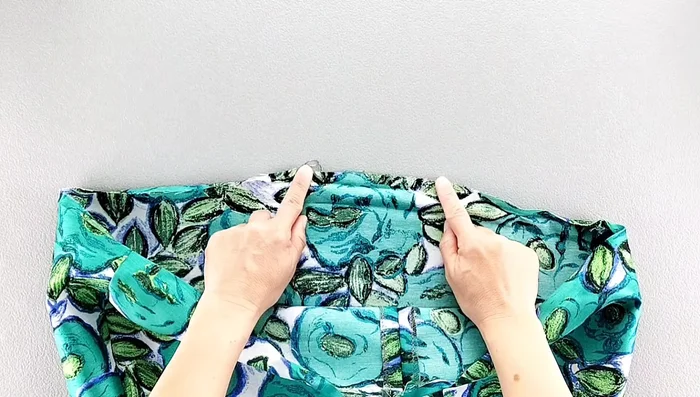
Prepare the Front Dress Piece Assemble the Bodice
- Pin and sew the side and shoulder seams, joining the front and back pieces.
- Finish the raw edges of the seams (using a serger or other preferred method).
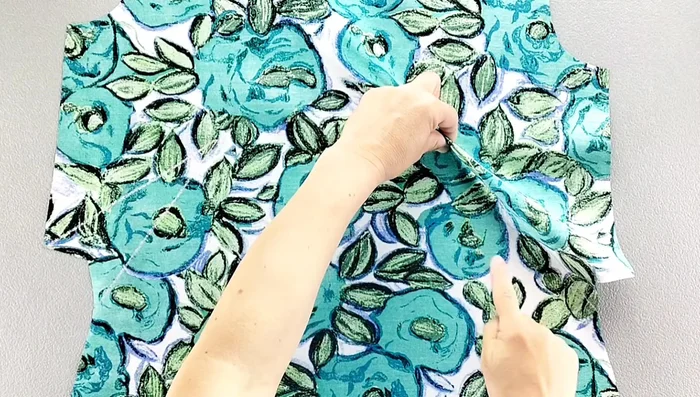
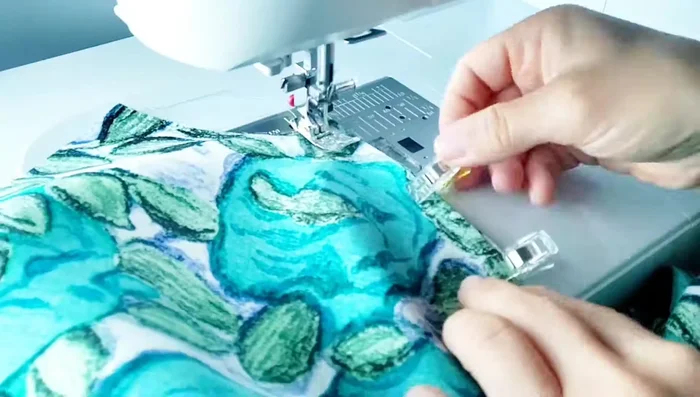
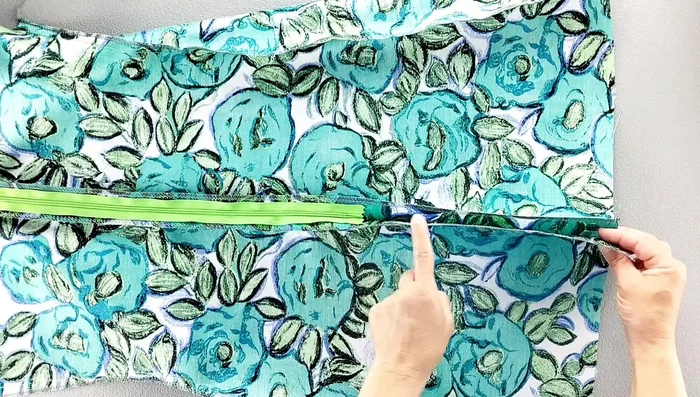
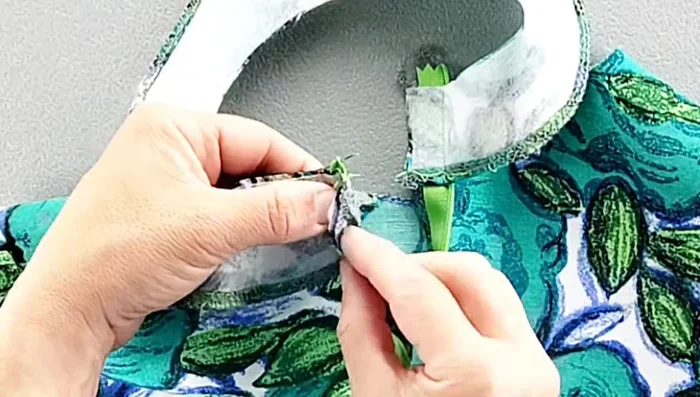
Assemble the Bodice Install the Invisible Zipper
- Prepare the invisible zipper by pressing open the coils.
- Attach the right side of the invisible zipper, ensuring proper placement (3/8 inch from neckline raw edge, 3/4 inch from finished edge).
- Close the zipper, align the left side, and attach the left side of the zipper in the same manner as the right.
- Sew the remaining back center seam from the zipper's end to the bottom.
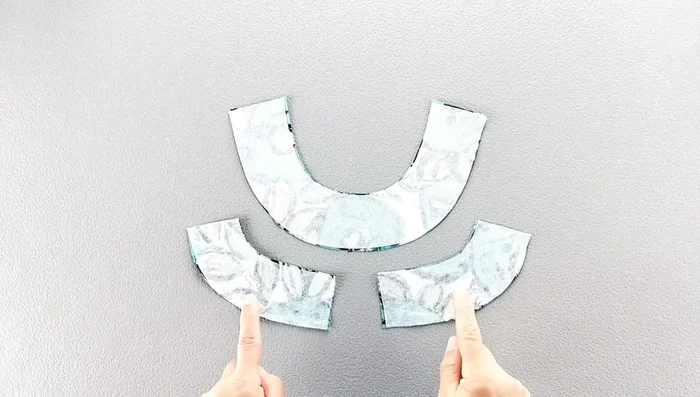
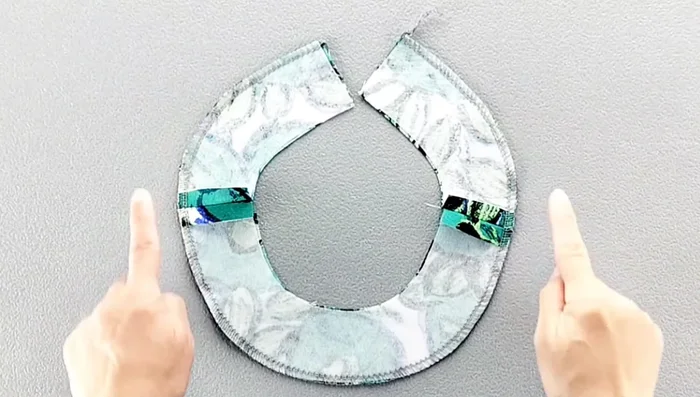
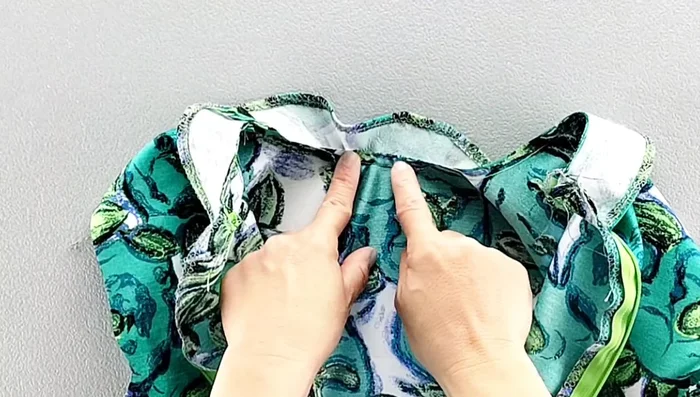
Install the Invisible Zipper Prepare and Attach the Neck Facing
- Apply interfacing to the facing pieces and sew the shoulder seams.
- Finish the raw edges of the facing (using a serger or other method), press, and topstitch.
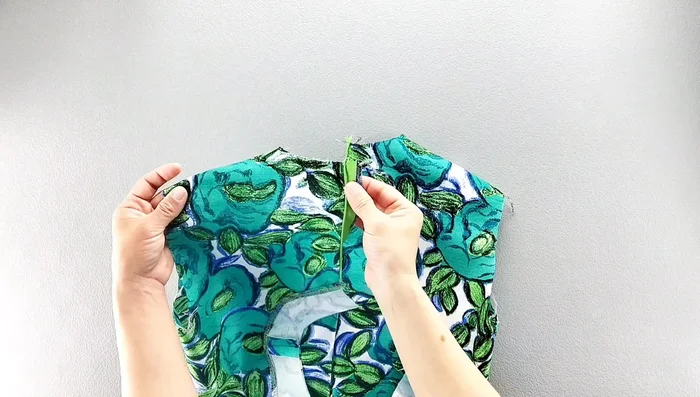
- Attach the facing to the neckline, aligning center back edges and using the zipper foot to stitch along the zipper teeth.
- Fold the facing to the right side, pin in place along the neckline, matching shoulder seams, and sew.
Prepare and Attach the Neck Facing - Understitch the facing to secure it to the inside.
- Trim and stitch in the ditch at the shoulder seams to further secure the facing.
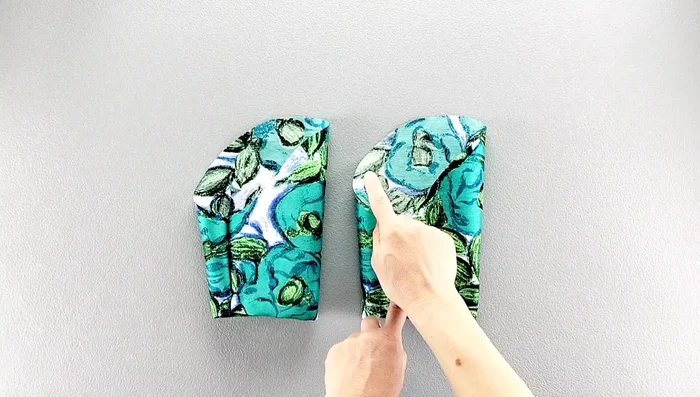
Prepare and Attach the Neck Facing Hem the Sleeves
- Press the raw edges twice (3/8 inch, then 5/8 inch), sew, and finish raw edges.
Hem the Sleeves Hem the Dress
- use blind hem stitch).
Hem the Dress Set in Sleeves
- Baste the sleeves with long stitches, ease, pin, and sew into the armholes.
Set in Sleeves


Read more: Raglan Sleeve Sewing Tutorial: A Step-by-Step Guide
Tips
- Use a zipper foot or invisible zipper foot for a clean zipper installation.
- Closing the zipper before attaching the second side helps align the notches.
- Pressing the seams open after each step creates a smoother, more professional finish.
- Use basting stitches to ease the sleeves into the armholes for a perfect fit.