Have you ever dreamed of owning a perfectly tailored button-up shirt, crafted exactly to your specifications? One that fits flawlessly, boasts your favorite fabric, and reflects your unique style? For too long, the seemingly insurmountable task of shirtmaking has intimidated even seasoned sewists. But what if we told you that creating this wardrobe staple is achievable, even enjoyable? This comprehensive tutorial demystifies the process, breaking down the creation of a custom button-up shirt into manageable, step-by-step instructions. We'll guide you through each stage, from choosing the right fabric and pattern to mastering essential techniques like collar construction and buttonhole sewing.
Forget generic, off-the-rack shirts that never quite fit right. This customizable guide empowers you to take control of your wardrobe and create the perfect button-up shirt, tailored precisely to your measurements and personal preferences. Let's begin your journey to sartorial self-sufficiency; prepare to be amazed by what you can achieve! Ready to dive into the step-by-step process? Let's get started!
Preparation and Safety Guidelines
- Fabric (up to 2 yards)
- Midweight interfacing (3/4 yard)
- 6-12 buttons
- Sewing machine
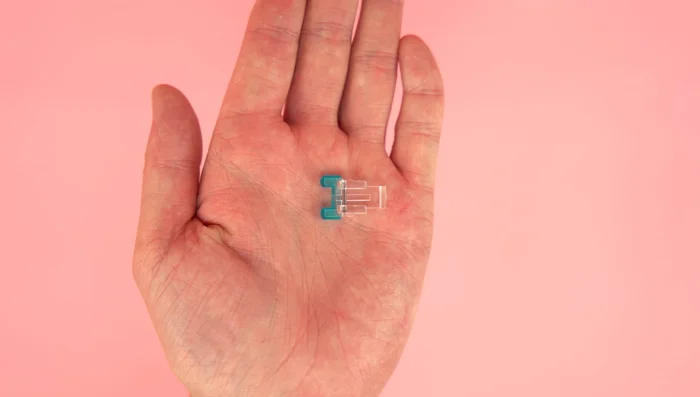
- Buttonhole presser foot
- Ruler
- Scissors
- Pins
- Iron
- Ironing board
- Serger (optional)
- Cardboard (for collar band)
- Chalk (optional)
- Double-sided rivets (optional)
- Use sharp sewing machine needles and sharp fabric shears for clean cuts and accurate stitching. Dull tools can lead to broken needles, skipped stitches, and injury.
- Always use a pincushion and handle pins carefully to avoid accidental needle pricks. Keep your workspace tidy to prevent accidental injuries.
- When working with a sewing machine, ensure your fingers are kept away from the needle and presser foot to avoid injury. Never sew over pins.
Step-by-Step Instructions
Preparation
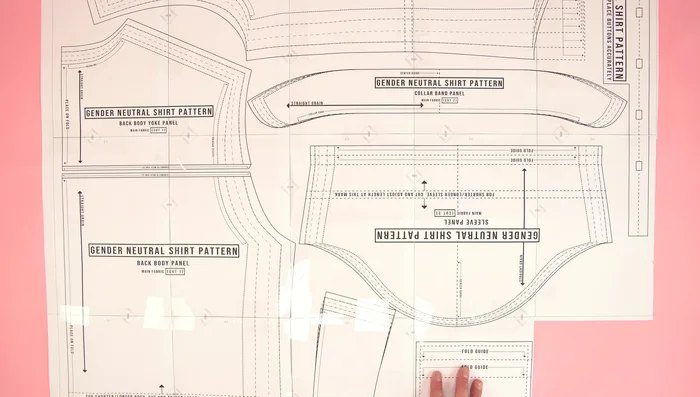
- Gather supplies and print/assemble the pattern.
Cutting and Initial Assembly
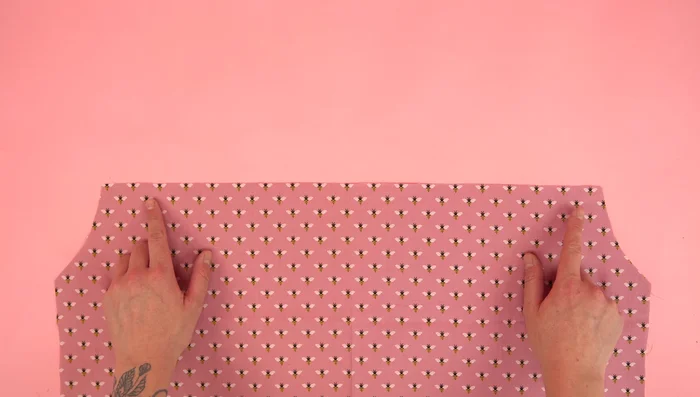
- Cut out fabric pieces based on chosen size (adjusting length as needed at the bottom cut point).
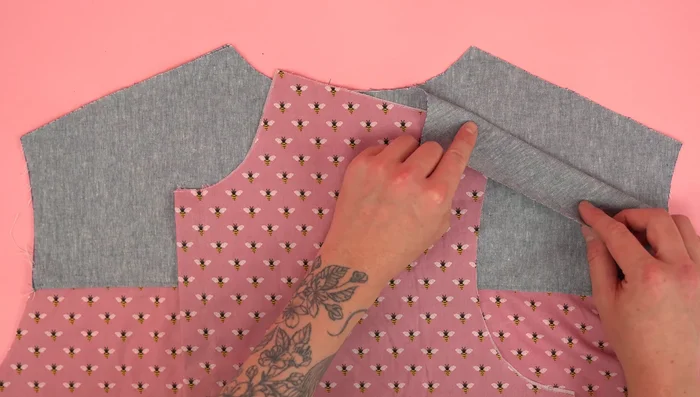
- Attach back yolk panels to back body panel, press, and topstitch.
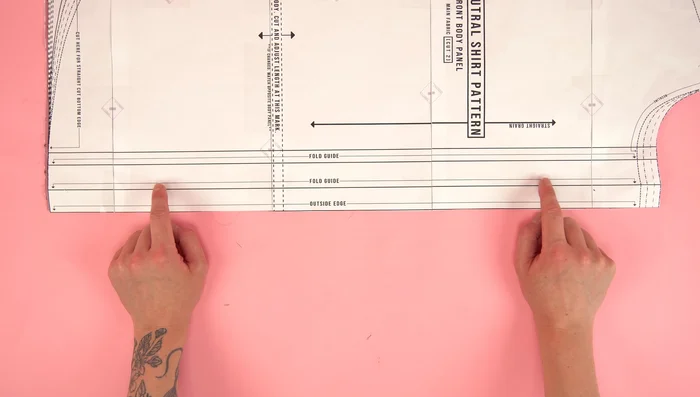
- Fold and topstitch the front panel edges.
- Attach front panels to back panel, press seams, and topstitch.

Cutting and Initial Assembly Collar Construction
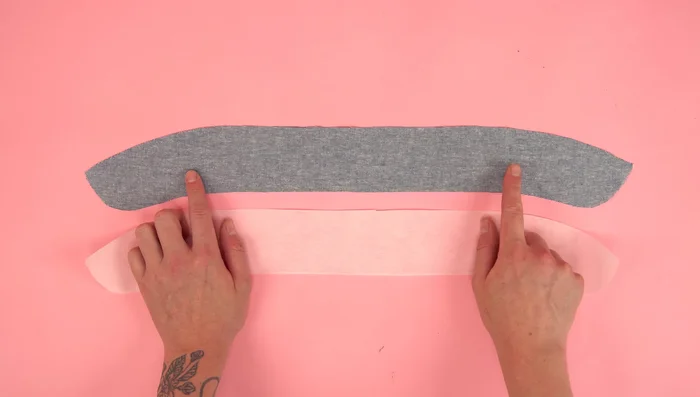
- Add interfacing to collar panels, stitch, turn right side out, press, and topstitch.
- Add interfacing to collar band panels, fold and press 3/8 inch edge, stitch collar band to collar, press, and topstitch.
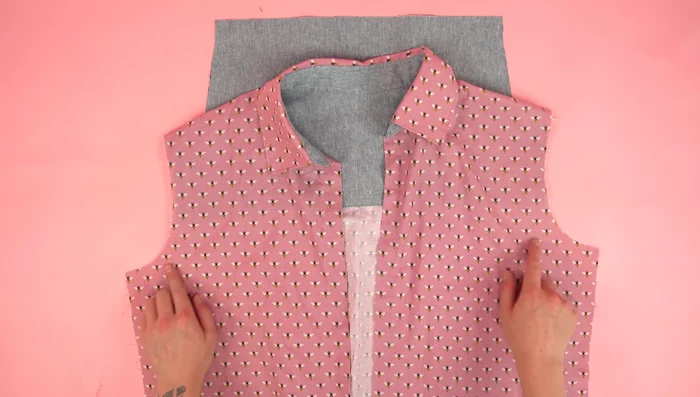
- Attach collar assembly to neckline, press, and topstitch.
Collar Construction Sleeve and Side Seam Construction
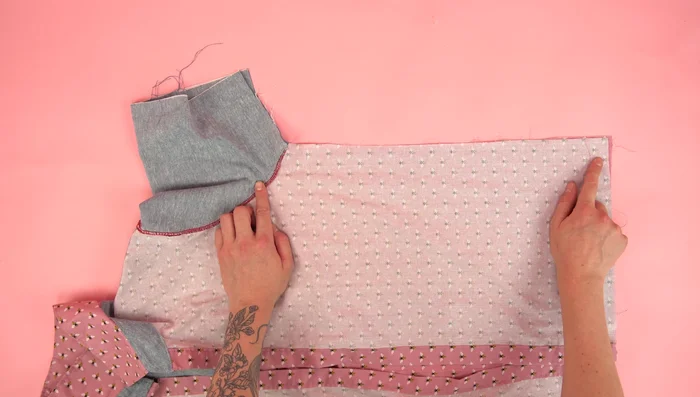
- Attach sleeves to armholes, serge or zigzag stitch raw edges for clean finish, and topstitch.
- Stitch side seams, serge or zigzag raw edges, and topstitch.
Sleeve and Side Seam Construction Finishing Touches
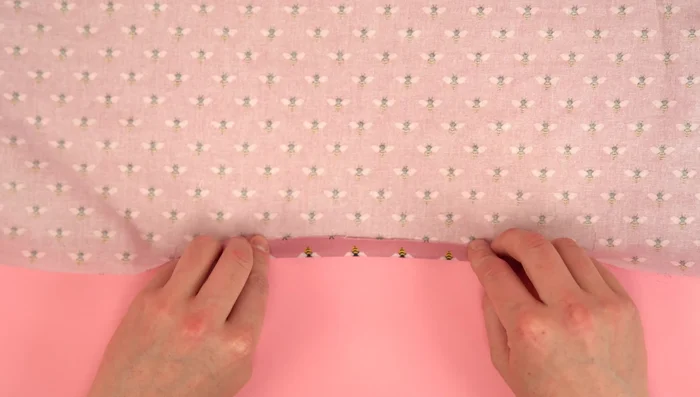
- Hem bottom edge and sleeve edges.
Finishing Touches Button and Pocket Attachment
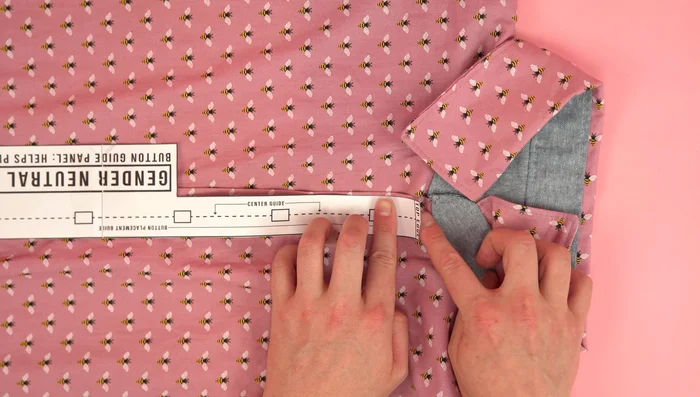
- Using button guide, mark and create buttonholes on the outer layer.
- Attach buttons to inner layer.
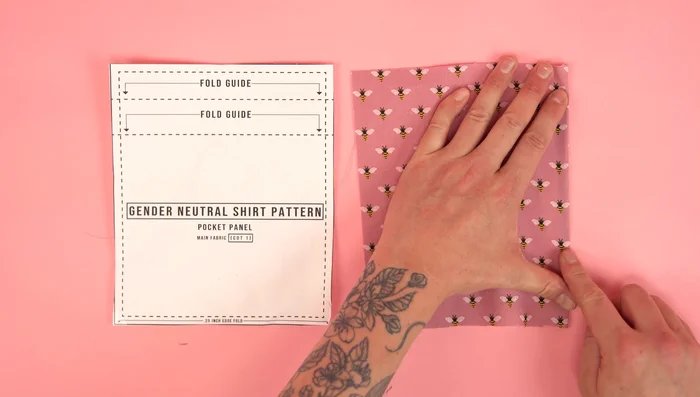
- Attach pocket panel (optional).
Button and Pocket Attachment Optional Branding
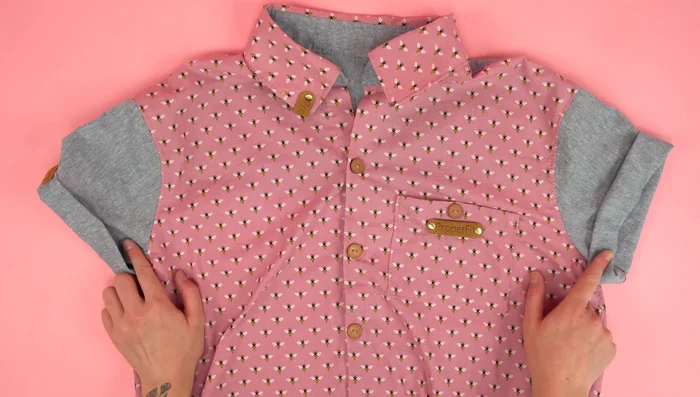
- Add branding (optional).
Optional Branding


Read more: Raglan Sleeve Sewing Tutorial: A Step-by-Step Guide
Tips
- Use a cotton fabric for easier sewing when starting out.
- Match thread color to fabric color to hide imperfections.
- Use an edge presser foot for even topstitching.
- Use cardboard to create a perfect fold for the collar band.
- Use a serger or zigzag stitch to finish raw edges for a professional and durable finish.