Linen's breezy texture and effortless chic make it the perfect fabric for a summer wardrobe staple. This season, ditch the fussy details and embrace the simplicity of a boxy linen top – a garment as comfortable as it is stylish. Whether you're a seasoned sewer or just starting your crafting journey, this easy-to-follow tutorial will guide you through creating your own perfect linen piece, from choosing the right fabric to adding the final touches. Imagine yourself strolling along the beach or enjoying a summer picnic, effortlessly cool in your handcrafted linen top.
This DIY project is surprisingly straightforward, requiring minimal sewing experience and readily available materials. You'll be amazed at how quickly you can sew up this versatile top, perfect for dressing up or down. Ready to get started on your own stylish, breathable linen creation? Let's dive into the step-by-step process!
Preparation and Safety Guidelines
- Linen fabric
- Sewing machine
- Thread
- Bias binding
- Scissors
- Pins
- Overlocker (optional)
- Always use sharp sewing machine needles and pins appropriate for your linen fabric to prevent breakage and ensure clean stitches. Dull needles can cause skipped stitches and fabric damage.
- Linen can fray easily. Finish all seam allowances with a serger, zigzag stitch, or pinking shears to prevent unraveling and ensure a professional finish.
- Pre-wash your linen fabric before cutting and sewing. Linen can shrink after washing, so pre-washing prevents your finished garment from shrinking unexpectedly after completion.
Step-by-Step Instructions
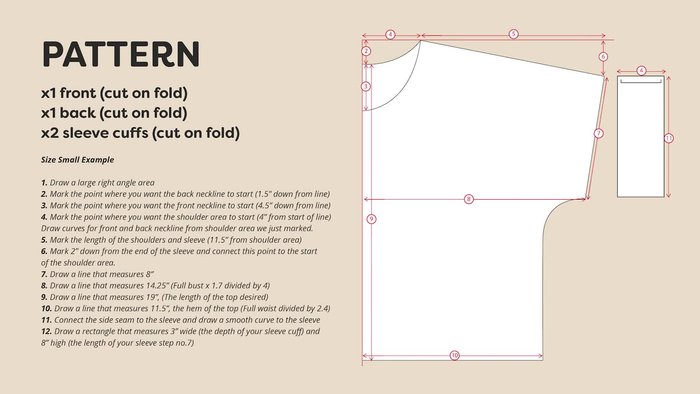
Prepare Pattern Pieces
- Cut out the front and back pieces of the top, a long strip of bias binding, and two sleeve cuff pieces (cut on the fold).

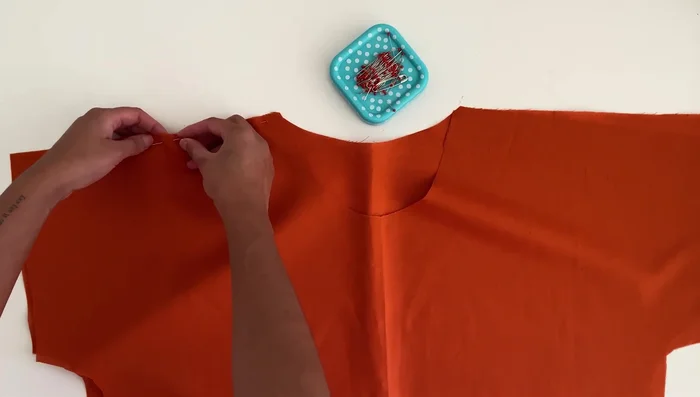
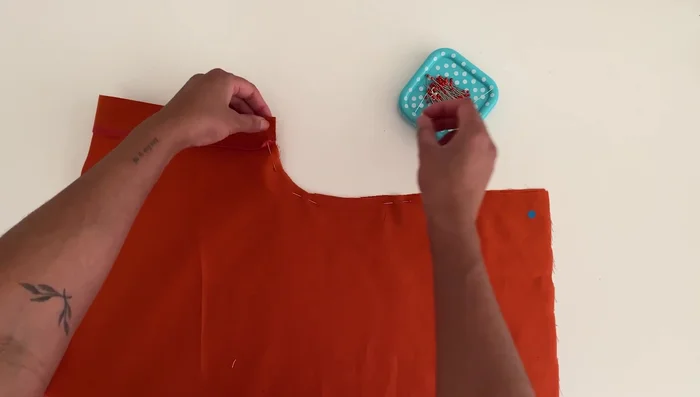
Prepare Pattern Pieces Sew Shoulders
- Place the two top pieces together with right sides facing, align the shoulders, and pin. Sew along both shoulders using a 3/8 inch or 1 cm seam allowance. Overlock the seams for a clean finish.
Sew Shoulders Attach Sleeve Cuffs
- Open the sleeve cuff pieces, fold in half with wrong sides facing, align with the armhole, and pin. Sew along the edge using a 3/8 inch or 1 cm seam allowance. Overlock the seams and press the cuffs to the right side.
Attach Sleeve Cuffs Sew Side Seams
- Place the top right sides together, pin along the sleeve and side seam, and sew using a 3/8 inch or 1 cm seam allowance. Overlock the seams.
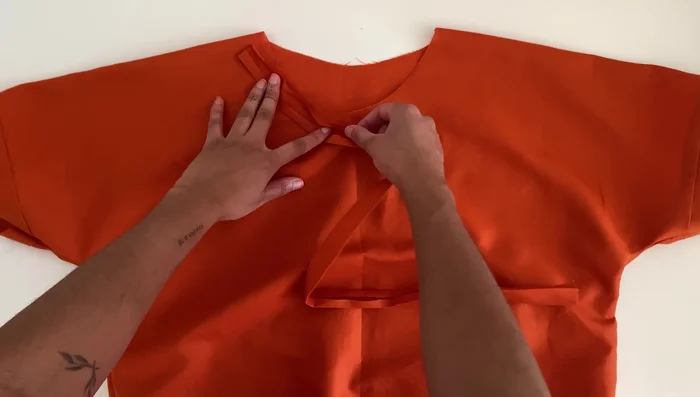
Sew Side Seams Attach Neckline Binding
- Open the bias binding, pin it along the entire neckline with right sides facing. Sew, trim excess binding, sew the ends together to form a circle, and then sew along the fold of the binding. Fold the binding over and pin along the neckline, then sew to finish the edge.
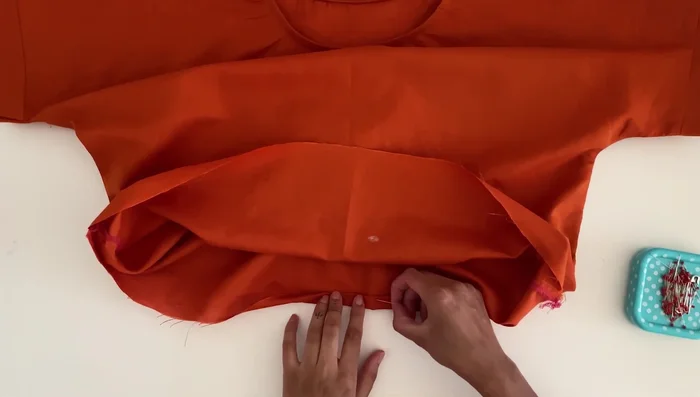
Attach Neckline Binding Hem Bottom
- Fold the bottom edge twice by 3/8 inch or 1 cm, pin, and sew close to the edge for a neat finish.
Hem Bottom

Read more: Raglan Sleeve Sewing Tutorial: A Step-by-Step Guide
Tips
- Use your own measurements to adjust the pattern to your size.
- Overlocking the seams provides a professional finish and prevents fraying.
- Pressing the seams flat after each step creates a smoother, more polished garment.