The bolo jacket, with its relaxed fit and distinctive open front, has become a staple in casual wardrobes worldwide. Its versatile design lends itself to a variety of fabrics and styles, making it a perfect garment for both beginners and experienced sewists. However, the seemingly simple design can sometimes present unexpected challenges when drafting a pattern from scratch. This guide aims to demystify the process, providing you with a clear and concise method for creating your own perfectly fitting bolo jacket pattern. Forget complicated measurements and confusing instructions; we’ll break down the drafting into manageable, easy-to-follow steps.
This step-by-step guide will walk you through each stage of creating your own custom bolo jacket pattern, from taking basic measurements to finalizing the sleeve and collar details. From understanding basic block construction to mastering essential shaping techniques, this tutorial is designed to empower you to confidently craft your ideal bolo jacket, regardless of your sewing expertise. Let's begin!
Preparation and Safety Guidelines
- Drafting materials (ruler, tape measure, paper, pencil)
- Always use sharp, well-maintained shears or rotary cutter for clean cuts. Dull blades can lead to inaccurate cutting and potentially injure you.
- Double-check your measurements before cutting into your fabric. Accurate measurements are crucial for a well-fitting jacket. It's helpful to add seam allowances to your pattern pieces before cutting.
- If using pins, always pin perpendicular to the cutting line to avoid accidentally cutting them and damaging your fabric or yourself.
Step-by-Step Instructions
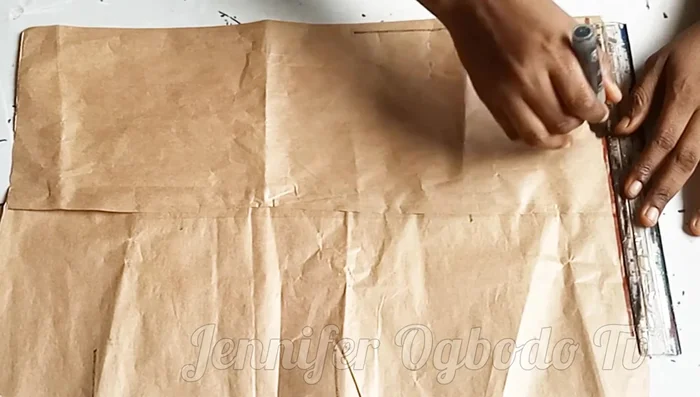
Establish Back Pattern Baseline
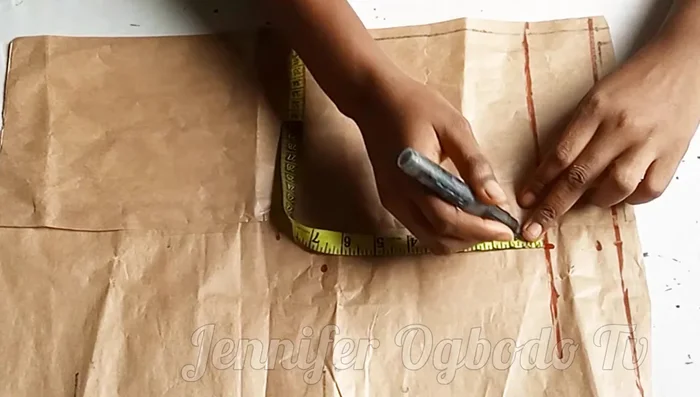
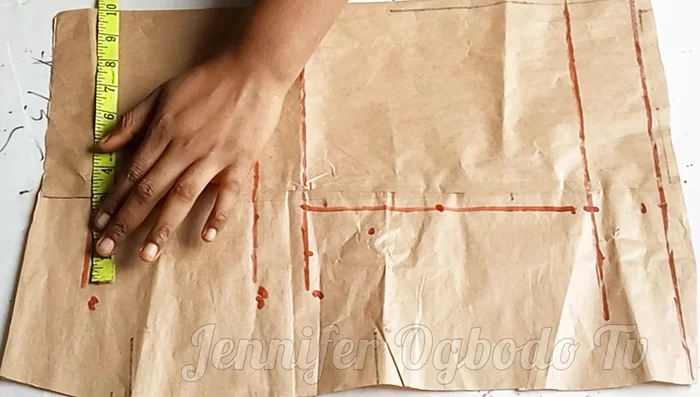
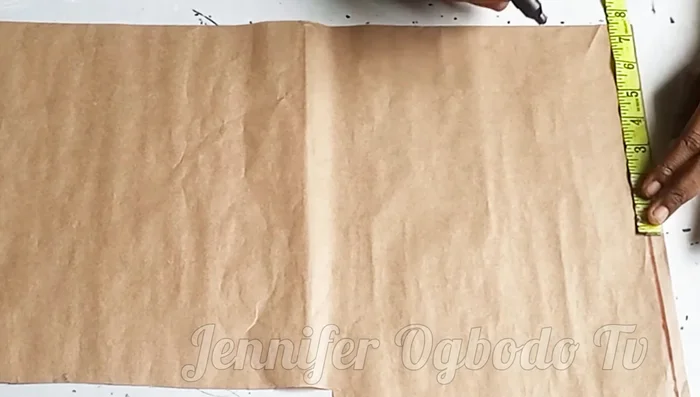
- Start with the back pattern. Draw a starting line.
- From the starting line, measure down 2 inches. This is the second line.
- Mark the desired jacket length (e.g., 15 inches) on the starting line.

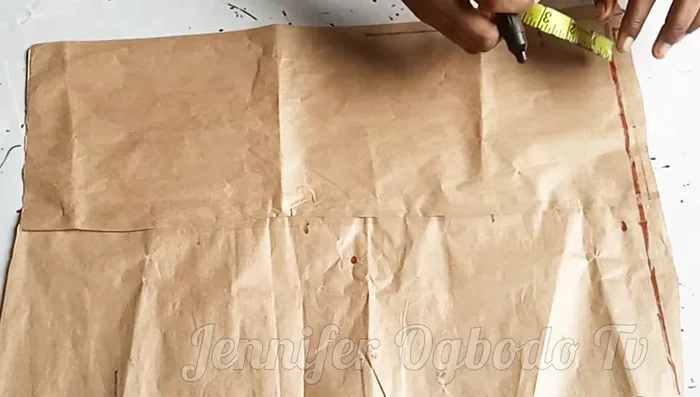
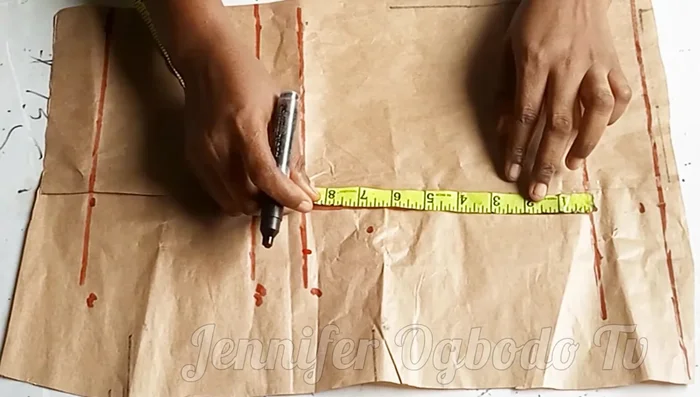
Establish Back Pattern Baseline Mark Key Back Pattern Points
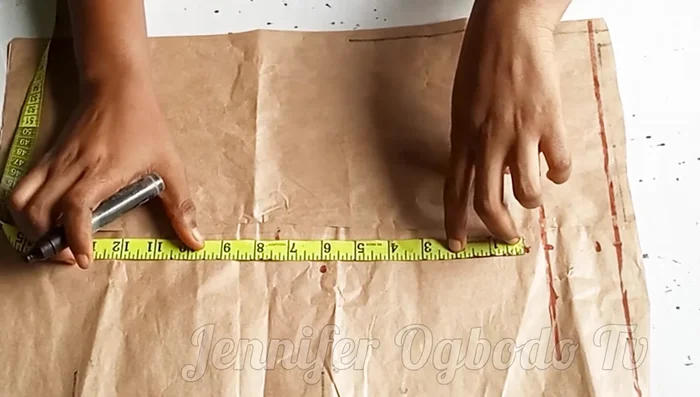
- On the second line, mark half your shoulder measurement.
- Measure down 0.5 inches for shoulder slope.
- Mark your HHO (High Hip Outline) length (bust measurement / 6 + 1.5 inches).
- Mark half your shoulder measurement on the chest line.
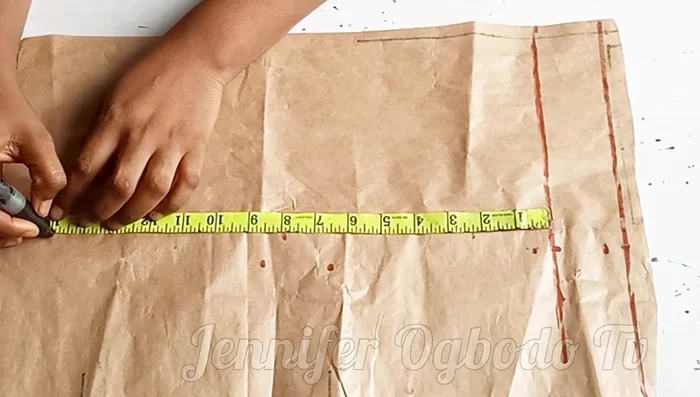
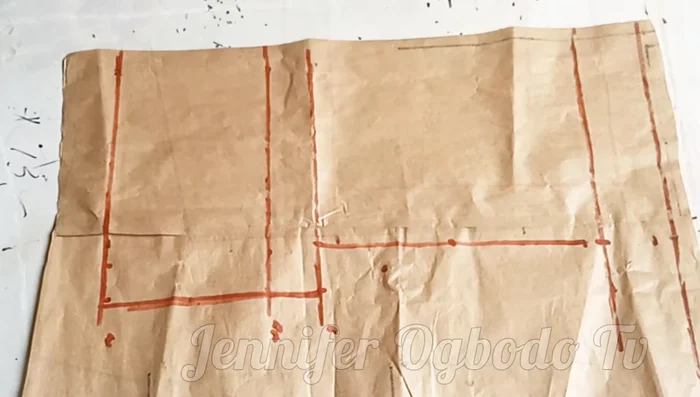
Mark Key Back Pattern Points - Mark bust measurement / 4 on the chest line.
- On the waistline, mark waist measurement / 4 + 1 inch.
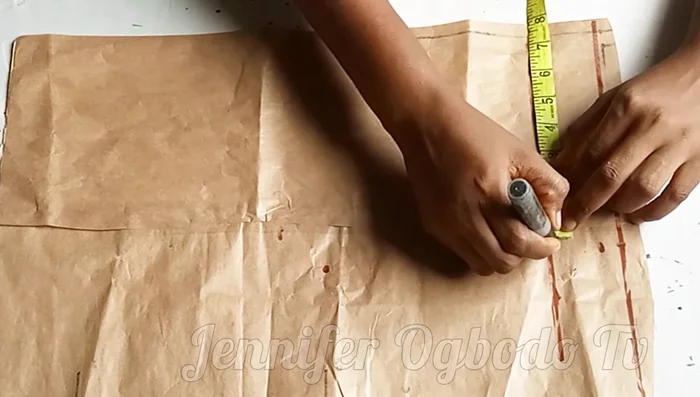
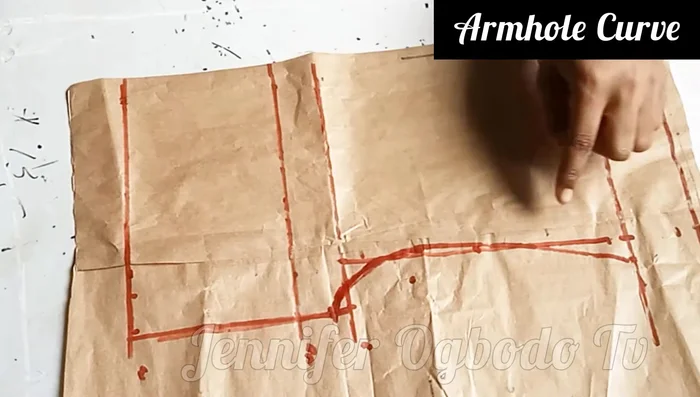
Mark Key Back Pattern Points Construct Basic Back Pattern Shape
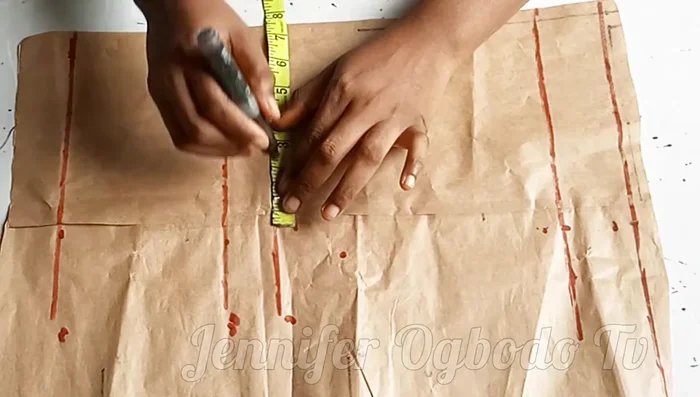
- Find the midpoint of the armhole length.
- Connect these points to form the back pattern's basic shape. Use 3 inches for neck width and 1.25 inches for neck depth.
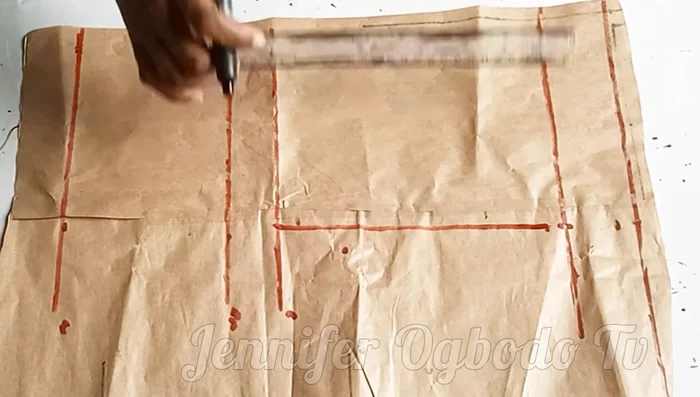
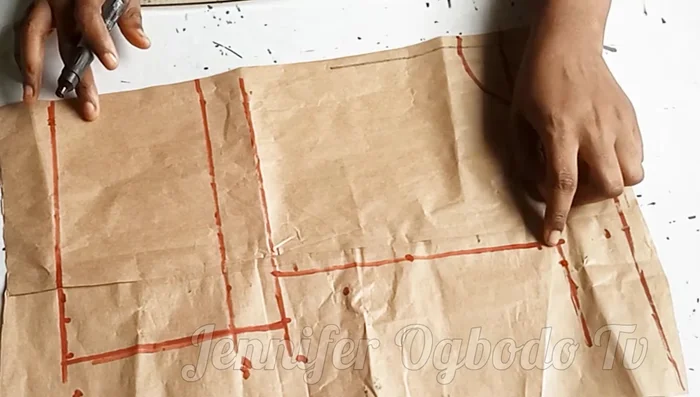
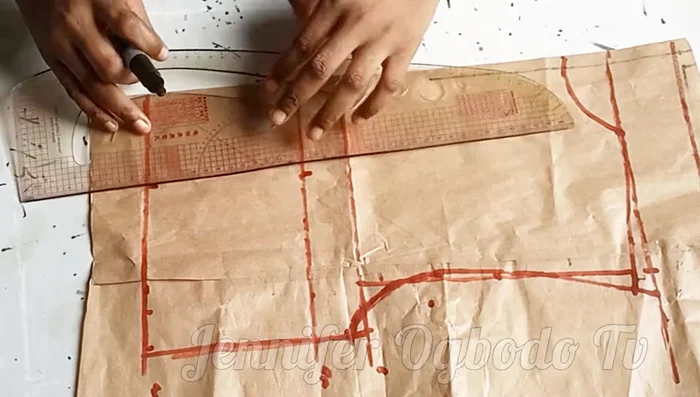
Construct Basic Back Pattern Shape Refine Back Pattern Shape & Ease
- Extend the shoulder line by 0.5 inches for ease. On the chest line, go down by 0.5 inches for ease.
- Connect your HHO length and shoulder slope lines.
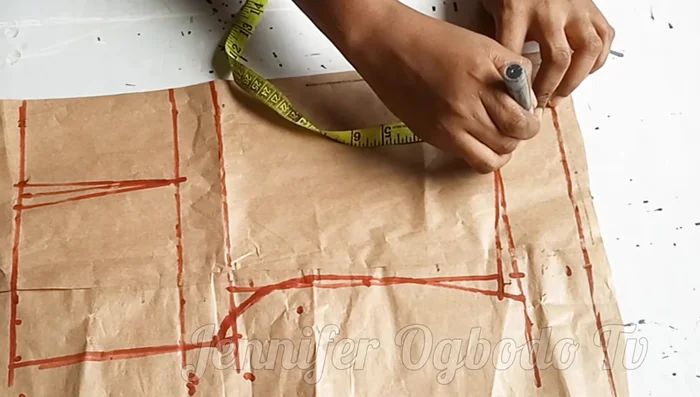
- Mark bust point (nipple to nipple)/2 on the lines and connect.
- Extend the neckline by 1.5 inches, then curve inward by 0.5 inches for a narrower neckline.
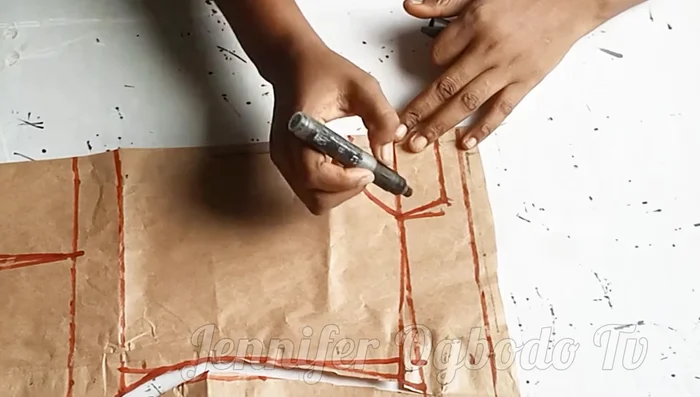
Refine Back Pattern Shape & Ease - Smooth out any sharp points in the back pattern.
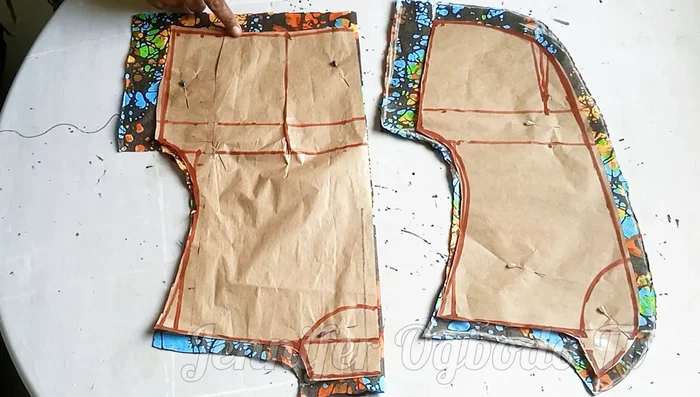
Refine Back Pattern Shape & Ease Draft Front Pattern
- Draft the front pattern, mirroring many of the back pattern's measurements and steps.
- Adjust the front neckline and center front opening as desired.
Draft Front Pattern Add Seam Allowances
- Add seam allowances to the cut pattern pieces.
Add Seam Allowances

Read more: Raglan Sleeve Sewing Tutorial: A Step-by-Step Guide
Tips
- Consider the desired length of the jacket. It can be underbust length or longer.
- Add ease to the chest and shoulder areas for comfort.
- Blend the neckline and shoulder areas smoothly to avoid sharp corners.
- Customize the front opening width according to preference.
- Use a lining for a more professional finish.