Tired of fiddly bias binding techniques that take forever? Are you ready to achieve a professional-looking finish on your sewing projects without spending hours wrestling with fabric? Then you've come to the right place! This tutorial reveals the absolute fastest and easiest method for applying bias binding to the top edge of your garment, dramatically reducing your sewing time and eliminating frustration. We'll ditch the fussy folding and pinning, opting instead for a streamlined approach that yields impeccable results every time. Forget the struggle and embrace effortless elegance.
This simplified technique makes achieving a neat and crisp finish remarkably straightforward, perfect for both beginners and experienced sewers looking to boost their efficiency. Ready to experience the joy of quick, clean bias binding? Let's dive into the step-by-step process, and soon you'll be applying bias binding with confidence and speed.
Preparation and Safety Guidelines
- Sewing machine
- Iron
- Tailor's clapper
- Scissors
- Pins
- Serger (optional)
- Always use a sharp rotary cutter or sharp scissors for clean cuts to prevent fraying and ensure a neat finish. Dull blades will make the bias tape difficult to work with and can lead to inaccurate measurements.
- Pre-press your bias binding before attaching it to your project. This step helps to prevent puckering and ensures a smooth, professional look. Ironing the bias binding flat removes any wrinkles or creases.
- When sewing the bias binding, maintain a consistent seam allowance. Use a walking foot if you have one to help avoid shifting and uneven stitching, especially with multiple layers.
Step-by-Step Instructions
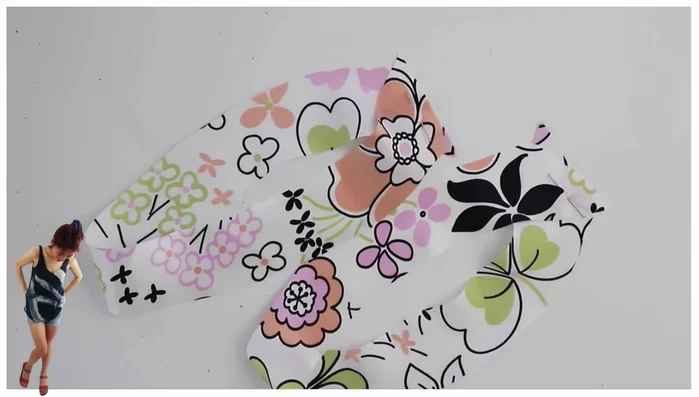
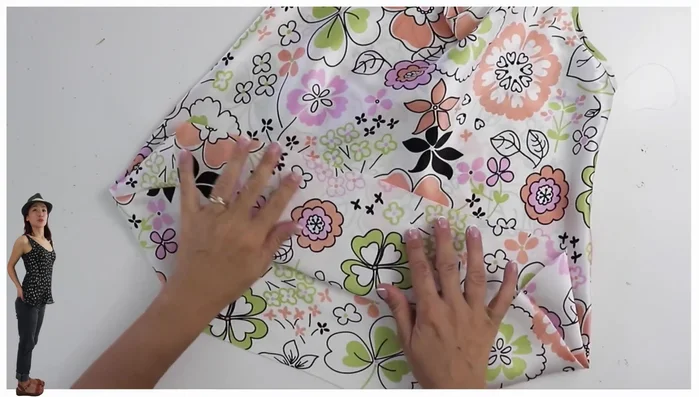
Fabric Preparation and Cutting
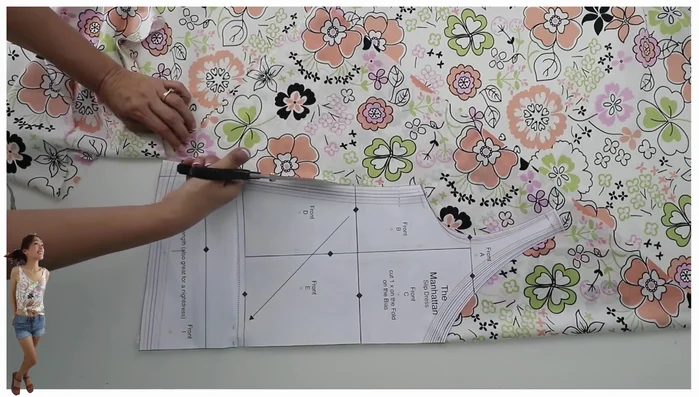
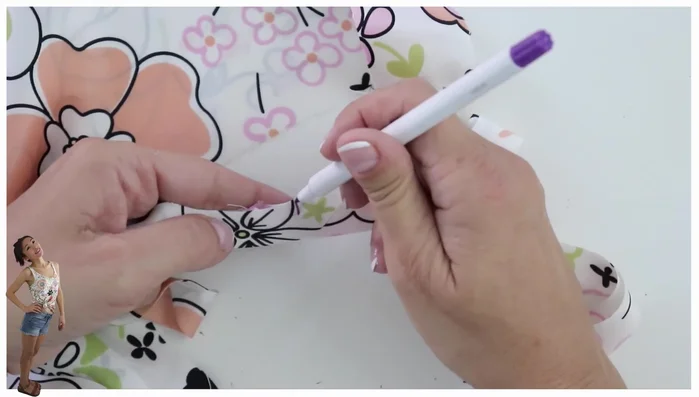
- Pre-starch lightweight fabrics for easier handling, especially for beginners. This makes the fabric stiffer, like paper, preventing mistakes during cutting.
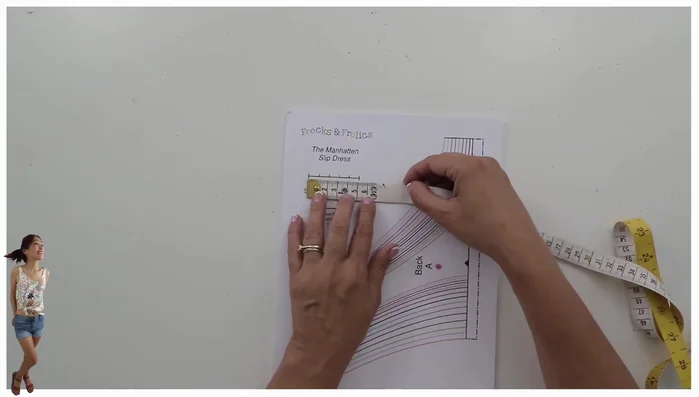
- Utilize the provided attachment lines to assemble the pieces efficiently. This pattern only requires two pieces, simplifying the process.
- Cut from the left, with the pattern on the right, utilizing the 45-degree angle already present.

Fabric Preparation and Cutting Bias Binding Preparation
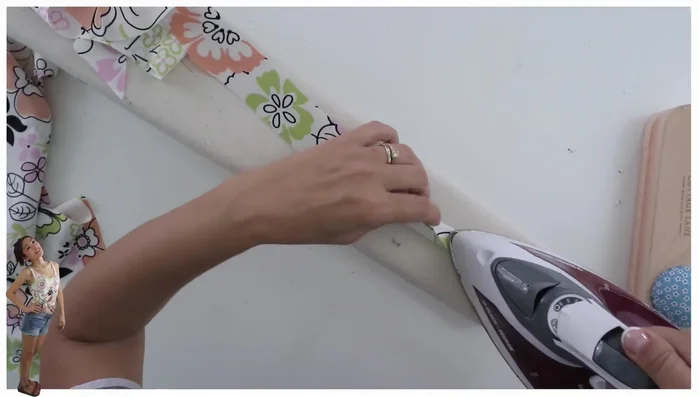
- Iron the bias binding lengthwise in half with the shiny side inside. This creates a flatter, neater finish.
Bias Binding Preparation Neckline Construction
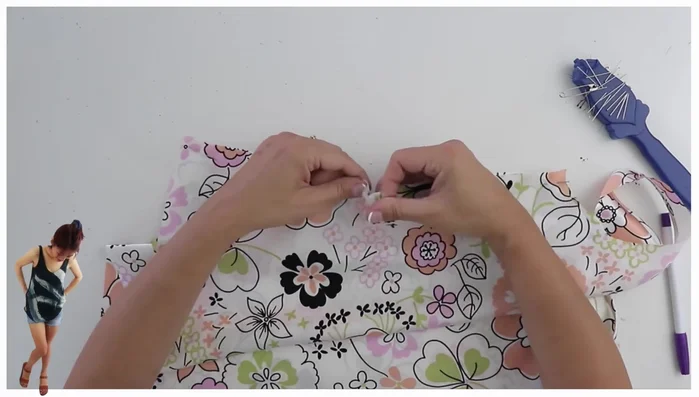
- Use vertical pins for ease. Overlock or serge the edges and iron to the center back.
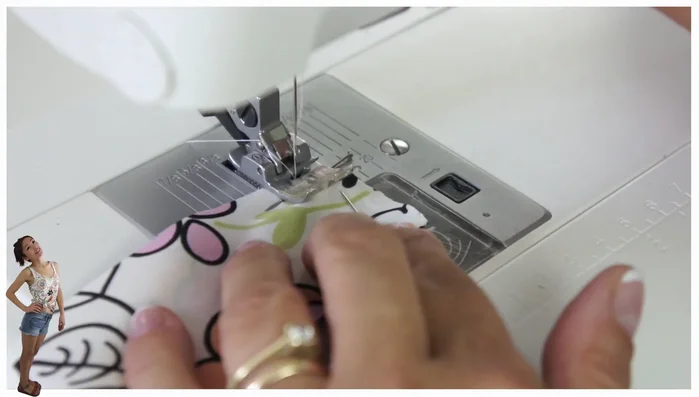
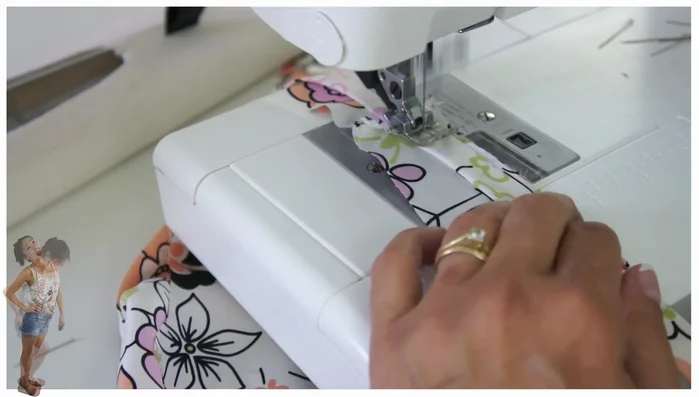
- Quarter both the binding and top to align markings precisely. Pin the bias binding to the fabric underside, then sew, catching the raw edges about 4mm from the folded edge to create a smoother V-neckline.
- Keep the presser foot aligned with the folded edge, ensuring the fabric underneath is flat and unstretched. Focus on the distance from the folded edge of your bias binding, not the needle-to-raw edge distance, as you’ll trim the excess later.
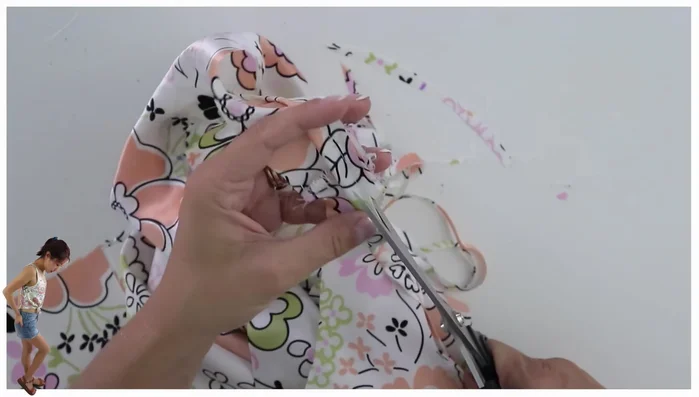
- Trim the excess bias binding to about 3mm. Fold over and topstitch the bias binding to the neckline, resulting in a single stitching line.
Neckline Construction Side Seams and Armholes
- Use a standard 1cm seam allowance, overlocking or serging the edges. Remember to stretch the seam while sewing to prevent breakage later.
Side Seams and Armholes Armhole Finishing
- Sew together the armhole bias binding, iron the seam apart, trim, and press. Attach to the armhole, ensuring the presser foot sits directly on the edge. Use the same techniques as the neckline (e.g., slightly pulling to the left when rounding curves).
Armhole Finishing Hemming
- Serge the hem, steam it to remove waviness, fold up the hem, and stitch along the serged line.
Hemming
Read more: Raglan Sleeve Sewing Tutorial: A Step-by-Step Guide
Tips
- Pre-starch lightweight fabrics before cutting to increase stability and ease of handling.
- Use vertical pins when working with bias binding. They are easier to work with and don't always need to be removed.
- Quarter both your binding and top before attaching to ensure perfect alignment.
- When stitching the bias binding, focus on keeping the presser foot right on the folded edge for consistent width.
- Stretch the fabric slightly while sewing side seams to prevent breakage later.