The bespoke shirt, a pinnacle of sartorial elegance, demands meticulous attention to detail. Nowhere is this more evident than in the perfectly executed back dart, a seemingly small feature that significantly impacts the garment's fit and drape. A symmetrical back dart, invisible yet powerfully shaping, is the hallmark of a truly exceptional shirt, transforming a flat pattern into a garment that hugs the body with effortless grace. Mastering this technique elevates your shirtmaking skills from competent to truly masterful, allowing you to create shirts that are both comfortable and impeccably tailored.
This subtle yet crucial element requires precision and understanding, demanding a deft hand and an eye for detail. From careful pattern preparation to the final stitch, the process demands patience and practice. Let's delve into a step-by-step guide that will unlock the secrets to achieving the perfect symmetrical back dart, transforming your shirtmaking journey and yielding results that will impress even the most discerning wearer.
Preparation and Safety Guidelines
- Shirt Pattern
- Striped Fabric
- Pins
- Needle
- Thread
- Iron
- Accurate measurements are paramount. Incorrect measurements will result in an ill-fitting garment, regardless of dart placement.
- Use sharp shears or a rotary cutter for clean cuts. Ragged edges will affect the final drape and appearance of the shirt.
- Test your dart placement on a scrap fabric first. This allows you to adjust the pattern before cutting into your expensive shirt fabric.
Step-by-Step Instructions
Determine Dart Placement
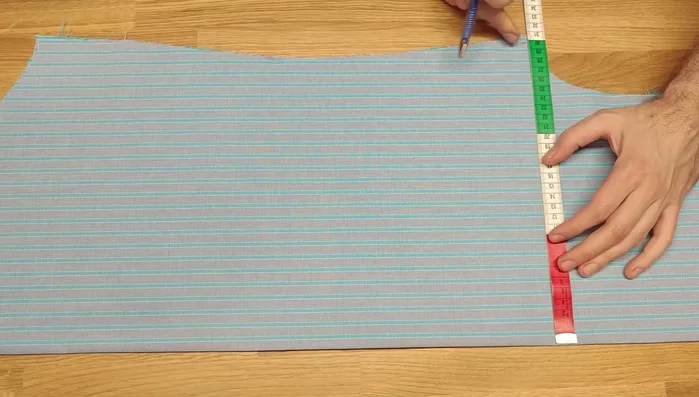
- Find the default dart position on plain fabric by measuring the back width (excluding seam allowance) and dividing by half.
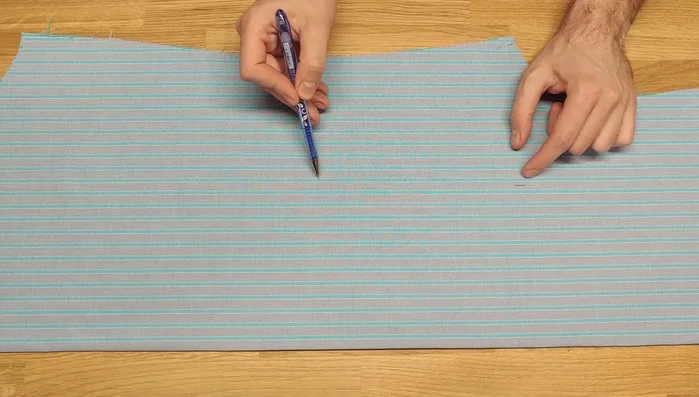
- Identify the desired stripe for the dart's center line. Move the dart position one or two stripes closer to the side seam to avoid darts being too close together.
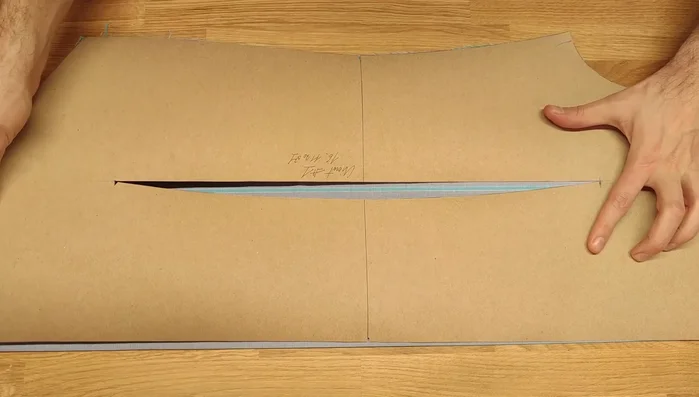
- Transfer the dart length from your initial shirt pattern or divide the dart's new length in half to find the middle.

Determine Dart Placement Prepare for Stitching
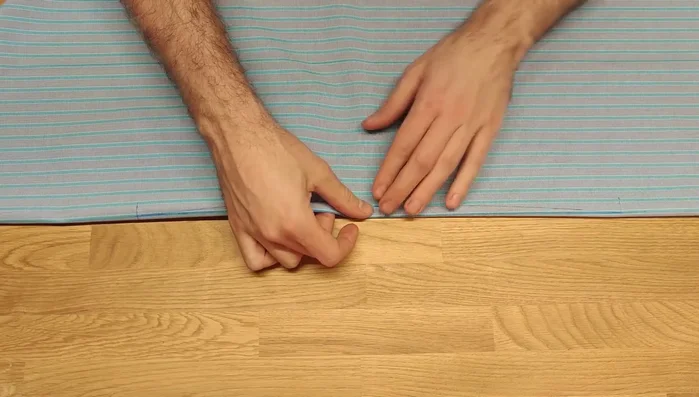
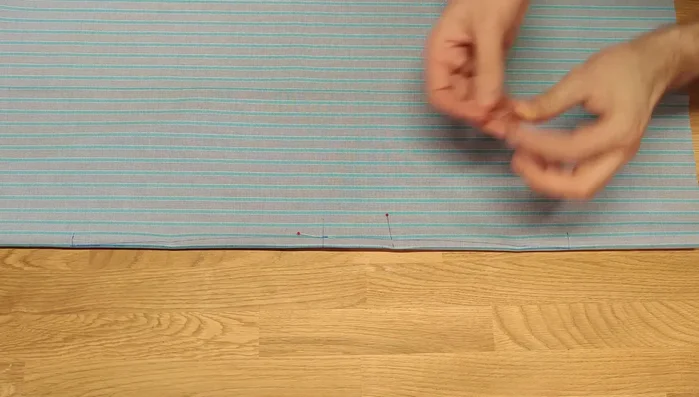
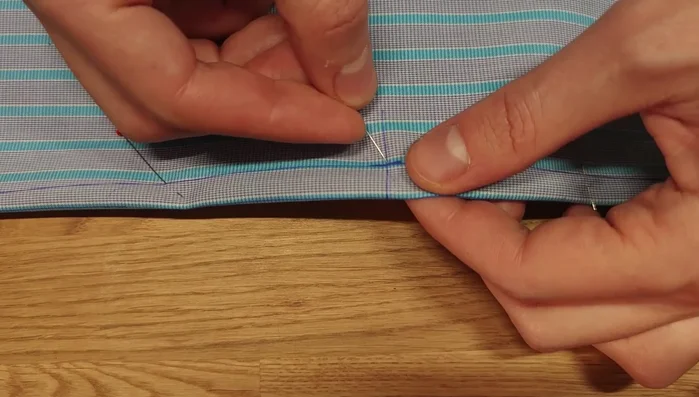
- Pin the two stripes together, ensuring their centers are perfectly aligned.
- Secure both sides of the dart with pins. Ensure all stripes remain parallel.
Prepare for Stitching Stitch the Dart
- Machine stitch the dart, avoiding backstitching at the corners. Instead, stitch, turn the needle at the end, and stitch again to prevent puckering.
Stitch the Dart Secure and Finish
- clip the threads).
Shape and Finish
- Iron the dart, stretching it from the center to the corners to create a slight wave. This helps the dart lay flat without wrinkling.
Shape and Finish

Read more: Raglan Sleeve Sewing Tutorial: A Step-by-Step Guide
Tips
- Pinning the dart before stitching saves time and avoids basting and removing threads.
- The stitch-turn-stitch technique at the dart corners prevents puckering.
- Ironing the dart creates a smooth, natural look and prevents wrinkling.