Palazzo pants, with their wide, flowing legs and flattering high waist, are a summer staple that effortlessly blends comfort and style. This breezy silhouette, paired with a chic crop top, creates a perfect ensemble for everything from casual outings to evening events. But the thought of sewing your own might seem daunting, especially if you're a beginner. Fear not! This guide demystifies the process, showing you how to create your own beautiful and comfortable high-waisted palazzo pants and coordinating crop top.
We'll walk you through each step, from choosing the right fabric to mastering the simple sewing techniques involved. No prior sewing experience is necessary; this project is designed to be accessible and enjoyable even for complete novices. Ready to transform your wardrobe with a stunning, handmade set? Let’s dive into the step-by-step instructions and begin creating your dream outfit!
Preparation and Safety Guidelines
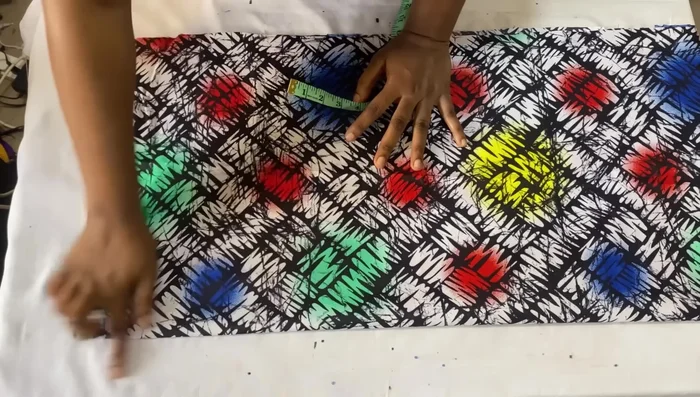
- African print fabric (3 1/2 yards)
- Scissors
- Tape measure
- Chalk
- Always use sharp sewing machine needles and sharp scissors for clean cuts and to prevent fabric damage or injury.
- Pay close attention to seam allowances throughout the process. Inaccurate seam allowances can significantly affect the final fit and appearance of your pants.
- Before cutting into your main fabric, create a test garment from inexpensive fabric to check the pattern fit and ensure you understand the sewing instructions.
Step-by-Step Instructions
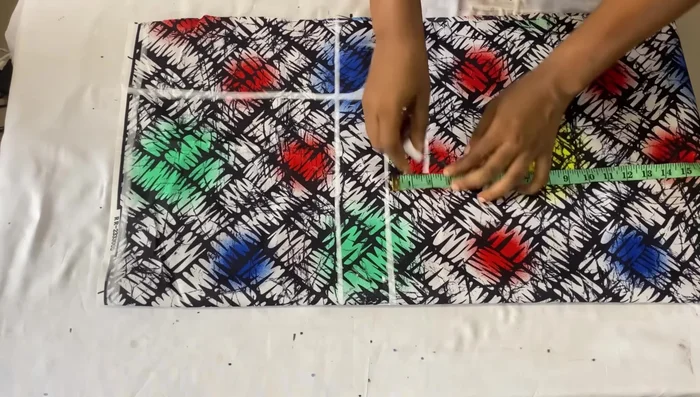
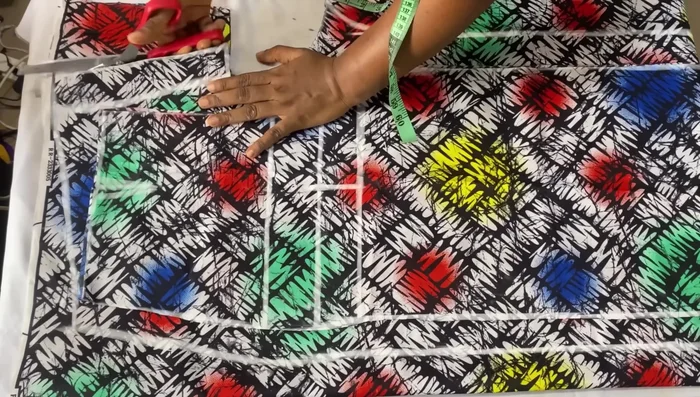
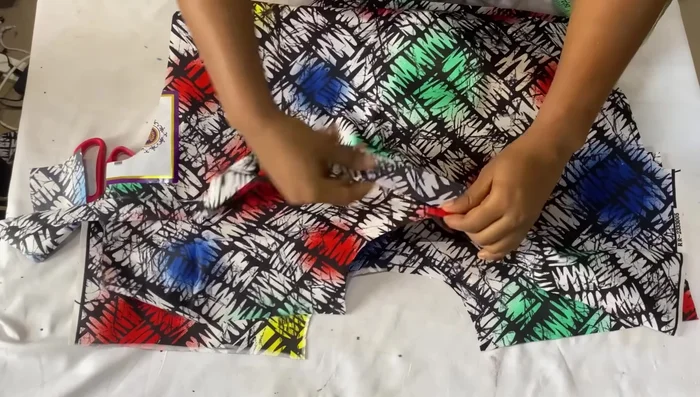
Prepare the trouser pattern (Front)
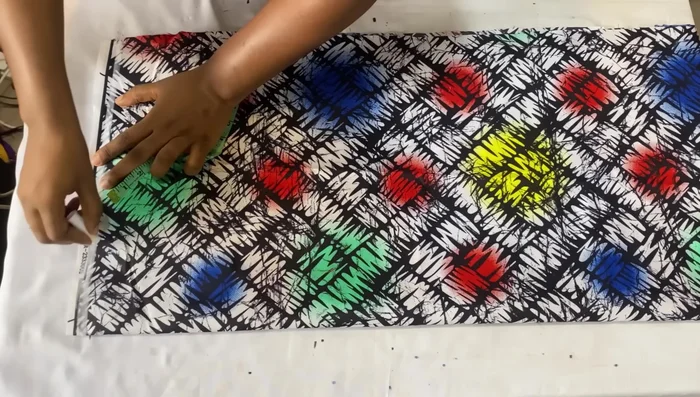
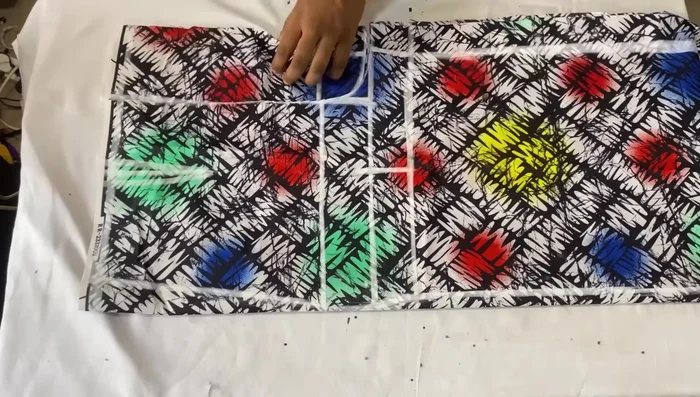
- Start with the trouser part (lower part of the two-piece outfit). Begin with the front panel. The fabric should already be in a double fold.
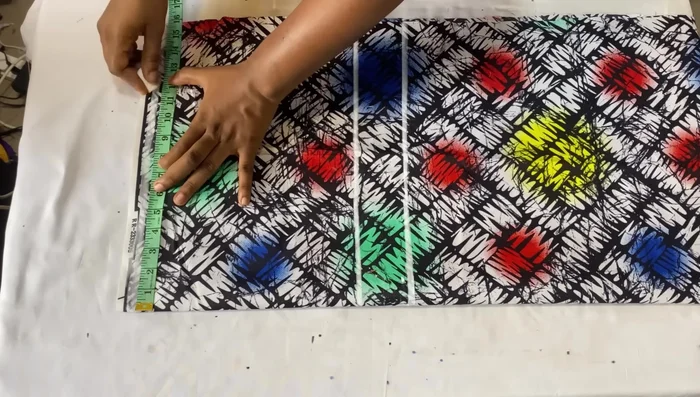
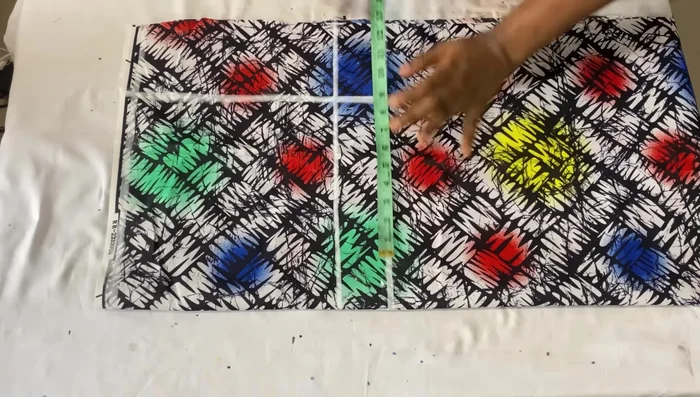
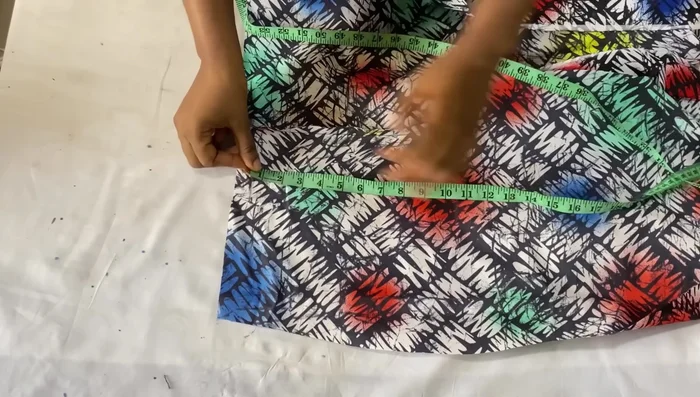
- Waistline (starting line), hip line (divide hip measurement by 4, add 4-5 inches), crotch depth (divide hip measurement by 4, add 1-1.5 inches for a fitted crotch, more for a looser fit), and full length (add 1 inch for seam allowance).
- Mark the hip measurement (divided by 4) on the waistline, hip line, and crotch line. Connect these points.
- Mark the front crotch extension (divide hip measurement by 4, then divide the result by 4, approximately 3 inches). Form a curve from the hip line to the extension.

Prepare the trouser pattern (Front) - Mark the tie line (2-2.5 inches below the crotch line). Find the midpoint between the crotch line and the extension, then connect it to the tie line. Measure around the tie line, divide by 2, and mark those points. Connect these points to the crotch extension and crotch line.
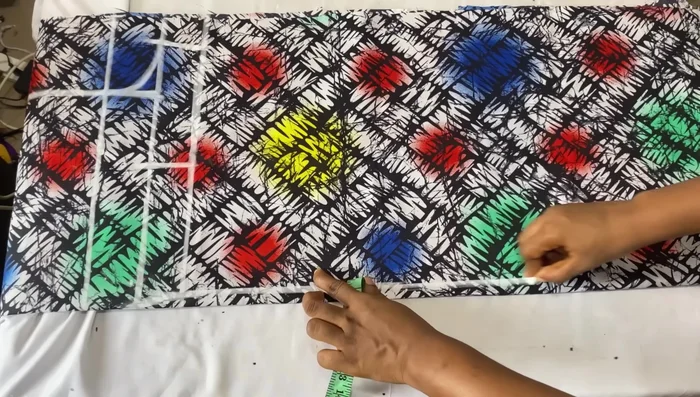
- Extend the lines down to create the straight palazzo pant leg. Mark the desired pant length at the bottom and connect to the tie line.
- Mark the waistline (divide waist measurement by 4, add 1 inch). Connect the waistline to the hip line.
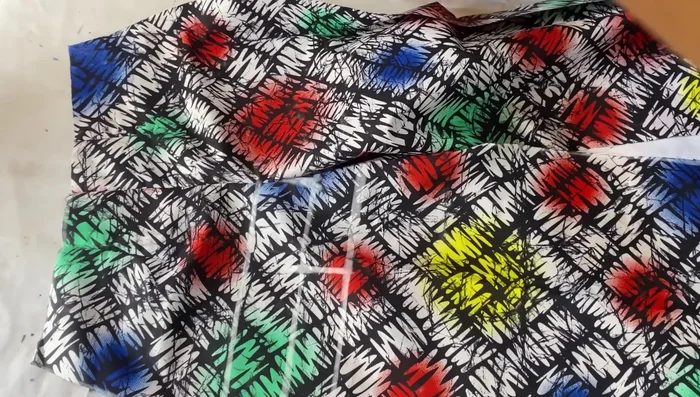
- Mark the dart (4 inches from center front, down 5 inches). Connect to form a dart.
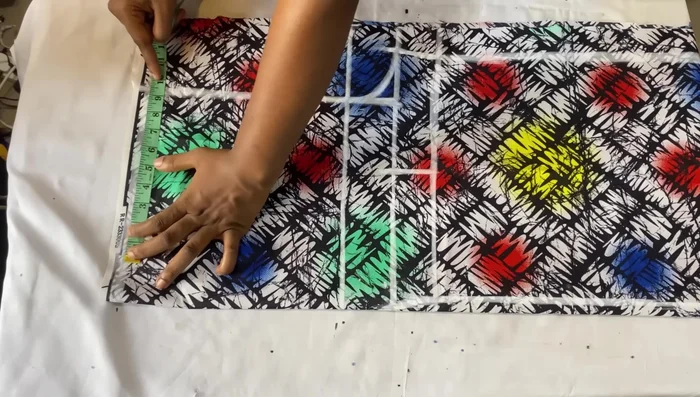
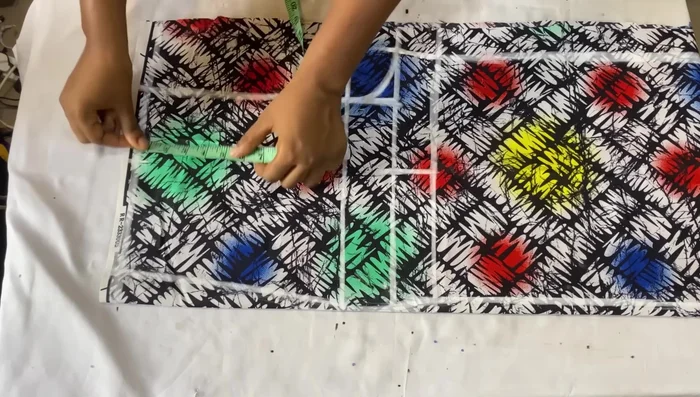
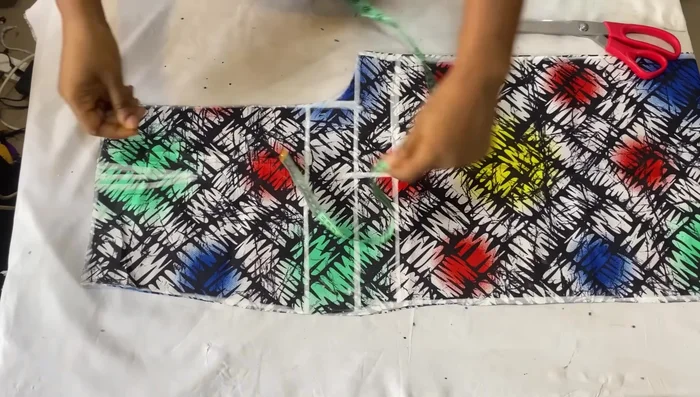
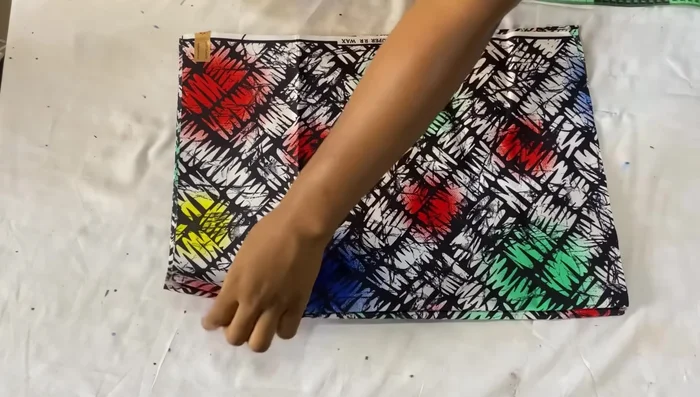
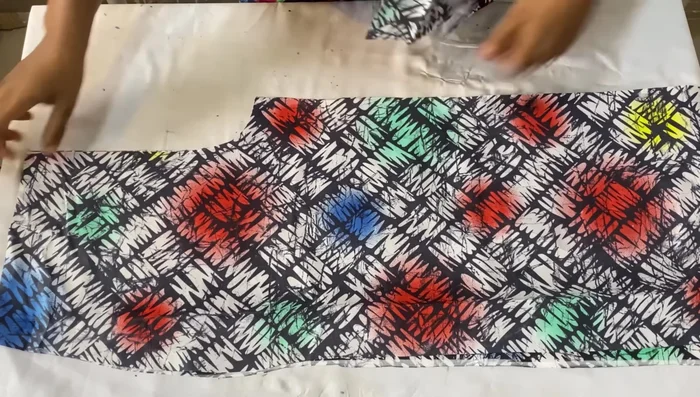
Prepare the trouser pattern (Front) - Cut out the front pant panel.
- cut out the waistband allowance after taking other measurements)
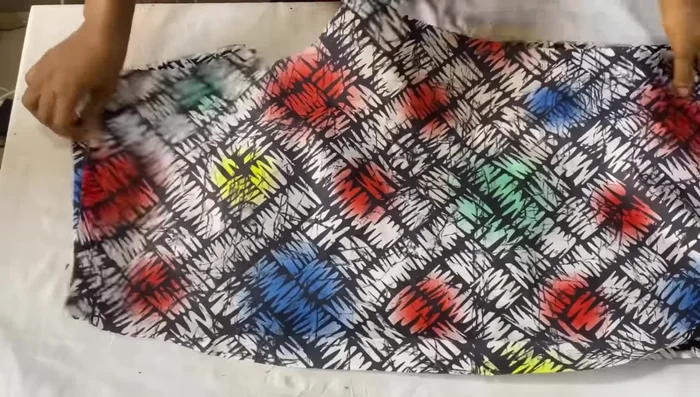
Prepare the trouser pattern (Front) Prepare the trouser pattern (Back)
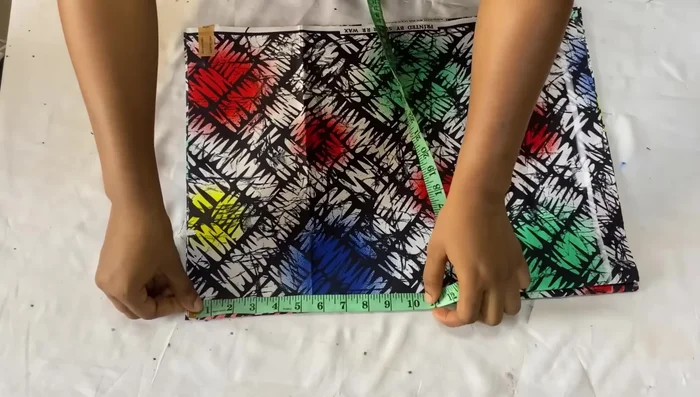
- Cut out the back pant panel using the front panel as a pattern. Add extra fabric at the top (2.5 inches), crotch extension (4 inches), and the other side (3 inches). Extend the center back by 2 inches at the top, 2.5 inches at the hip, and 4 inches at the crotch.
- Mark the seam allowances (2 inches from tie line down, 1.5 inches for side seams, and 2 inches for the zipper allowance).
- Cut out the back panel.
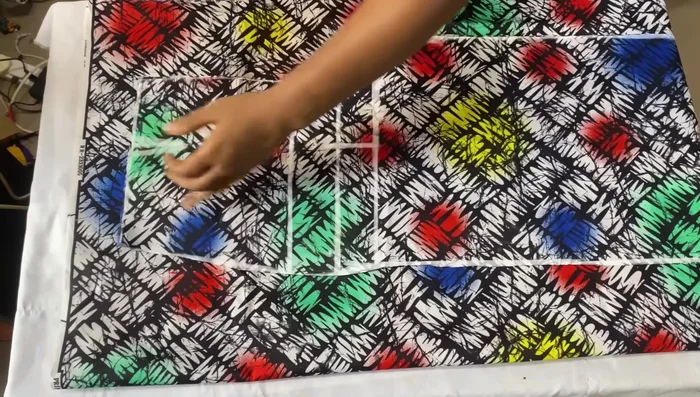
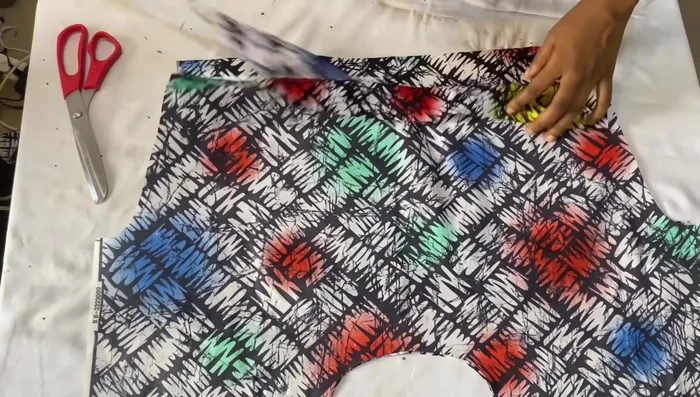
Prepare the trouser pattern (Back) Prepare the crop top pattern
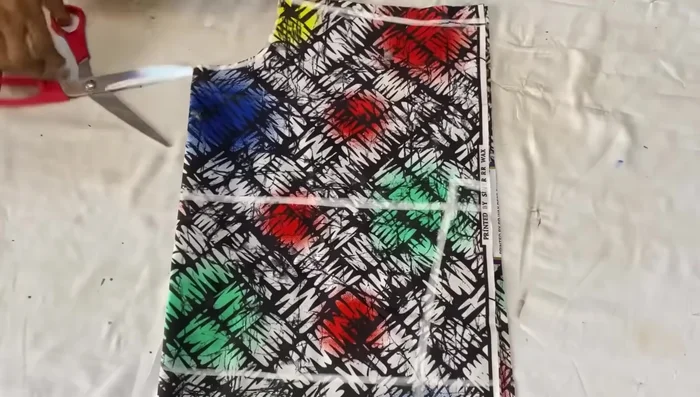
- Cut out the crop top (front and back together). Divide bust measurement by 4, add 2 inches (1 inch for ease and 1 inch for seam allowance). Cut the length at 20 inches (19 inches + 1 inch seam allowance).
- Cut a neckline (4 inches wide, 4 inches deep) for both front and back. Mark shoulder slope (1 inch). Mark bust and wrist points, adding ease and seam allowance.
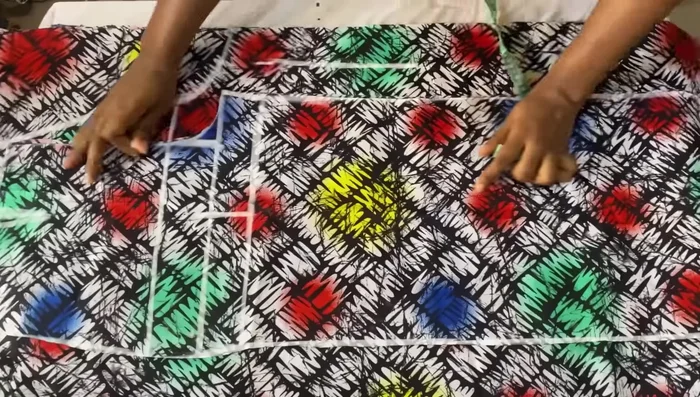
- Cut out the crop top.
Prepare the crop top pattern Construct the crop top
- Finish the neckline and armholes of the crop top with bias binding.
- Sew the side seams of the crop top (1 inch seam allowance). Finish the bottom hem.
Construct the crop top Construct the pants (Part 1)
- Sew the crotch seams of the front pant panels (1/2 inch seam allowance).
- Sew the crotch seams of the back pant panels (1/2 inch seam allowance), leaving the zipper opening.
- Sew the darts.
- Sew the side seams of the pant (1 inch seam allowance).
Construct the pants (Part 1) Construct the pants (Part 2)
- Sew the crotch seams (1 inch seam allowance).
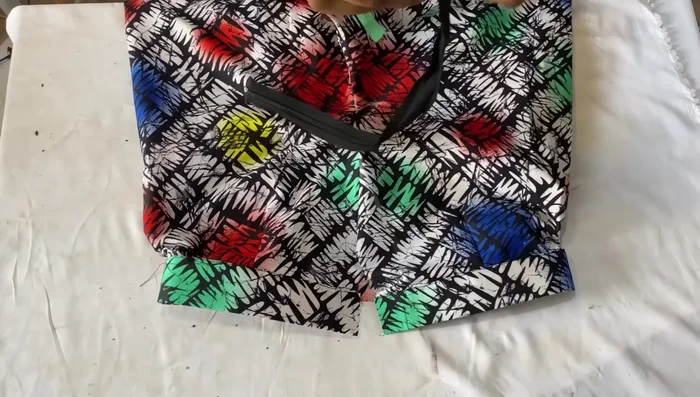
- Cut and sew the waistband (2 inches high).
- Hem the bottom of the pants (fold twice, 1/2 inch each).
- Insert the zipper.
Construct the pants (Part 2)
Read more: Raglan Sleeve Sewing Tutorial: A Step-by-Step Guide
Tips
- Add extra fabric to the back for better fit and comfort when sitting.
- Use a bias binding to finish the neckline and armholes for a clean finish.
- Ensure both pant legs are equal before hemming.