The drop waist dress, with its timeless elegance and flattering silhouette, remains a popular choice for sewists of all levels. Its distinctive high waistline and flowing skirt create a charming and versatile garment, perfect for everything from summer picnics to evening events. This classic style is surprisingly accessible, even for complete beginners, and this guide will walk you through the process of creating your own. Forget complicated patterns and daunting instructions; we'll break down the construction into manageable steps, using straightforward techniques that are easy to follow.
This beginner-friendly tutorial will equip you with the knowledge and confidence to sew a beautiful drop waist dress, from selecting the right fabric to finishing the final seams. We'll cover essential techniques like cutting fabric accurately, mastering basic seams, and adding a comfortable, finished neckline. Ready to embark on your sewing journey? Let's dive into the step-by-step instructions and transform your fabric into a stunning, wearable masterpiece.
Preparation and Safety Guidelines
- Fabric
- Needle
- Thread
- Scissors
- Pins
- Sewing Machine (optional)
- Always use sharp sewing machine needles and pins appropriate for your fabric to prevent skipped stitches or fabric damage. Dull needles increase the risk of injury.
- Be mindful of your fingers when using the sewing machine. Keep your fingers away from the needle and presser foot at all times.
- If working with fabric containing pins, always check the fabric before sewing to avoid damaging your machine or getting injured.
Step-by-Step Instructions
Create the Pattern
- Draw the front and back neckline and sleeve pattern on paper, adding seam allowance.
- Cut out the pattern pieces.
- Create the back bodice pattern by drawing a 1-inch line on either side of the spine, ensuring the back piece fits correctly.

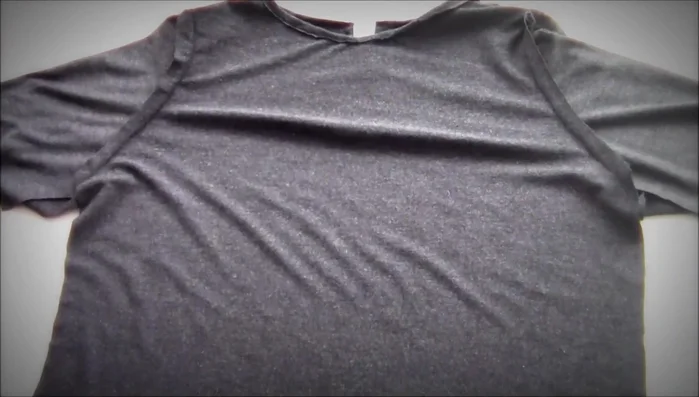
Create the Pattern Construct the Bodice
- Sew the neckline, clip curves, and topstitch.
- Pin and sew the front and back pieces together at the shoulders.
- Attach the sleeves.
- Check if the top fits over your head; if not, create a keyhole opening at the back.
Construct the Bodice - Sew the sleeves and side seams of the bodice.
- Hem the sleeves (optional).
Construct the Bodice Create the Skirt
- Cut out two rectangular skirt panels. The width is determined by measuring around the bottom of the bodice; the length is your desired skirt length.
- Hem one side of each skirt panel.
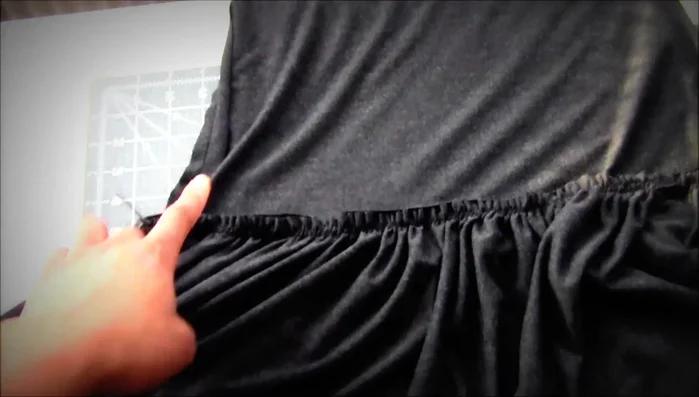
- Gather the top edge of each skirt panel to match the circumference of the bodice.
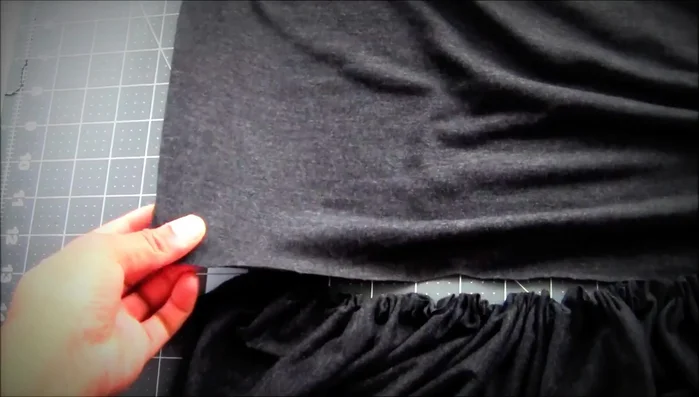
Create the Skirt Attach the Skirt to the Bodice
- Pin and sew the gathered skirt panels to the bodice.
Attach the Skirt to the Bodice Finish the Dress
- Finish the side seams of the skirt.
- Hem the bottom of the skirt.
Finish the Dress


Read more: Raglan Sleeve Sewing Tutorial: A Step-by-Step Guide
Tips
- Always add seam allowance to your pattern pieces.
- Check the fit of the bodice before attaching the skirt to avoid fitting issues.
- If using a stretchy fabric, hemming may not be necessary.
- Spread the gathers evenly when attaching the skirt to the bodice for a smooth finish.