Creating beautiful and functional baby quilts can seem daunting, but it doesn't have to be! This tutorial will show you how to whip up a charming and cozy quilt with minimal effort and maximum impact, using the wonderfully convenient charm squares. Forget complicated patterns and hours of tedious sewing; this method is perfect for beginners and experienced quilters alike, offering a satisfying project that's quick to complete. Charm squares, with their pre-cut perfection, are your secret weapon to a stunning quilt without the fuss.
Their vibrant colors and varied designs provide endless possibilities for customization, allowing you to create a one-of-a-kind heirloom for a cherished little one. Get ready to discover the joy of simple quilting with this fast and easy project. Let's dive into the step-by-step instructions and begin crafting your adorable baby quilt!
Preparation and Safety Guidelines
- Fabric (Charm Squares, border fabric, backing fabric, binding fabric)
- Sewing Machine
- Pins
- Iron (optional)
- Always supervise young children around sewing machines and sharp objects like needles and scissors.
- Pre-wash your charm squares to prevent shrinkage and color bleeding after the quilt is completed.
- Choose fabrics appropriate for babies – soft, breathable materials are essential. Avoid anything with small, loose parts that could pose a choking hazard.
Step-by-Step Instructions
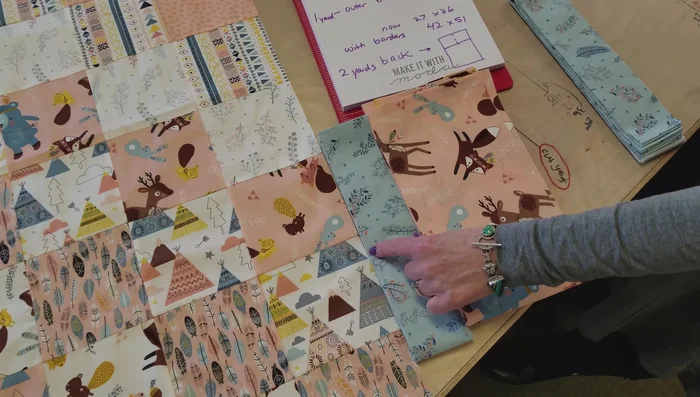
Layout and Arrangement
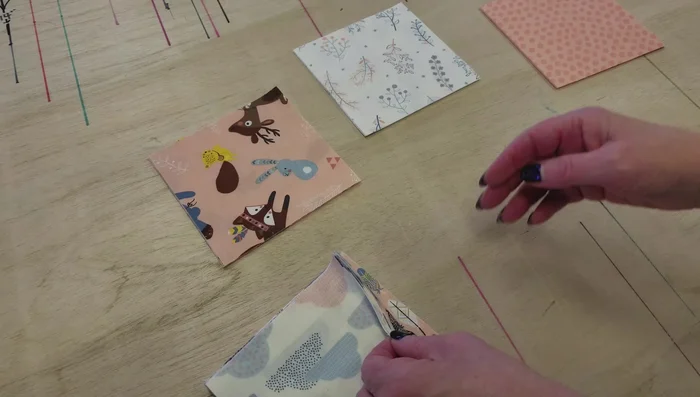
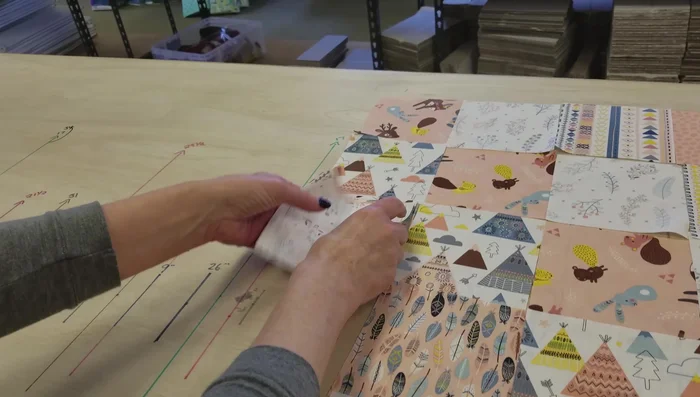
- Arrange the 5-inch charm squares in a pleasing arrangement, considering color and pattern placement. Aim for a balanced look with a dark/light alternation.

Layout and Arrangement Prepare Rows for Sewing
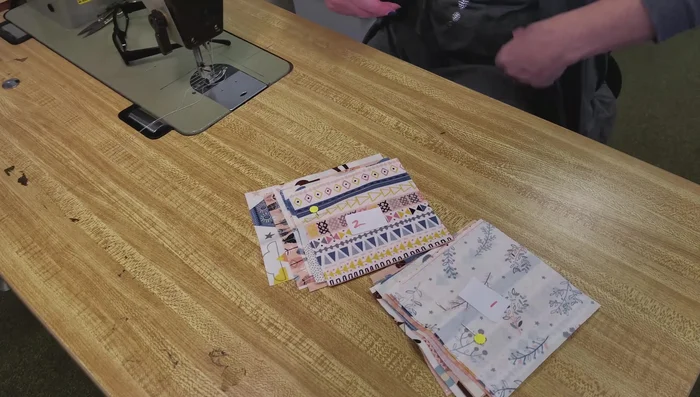
- Stack the rows of charm squares, ensuring they are right-side up and in the correct order. Use pins to secure them.
Prepare Rows for Sewing Sewing the Quilt Top
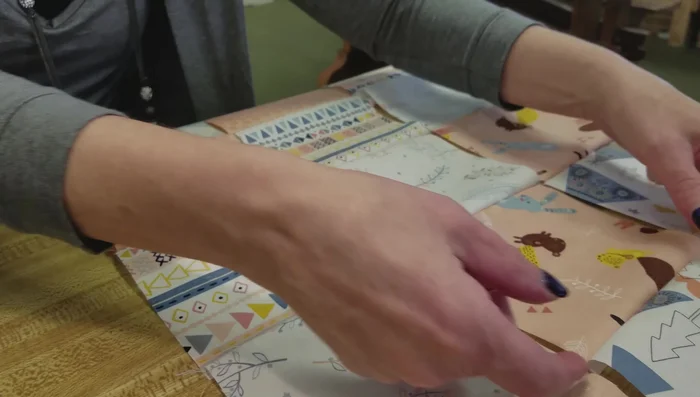
- Sew the stacked rows together, leaving the seams intact. Keep the bottom piece on top throughout the process.
Sewing the Quilt Top Prepare for Borders
- Before adding borders, finger press the seams of each row in alternating directions to make attaching borders easier.
Prepare for Borders Attach Borders
- Cut and sew on the chosen borders (inner and outer). A 2 1/2 inch inner border and 6-inch outer border are suggested in the video.
Attach Borders Complete the Quilt
- Attach the backing fabric and finish with binding.
Read more: King Size Quilt Tutorial: Efficient Chain Piecing Method
Tips
- Lay out the entire quilt before sewing to ensure a balanced design and adjust fabric placement as needed.
- Use pins to keep rows together and oriented correctly, especially when dealing with directional prints.
- Finger pressing seams before joining rows significantly simplifies the process and makes the final quilt look neater.
- Consider using a contrasting backing fabric for an added design element.