Unleash your inner fashion designer with this easy-to-follow tutorial on creating a stunning asymmetrical top using readily available mesh fabric! Asymmetrical designs are incredibly trendy right now, adding a touch of modern edge to any outfit, and this project is perfect for beginners who want to explore their creativity without complex sewing techniques. Forget expensive boutiques – you can craft a unique, stylish top that perfectly reflects your personal style for a fraction of the cost. Mesh is a forgiving fabric, making it ideal for this project even if you're new to sewing.
This tutorial guides you through each step, from choosing your materials to the final finishing touches, ensuring a professional-looking result. Get ready to create a one-of-a-kind top that will turn heads, and let's dive into the step-by-step process of making your own asymmetrical mesh masterpiece!
Preparation and Safety Guidelines
- mesh fabric
- tracing wheel
- ruler
- scissors
- sewing machine
- pins
- Always use sharp scissors and pins to prevent accidental pricks or cuts. Handle your sewing machine with care, keeping fingers clear of moving parts.
- Mesh fabric can be delicate. Handle it gently to avoid snags or tears. Use a fine needle and appropriate stitch length for best results.
- Before cutting your final fabric, create a test piece using scrap material to practice your pattern and ensure a proper fit.
Step-by-Step Instructions
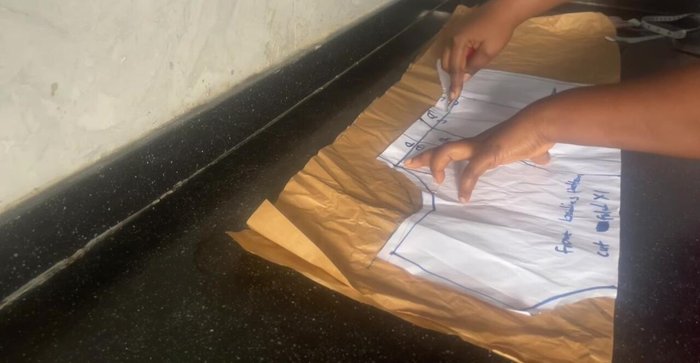
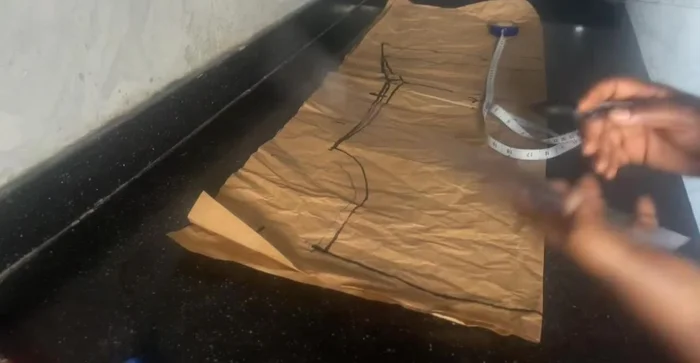
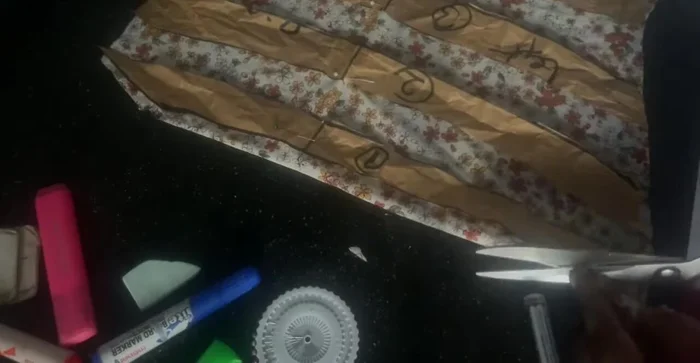
Prepare the Pattern
- Prepare basic bodice pattern. (If you don't have one, refer to a previous video on making basic bodices.)
- Trace the pattern onto mesh fabric using a tracing wheel. No seam allowance is needed for stretchy mesh.
- Remove 1 inch from the waistline allowance.
- Determine the desired length (26 inches in this example) and mark it on the pattern.

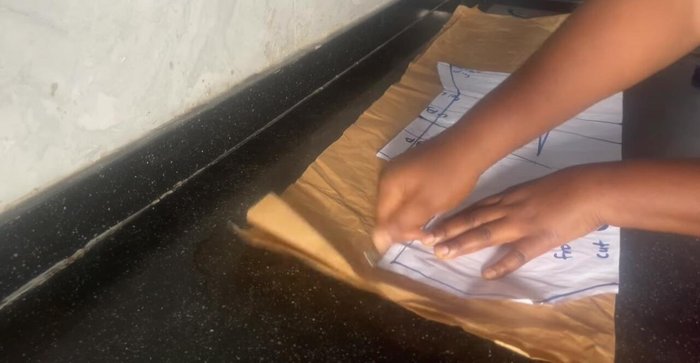
Prepare the Pattern - Extend the shoulder line by 3 inches. Curve the line back to the shoulder point using a ruler.
- Mark 2 inches from the end point on either side of the neckline and create a sloping line from the waistline to the nipple point.
- Refine the neckline if needed, adjusting to personal preference.
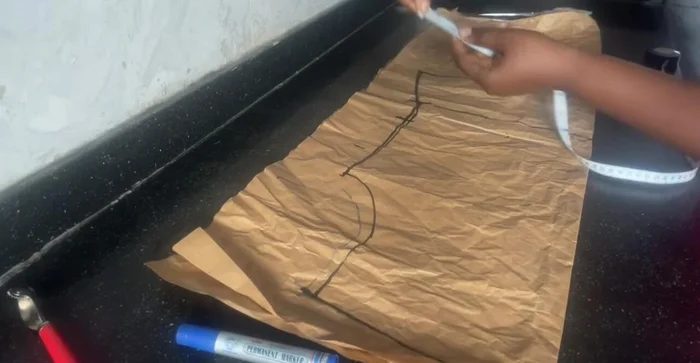
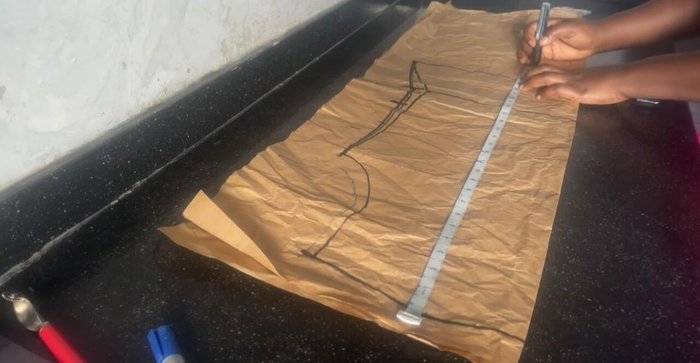
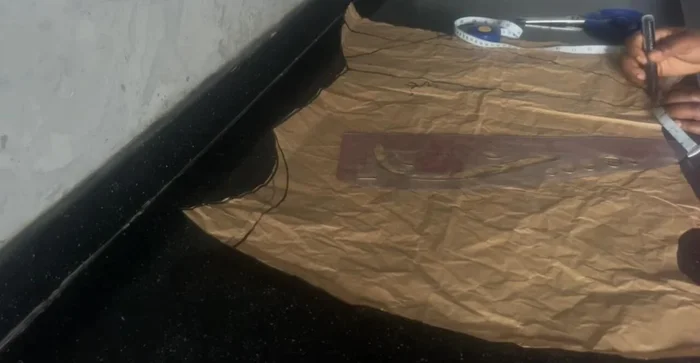
- Cut the pattern. For the off-shoulder design, mark and cut off 3 inches from the shoulder area, and then cut 9 inches from the shoulder section that will fall, and 5 inches from the other shoulder (adjust according to your shoulder width).
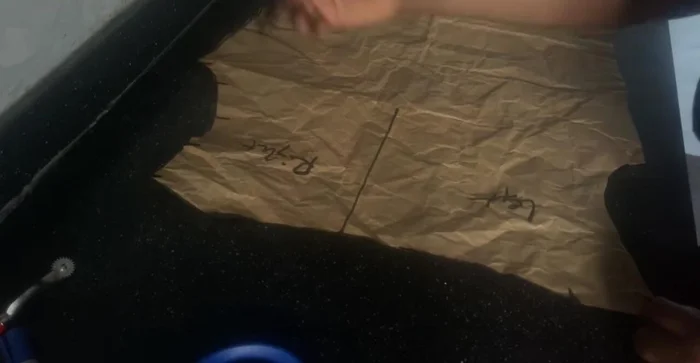
Prepare the Pattern - Cut the back pattern using the same process. Label the right and left sides of the pattern.
- Create the front pattern's rouched section by marking 2-2.5 inches from the armhole and connecting the lines to create a slash-and-spread effect.
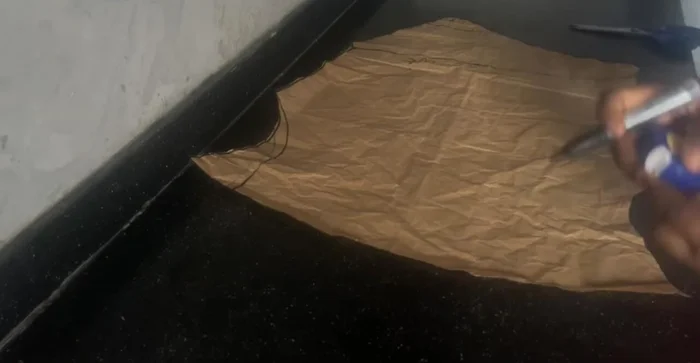
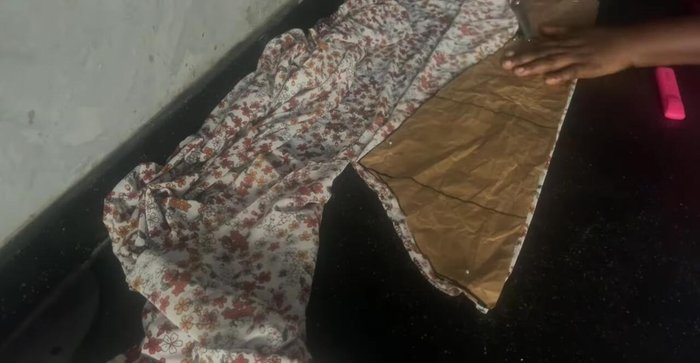
Prepare the Pattern Cut the Fabric
- Cut the front pattern. Number the pattern pieces for easy assembly.
- Pin and cut the front pattern pieces, adding 2-3 inches of allowance for facing.
- Mark the neckline before folding for cutting.
- Cut the facing.
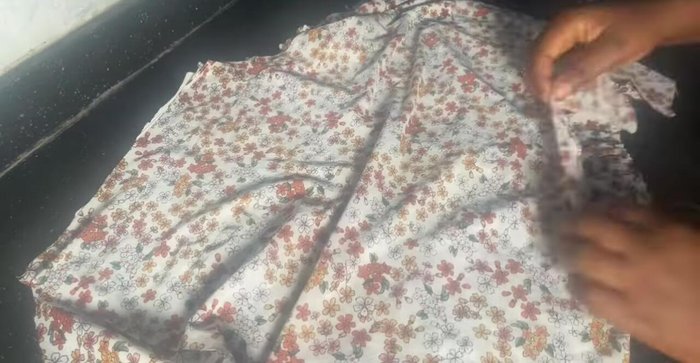
Cut the Fabric Assemble the Top
- Gather the top's waistline.
- Create the sleeves. Measure and mark your bicep, elbow, and wrist. Add 2.5 inches to the hem and connect the lines.
- Cut the sleeves.
- Join the front and back pieces at the shoulder seams, right sides facing. Pin and stitch.
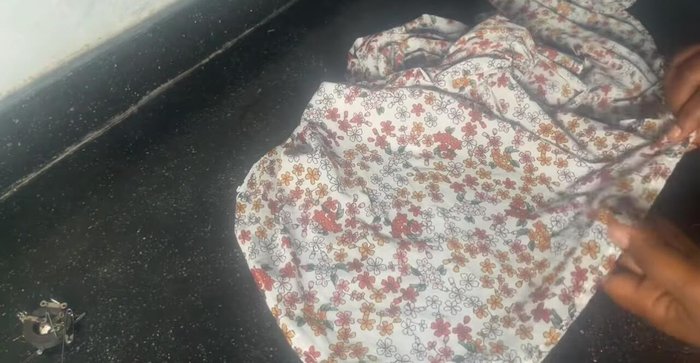
Assemble the Top - Hem the bottom of the top.
- Hem the sleeves.
- Join the sleeves to the bodice. Pin, then stitch.
- Finish sewing and turn the garment right side out.
Assemble the Top

Read more: Raglan Sleeve Sewing Tutorial: A Step-by-Step Guide
Tips
- No seam allowance is needed for mesh fabric due to its stretchiness.
- When cutting off-shoulder sections, cut slightly more (e.g., 9 inches instead of 8 inches) to ensure proper drape.
- Use pins to secure fabric before sewing, especially with mesh fabric.