The Amalia dress, with its elegant pleated bodice and flowing skirt, is a garment that effortlessly blends sophistication with comfort. Its unique design, characterized by precisely placed pleats that create a flattering silhouette, makes it a perfect choice for a variety of occasions, from a summer garden party to a chic evening event. Imagine the compliments you'll receive wearing this beautifully crafted dress, a testament to your sewing skills and impeccable taste. This classic style, while seemingly complex, is surprisingly achievable with a little guidance and patience.
This comprehensive guide will walk you through each step of creating your own stunning Amalia dress, from selecting the perfect fabric to finishing those delicate pleats. We'll provide clear instructions, accompanied by helpful illustrations, to ensure a successful sewing experience, even for beginners. Prepare to be amazed as you transform fabric into a breathtaking garment; let's begin the step-by-step process now!
Preparation and Safety Guidelines
- Amelia dress pattern
- Structured fabric
- Medium weight fusible interfacing
- Chalk or fabric pencil
- Rhinestones (optional)
- Zipper
- Soft tulle mesh (optional)
- Always use sharp scissors and pins to prevent fabric slippage and injury. Handle your sewing machine needles and pins with care, and never leave them lying around.
- Before cutting your fabric, carefully check and double-check your measurements and pattern pieces. Incorrect cutting can lead to a poorly fitting garment.
- When working with pleats, ensure they are evenly spaced and pressed firmly to create a crisp, professional finish. Take your time with this step for best results.
Step-by-Step Instructions
Prepare Fabric
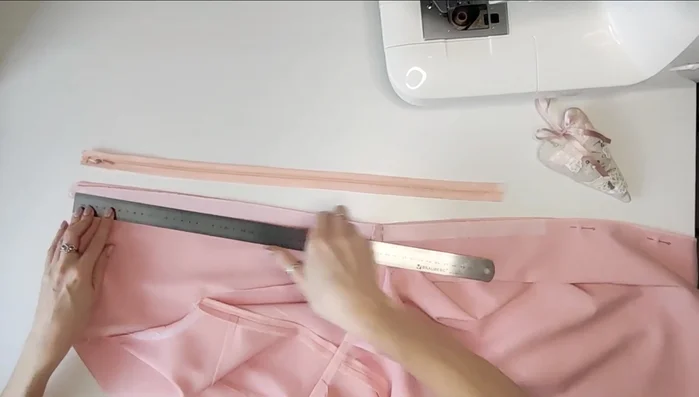
- Cut out the bottom pieces and mark the darts, pleats, and other notches. Transfer the markings to your fabric.
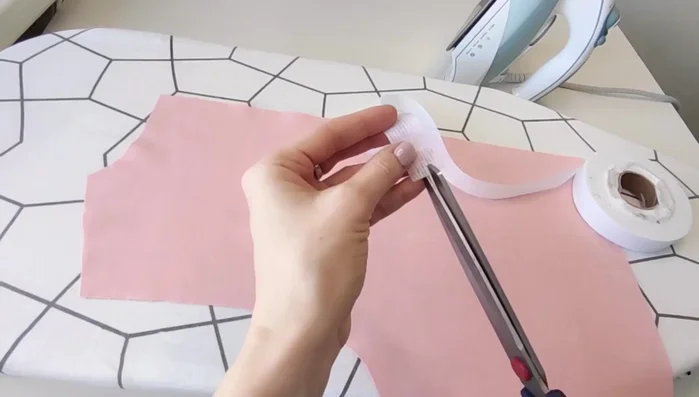
- Apply interfacing to the wrong side of the pieces to prevent stretching.

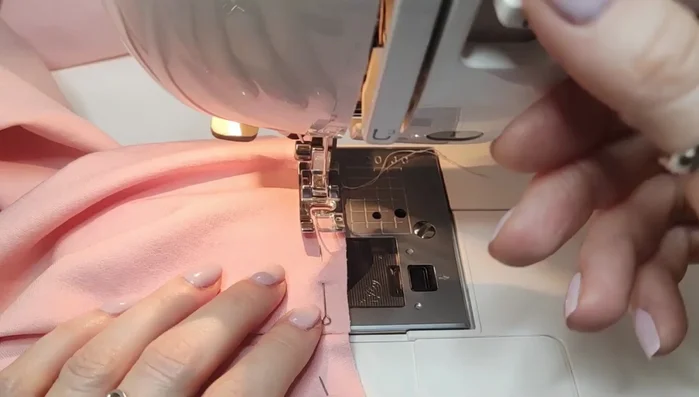
Prepare Fabric Construct Bodice
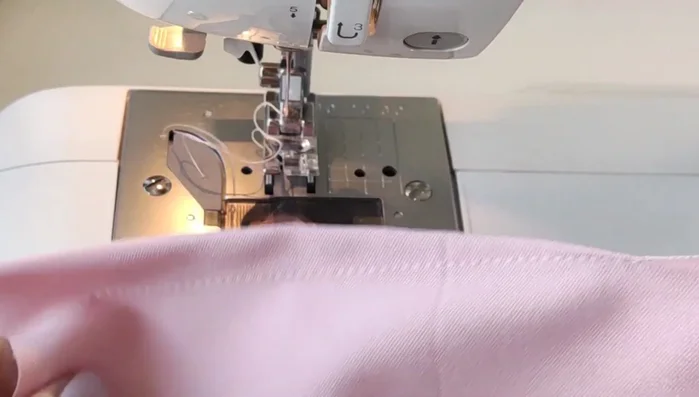
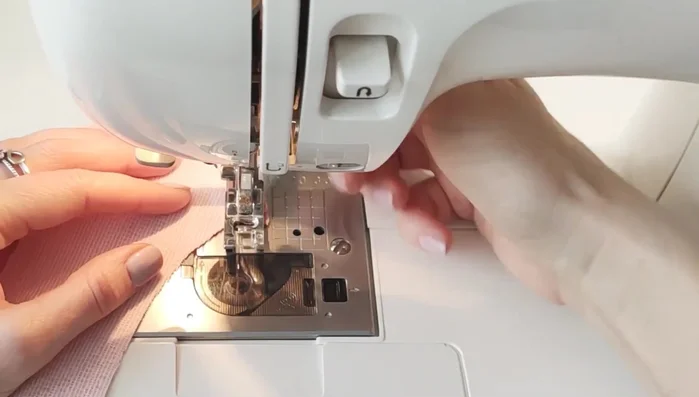
- Stitch the darts on the front and back bodice pieces, starting at the bottom and working to the top. Tie off threads and snip excess.
- Press the darts towards the center and bust darts towards the top.
- Join the front and back bodice pieces at the shoulder and side seams. Press seams open.
Construct Bodice Construct Skirt
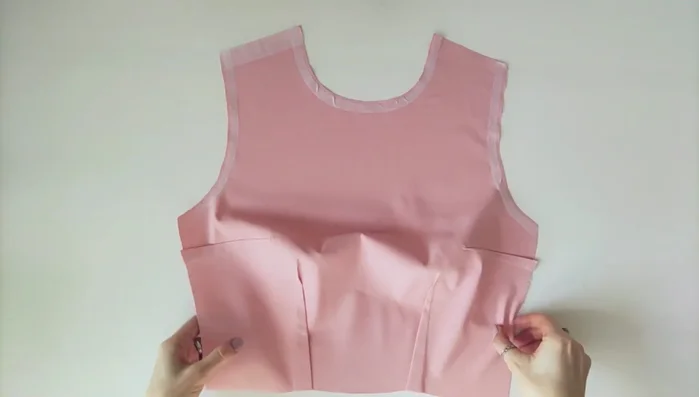
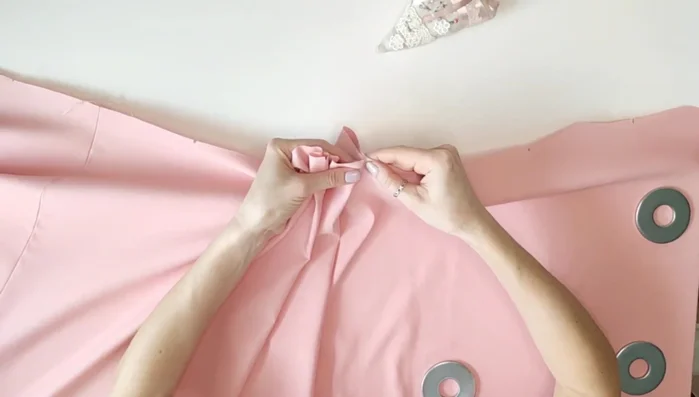
- Stitch the front and back skirts together, press seams open. Make pleats, matching the markings on your pattern.
Construct Skirt Attach Skirt to Bodice
- Join the skirts to the bodice, matching darts, pleats, and side seams. Press seam allowances together.
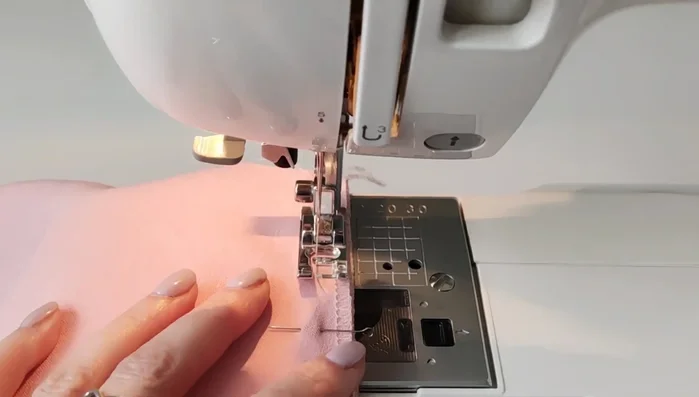
Attach Skirt to Bodice Add Closure
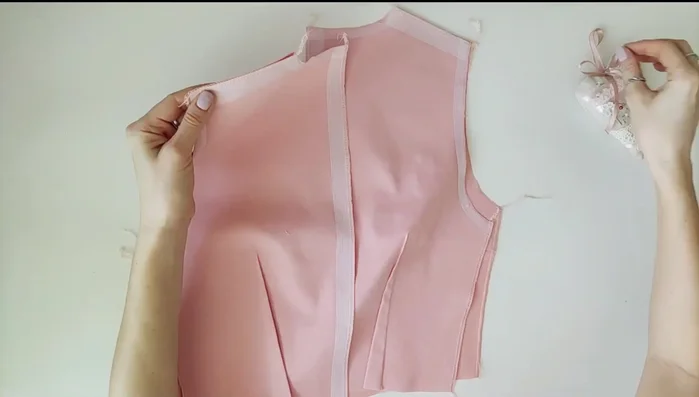
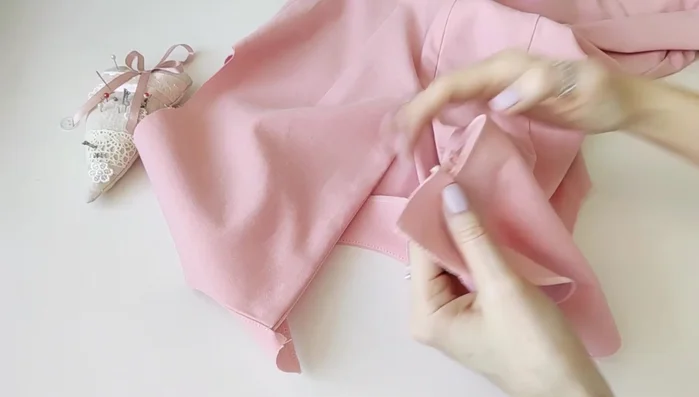
- Attach the zipper to the center back seam, leaving a seam allowance.
- Add button and loop closure at center back.
Add Closure Add Neckline Facing
- Attach the facing to the neckline. Stitch, clip curves, and topstitch.
Add Neckline Facing Construct and Attach Sleeves
- Sew sleeves, press seams open. Gather sleeve cap using ease stitching.
- Attach sleeves to armholes. Gather bottom of sleeves and cuffs. Attach cuffs.
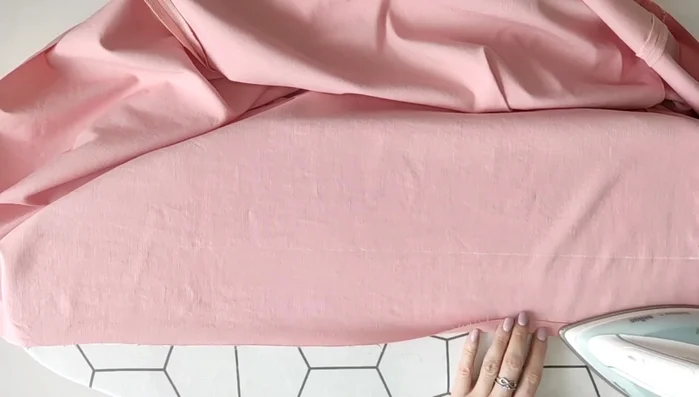
Construct and Attach Sleeves Finishing Touches
- Hem the dress.
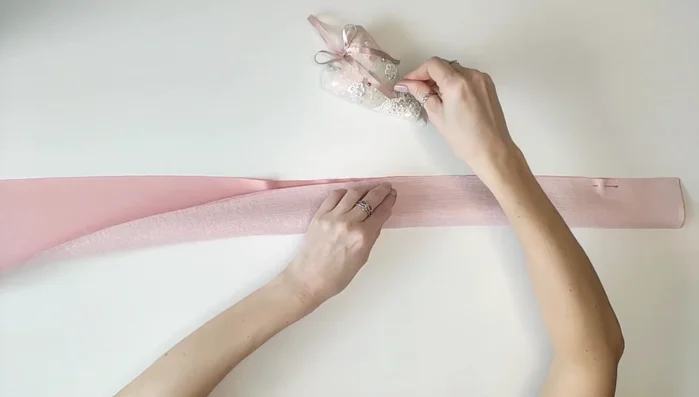
- Make and attach the belt. Add embroidery (optional).
- Add tulle to puff the sleeves.
Finishing Touches


Read more: Raglan Sleeve Sewing Tutorial: A Step-by-Step Guide
Tips
- Use structured fabrics to maintain pleat and dart shape.
- Use medium weight fusible interfacing to stabilize the belt and facing.
- Add rhinestones for extra embellishment (optional).
- To make puffy sleeves, add soft tulle mesh to the seam allowance of the sleeve.