Tired of the same old boring outerwear? Ready to unleash your inner fashion innovator and create something truly unique? Then get ready to dive into the world of AI-assisted design with this comprehensive tutorial on crafting your own personalized trench coat! We'll be harnessing the power of AI to generate a stylish and functional pattern, ensuring a perfect fit and a truly bespoke look that reflects your individual style. Forget generic designs and mass-produced clothing – this project empowers you to take control and build a garment that's as unique as you are.
This DIY project will guide you through each stage, from utilizing AI tools for pattern creation to the essential steps of cutting, sewing, and finishing your custom trench coat. Whether you're a seasoned seamstress or a complete beginner, this step-by-step tutorial will empower you to create a stunning, high-quality garment. Let's get started and transform your vision into reality!
Preparation and Safety Guidelines
- sewing machine
- fabric scissors
- iron
- pins
- measuring tape
- interfacing
- buttons
- buttonhole maker (optional)
- mannequin (optional)
- Always use sharp, well-maintained scissors and cutting tools to avoid accidents and ensure clean cuts. Improper tools can lead to injury and inaccurate pattern pieces.
- Handle fabric carefully to prevent snags or tears. Pre-washing fabric is recommended to prevent shrinkage after the garment is completed.
- When working with a sewing machine, always use appropriate safety measures, such as keeping fingers away from the needle and using a sewing machine cover when not in use.
Step-by-Step Instructions
Cut Fabric Pieces
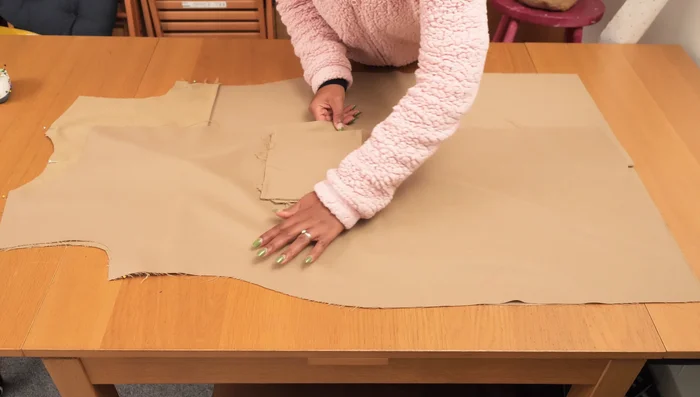
- Cut out fabric pieces using the pattern from the pattern tutorial. This includes the main jacket pieces, lining pieces, pockets, and other details.

Cut Fabric Pieces Assemble Main Jacket Back
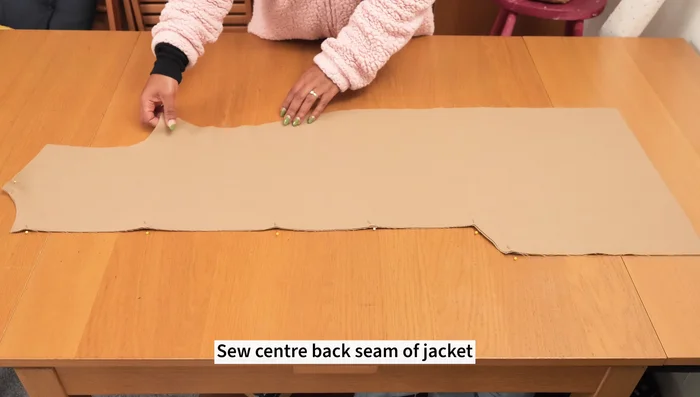
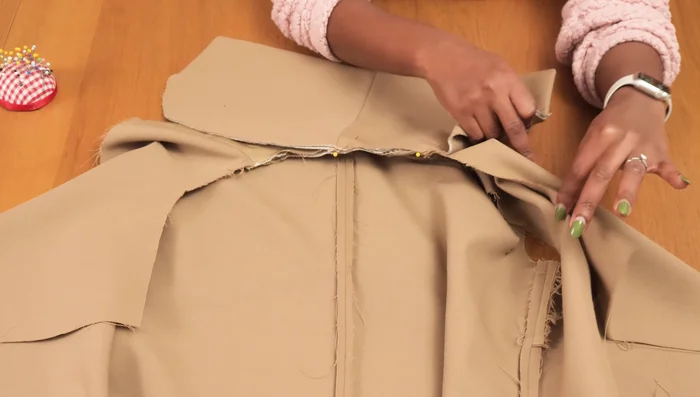
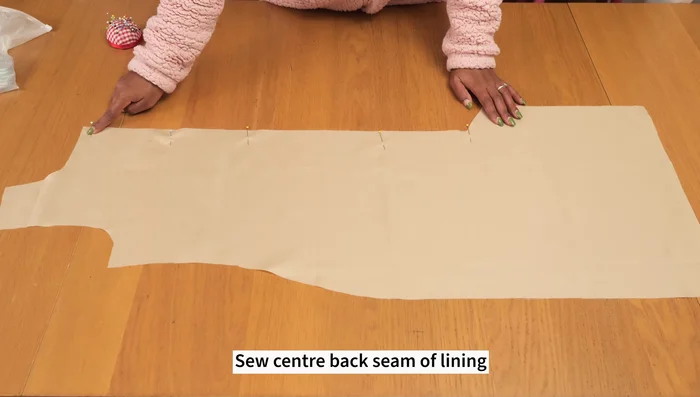
- Stitch the center back seam of the main jacket from top to bottom, leaving the vent open.
- Stitch the storm shield pieces together and attach them to the back of the jacket, incorporating them into the side seams.
Assemble Main Jacket Back Assemble Main Jacket Body
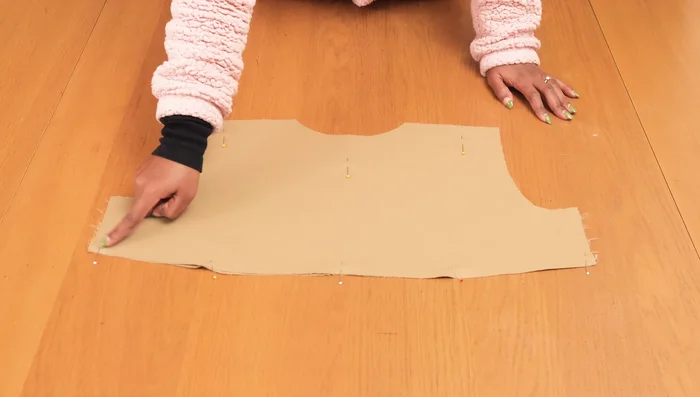
- Stitch the shoulder and side seams of the main jacket, joining the front and back pieces.
Assemble Main Jacket Body Make and Attach Collar
- Sew the collar pieces together, leaving the top edge open to turn it inside out. Trim corners for a sharp finish and press flat.
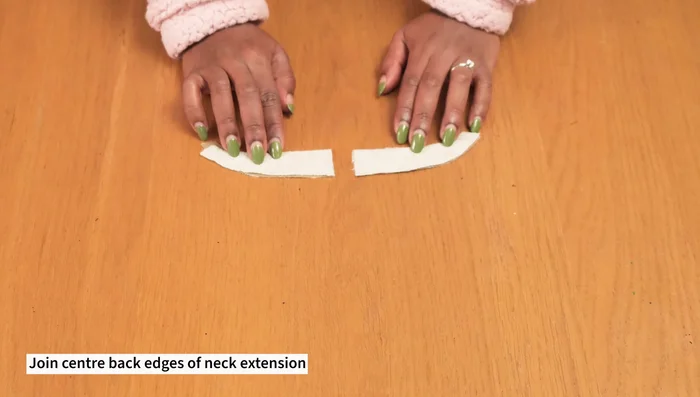
- Sew the optional back neck extension pieces together and attach them to the neckline.
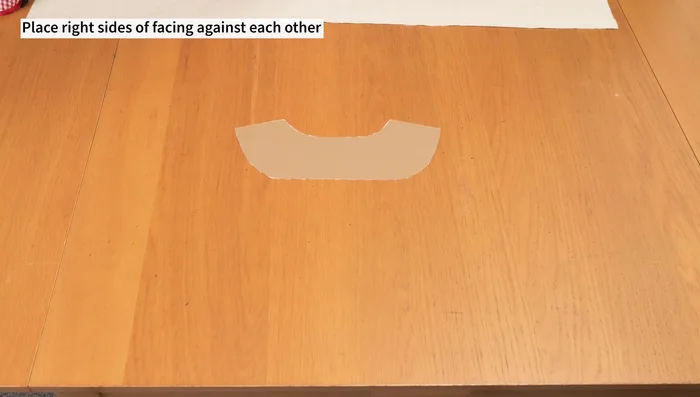
- Join the front and back facings along the shoulder seams. This creates fullness for the collar and finishes the edges.
- Pin and sew the collar to the jacket neckline, sandwiching it between the jacket and facing. Sew the center front edges, connecting lining to jacket.
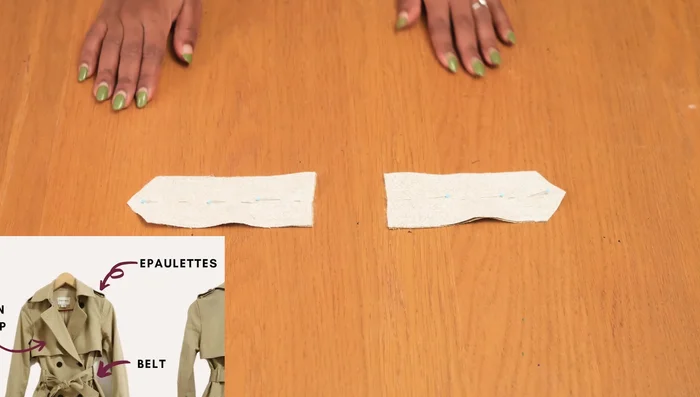
Make and Attach Collar Make and Attach Epaulettes
- Sew the epaulette pieces together, trim corners, and turn inside out. Edgestitch for a clean finish.
Make and Attach Epaulettes Make and Attach Sleeves
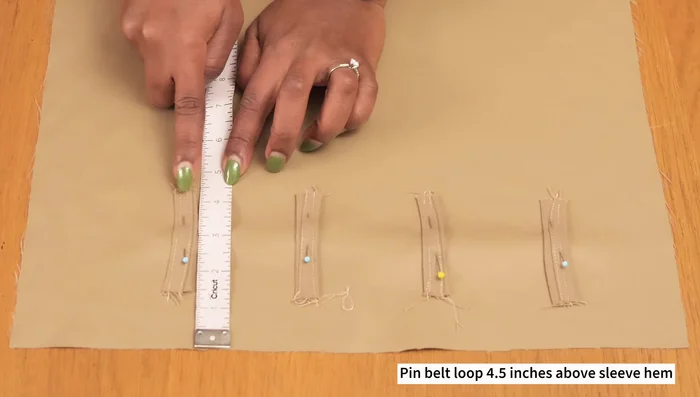
- Sew the sleeve loops (from a separate tutorial) to the sleeves. Stitch the side seams of the sleeves.
- Attach the sleeves to the armholes, easing the fabric to ensure a smooth fit and positioning the epaulettes.
Make and Attach Sleeves Make Lining
- Stitch the lining pieces together, leaving the bottom vent opening unstitched.
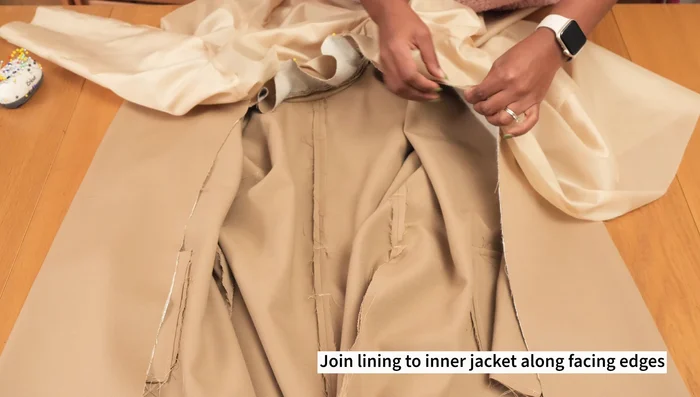
Make Lining Attach Lining to Jacket
- Connect the lining to the jacket, starting at the facing edges. Use specific techniques for attaching the lining at the vent to avoid pulling.
Attach Lining to Jacket Add Finishing Touches
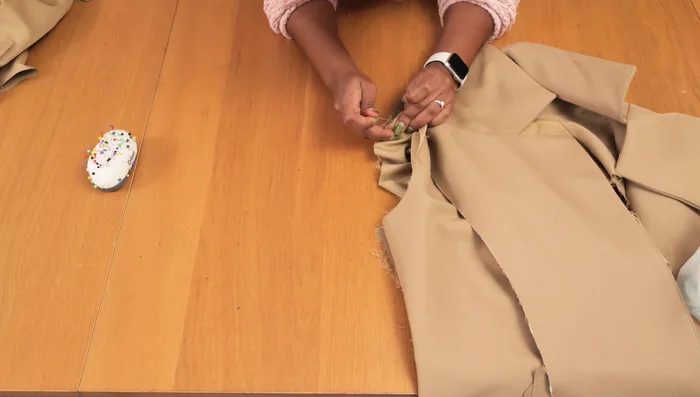
- Attach the belt to the sleeve loops.
- Hand-sew buttons to the front.
Add Finishing Touches

Read more: Raglan Sleeve Sewing Tutorial: A Step-by-Step Guide
Tips
- Notch all your pieces and fuse the facings before sewing.
- Ease points and sew slowly when attaching curved seams, like the collar.
- Trim corners before turning pieces inside out for sharper points.
- Pin notches to notches and ease parts evenly when sewing the collar.
- Use specific techniques for sewing the lining to the vent to avoid pulling.