Quilting is a labor of love, a testament to patience and creativity. But even the most meticulously pieced quilt can be undone by a poorly applied border, resulting in frustrating ripples and a less-than-perfect finish. That unsightly waviness can detract from all your hard work, leaving you feeling disappointed with the final product. No more! This ultimate guide will equip you with the knowledge and techniques to add perfectly straight, flawlessly smooth borders to your treasured quilts, transforming them from good to truly exceptional.
We understand the frustration of battling unruly fabric, so we've developed a clear, step-by-step process designed to eliminate those pesky ripples once and for all. From careful preparation and accurate cutting to pressing and sewing techniques, we’ll cover everything you need to know to achieve professional-looking results. Get ready to transform your quilting experience and create quilts worthy of admiration!
Preparation and Safety Guidelines
- Tape measure
- Pins
- Iron
- Irning board
- Quilt top
- Border fabric
- Sewing machine
- Rotary cutter (optional)
- Ruler (optional)
- Pre-wash your fabrics! Shrinkage after quilting can ruin a perfect border, leading to ripples. Wash all fabrics together before cutting and assembling your quilt.
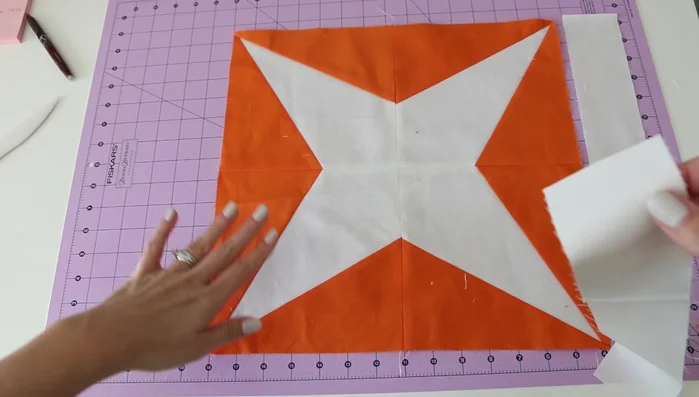
- Accurate cutting is paramount. Use a rotary cutter and self-healing mat for precise cuts to minimize fabric distortion. Ensure all border strips are cut to the exact specified length.
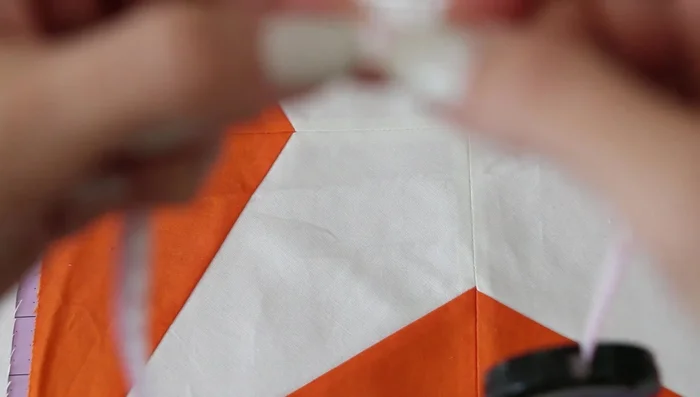
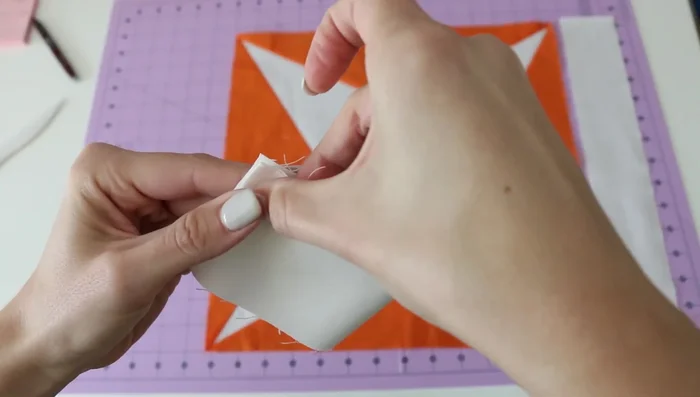
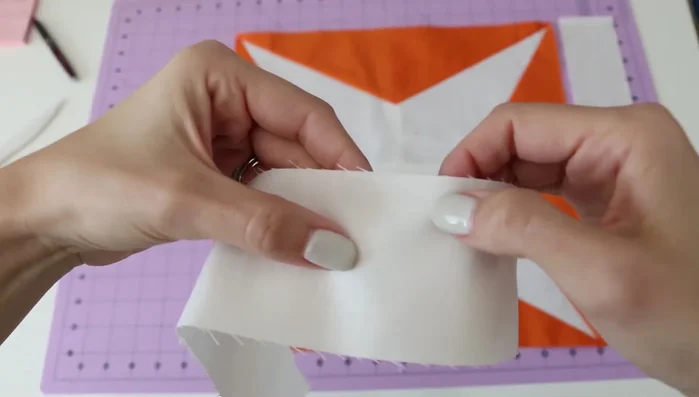
- Pressing is key. Press seams open to avoid bulk and unevenness. Use a hot, dry iron and a pressing surface like a wool mat to prevent heat damage and ensure consistent results.
Step-by-Step Instructions
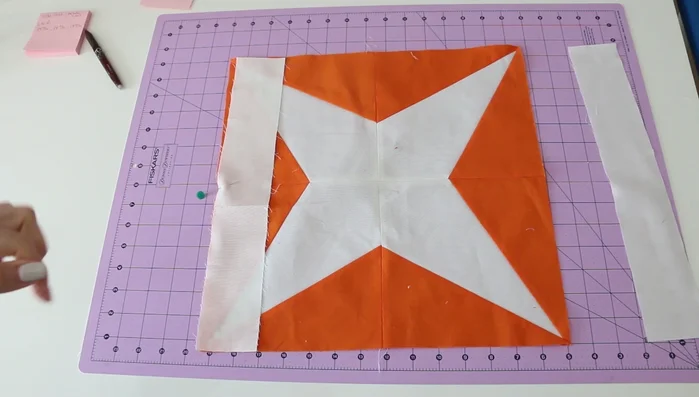
Measure for Side Borders
- Take three measurements (left, middle, right) of your quilt top to account for any irregularities. Average these measurements to find the most accurate length for your side borders.
- Cut side borders to the average length, making it easier to work with (e.g., rounding to the nearest 1/2 inch).

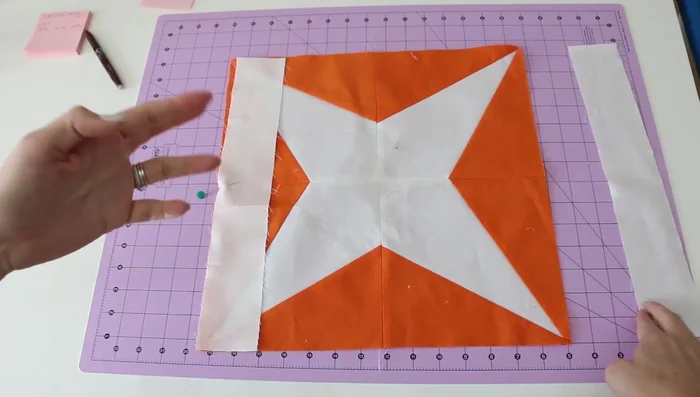
Measure for Side Borders Prepare for Side Border Attachment
- Quarter your quilt and borders:
- Quarter your quilt top and border fabric using finger pressing or other methods to mark the center and quarter points.
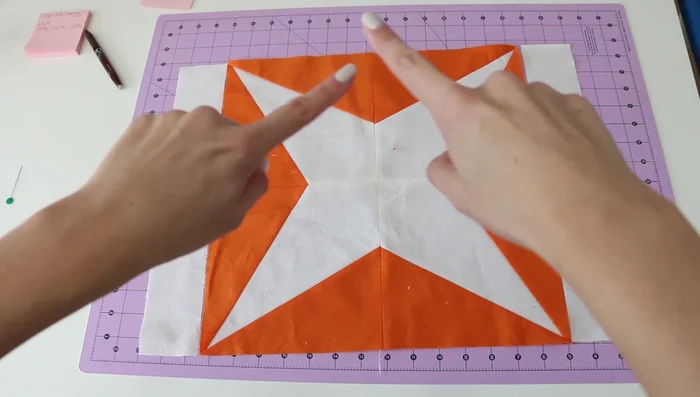
Prepare for Side Border Attachment Attach Side Borders
- Attach Side Borders:
- Match the quarter marks on the quilt and border fabric, pin them together, and sew the side borders, easing in any extra fabric to ensure a square edge.
- Press seams open.
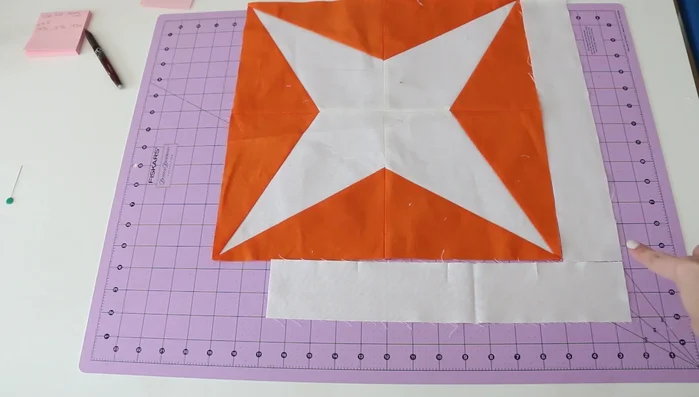
Attach Side Borders Measure for Top/Bottom Borders
- Measure and Attach Top and Bottom Borders:
- Repeat steps 2-3 for the top and bottom borders but include the measurements of the newly attached side borders.
Measure for Top/Bottom Borders Attach Top/Bottom Borders
- Quarter the quilt (including side borders) and top/bottom borders, pin them in place, and sew them on, paying attention to easing any extra fabric.
Attach Top/Bottom Borders Final Check and Adjustments
- Press seams open and check for squareness. Make minor adjustments as needed, ensuring the quilt corners are perfect 90° angles.
Final Check and Adjustments


Read more: King Size Quilt Tutorial: Efficient Chain Piecing Method
Tips
- If sending to a long-arm quilter, precisely follow these steps to prevent rippling.
- For less precise quilts or if you are comfortable with your quilting skills, you can take a single measurement from the center of the quilt and use it for border length.
- For large quilts, you can piece your borders together using either straight-line or bias seams.