A-line skirts are effortlessly chic, flattering to various body types, and surprisingly easy to sew, even for beginners! This DIY tutorial will guide you through the process of crafting your own perfect A-line skirt, from initial design sketches to the final, satisfying stitch. We'll explore simple yet effective techniques, ensuring a professional finish without needing extensive sewing experience. Whether you envision a breezy summer skirt or a sophisticated autumnal piece, this tutorial provides the foundational knowledge and step-by-step instructions to bring your vision to life.
Forget expensive store-bought clothes and embrace the rewarding experience of creating something beautiful with your own hands. This tutorial provides clear instructions and helpful tips, making the seemingly daunting task of sewing a skirt completely manageable. Let's dive into the detailed, step-by-step process of crafting your own unique A-line skirt, transforming your fabric dreams into a wearable reality.
Preparation and Safety Guidelines
- Pattern paper
- Fabric (cotton recommended)
- Ruler
- Scissors
- Sewing machine
- Pins
- Zipper
- Interfacing
- Always use sharp sewing machine needles and pins to prevent fabric snags and injuries. Dull needles increase the risk of needle breakage.
- Before operating any sewing machine, ensure you understand its safety features and operating instructions. Keep your fingers clear of the needle and presser foot.
- When cutting fabric with scissors or rotary cutters, use a cutting mat to protect your work surface and always point the blades away from yourself and others.
Step-by-Step Instructions
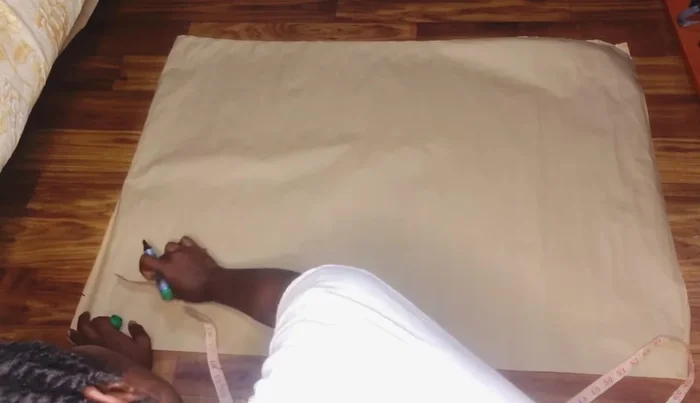
Sketching the Basic Skirt Pattern
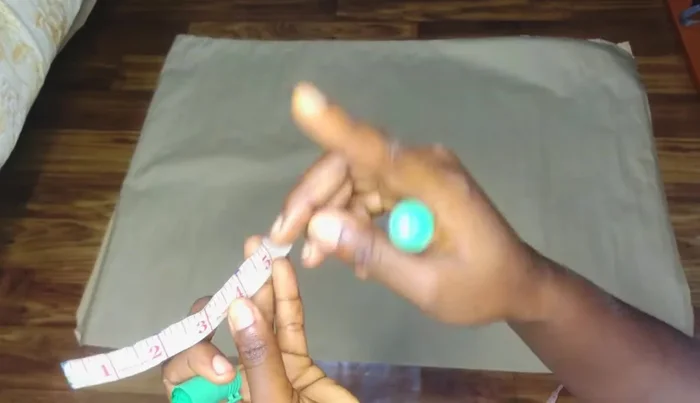
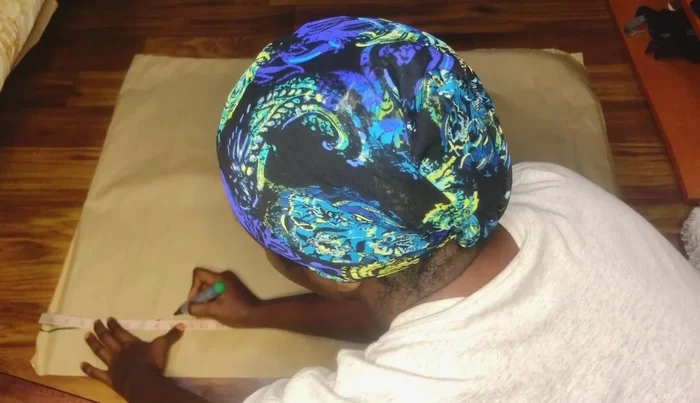
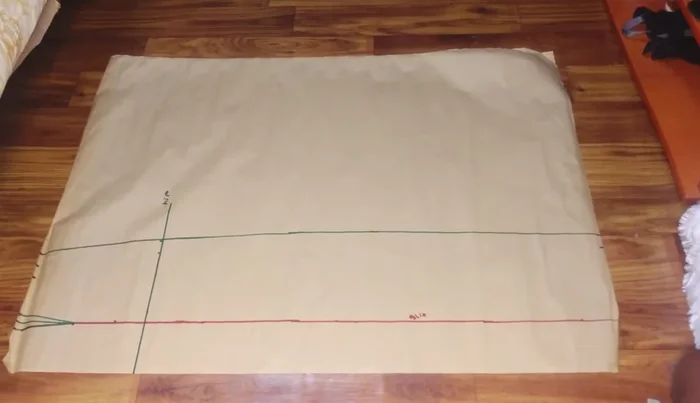
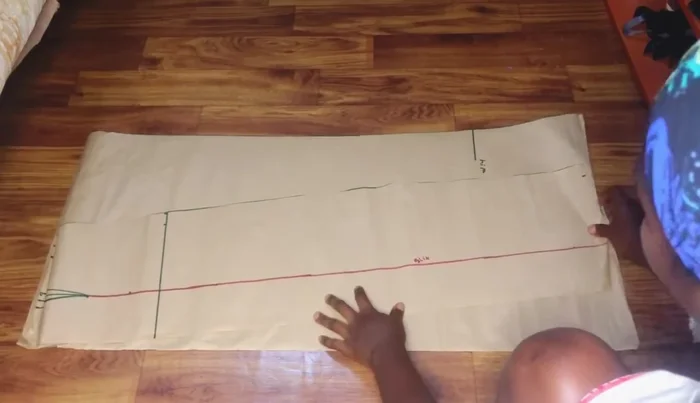
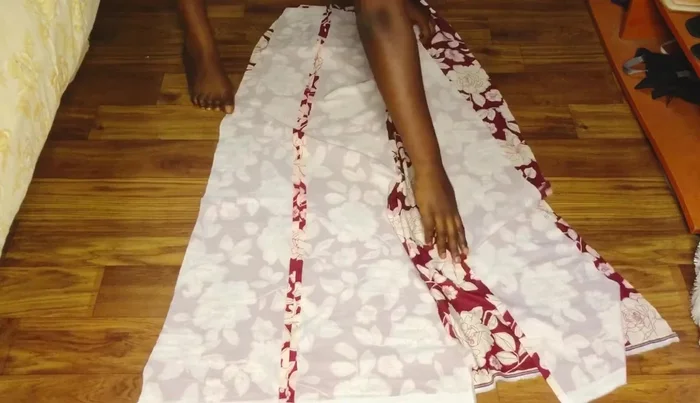
- Mark the full length of the skirt (42 inches in this example) on the pattern paper. Account for any shortfall in pattern paper length by adding extra fabric later.
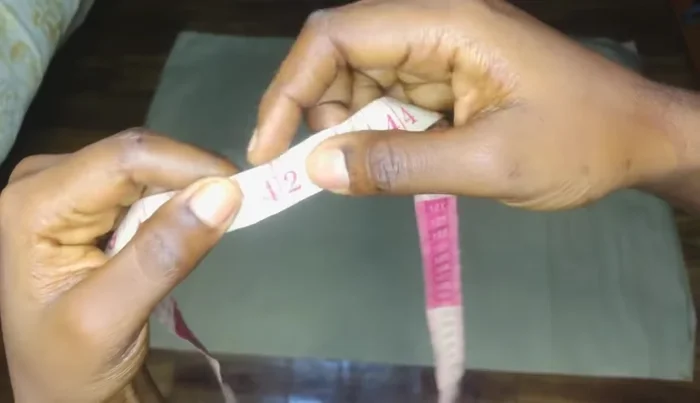
- Determine the apex measurement (e.g., nipple measurement / 2, or waist measurement / 4, then /2). Mark this point (3.5 inches in this example) on the pattern paper.
- Mark a point 4 inches below the apex. Connect the apex and this lower point to form the center front line of the basic skirt.
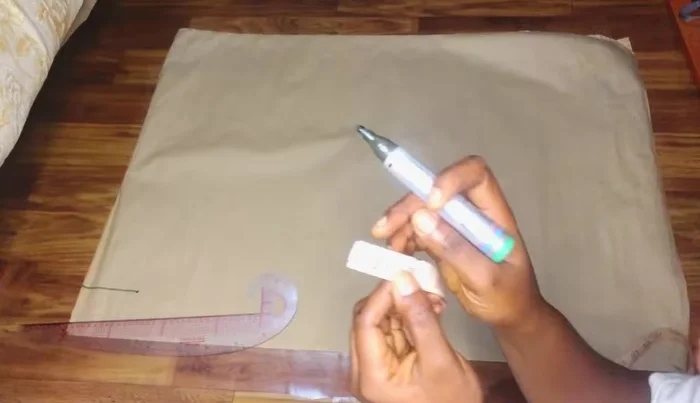
- Mark half an inch on either side of the apex line. Connect these points to the lower point in a slightly curved line, creating the basic skirt shape.

Sketching the Basic Skirt Pattern - Mark the waistline and hipline (9 inches below the waist in this case, for a long skirt).
- Mark the waist measurement divided by four (plus 1 inch seam allowance, and another inch for closing) at the waistline.
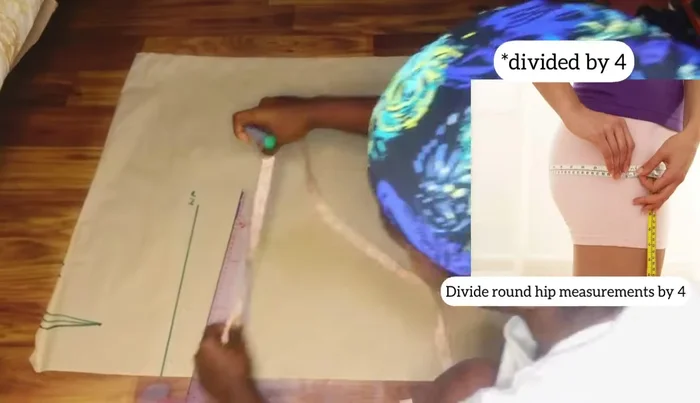
- Mark the hip measurement divided by two (plus 1 inch seam allowance) at the hipline.
- Connect the hip measurement points to the full skirt length to create the A-line flare. Cut the pencil skirt shape from the fabric, then add the flare later.
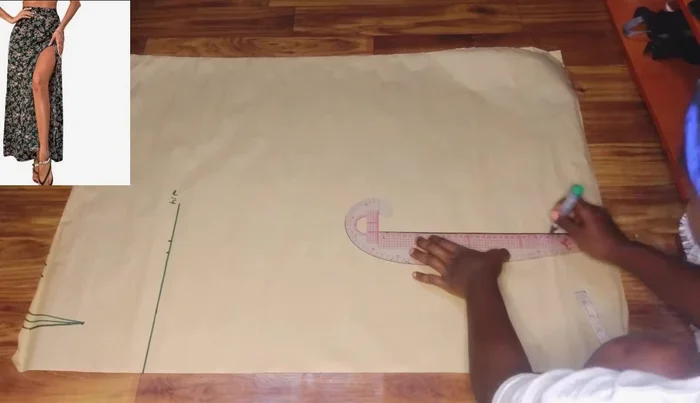
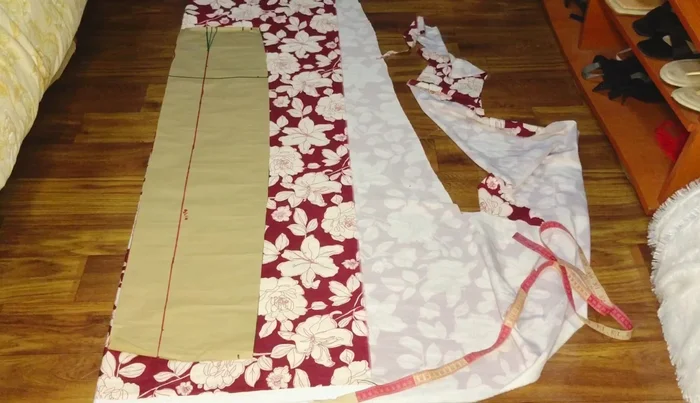
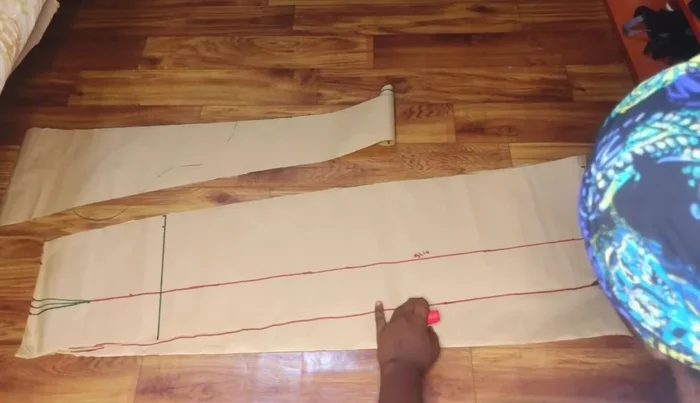
Sketching the Basic Skirt Pattern Creating the Front Pattern Piece
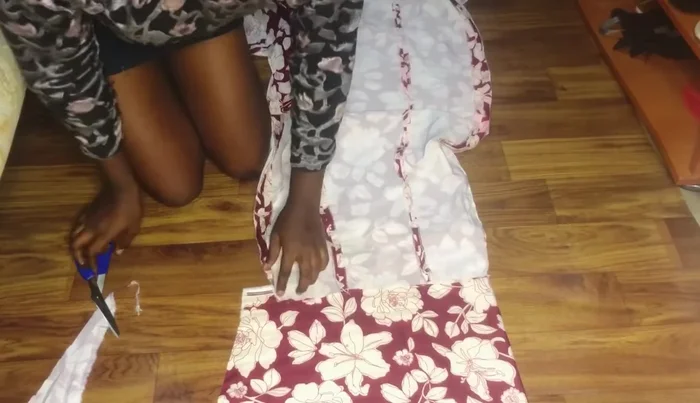
- Extend the apex line to the full length for the slits (single or double, as desired).
- Cut out the front pattern piece.
- Cut out the front piece, allowing extra width compared to the back for the slit.
- Slash the slit area of the front piece to allow for ease of movement. Close the slit slightly, leaving a gap of about 6 inches (divided by two, for a 3-inch slit on each side) for a natural drape.
Creating the Front Pattern Piece - Sew the slit sides together (for a two-seam slit) or only one side, if desired.
Creating the Front Pattern Piece Creating the Back Pattern Piece
- Use the front piece as a template to create the back piece, placing it on the fold of the fabric. Slightly slant the center back area to create a more flattering shape.
- Cut out the back pattern piece, adding the same flare as the front.
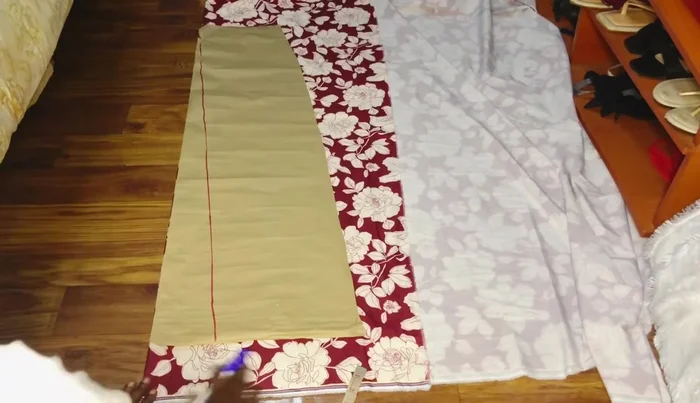
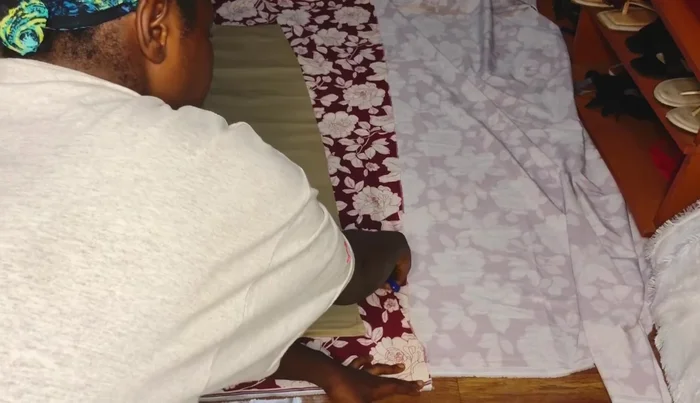
Creating the Back Pattern Piece Cutting Fabric Pieces
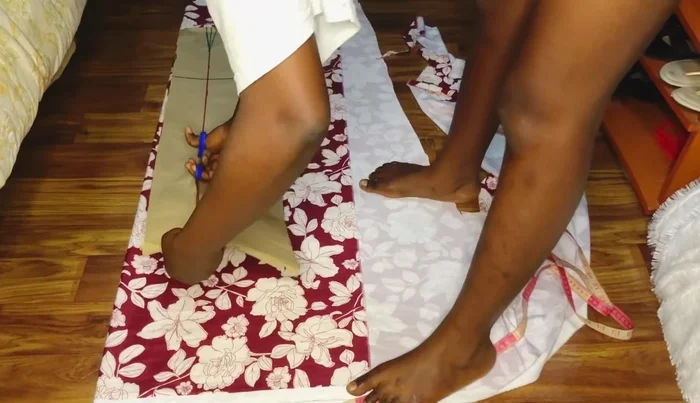
- Cut the front and back pieces from the fabric, ensuring at least a four-inch allowance at the bottom for hemming and shaping the A-line.
- Shape the A-line carefully, ensuring accurate waist measurements. Don't rush the process.
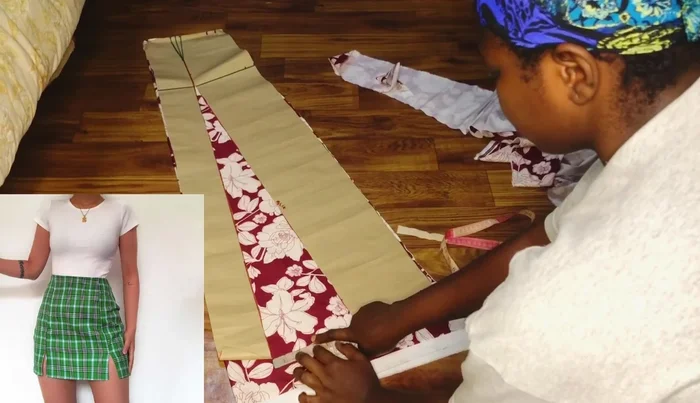
Cutting Fabric Pieces Assembling the Skirt
- Sew the front and back pieces together, leaving a 6-inch opening for the side zipper. Remember to account for the seam allowances.
Assembling the Skirt Creating and Attaching the Waistband
- Cut fabric (with interfacing) to the desired width and length, hem one end, and attach it to the skirt's waistline. Flip and topstitch to secure.
Creating and Attaching the Waistband Adding the Zipper
- Insert the zipper.
Adding the Zipper


Read more: Raglan Sleeve Sewing Tutorial: A Step-by-Step Guide
Tips
- Take your time shaping the A-line. Accuracy in waist measurement is crucial.
- Use interfacing for the waistband to provide structure and a clean finish.
- Topstitch the waistband cleanly so the stitching isn't visible.