Are you tired of sharp, unforgiving box corners threatening your precious belongings during transit or storage? Do you dream of a quick and simple solution to protect your items from damage while still maintaining a streamlined packing process? Then you've come to the right place! This guide unveils the secret to creating effective box corner cushions in a mere 30 minutes – significantly faster than traditional methods. Forget complicated folding techniques and time-consuming crafts; this method emphasizes efficiency without sacrificing protection.
We'll be focusing on a remarkably fast and easy approach utilizing readily available materials that you likely already have on hand. This innovative technique will allow you to safeguard your possessions against bumps and impacts with minimal effort and maximum speed. Ready to learn how to protect your goods in a flash? Let's dive into our step-by-step guide to crafting sturdy, reliable box corner cushions in just 30 minutes.
Preparation and Safety Guidelines
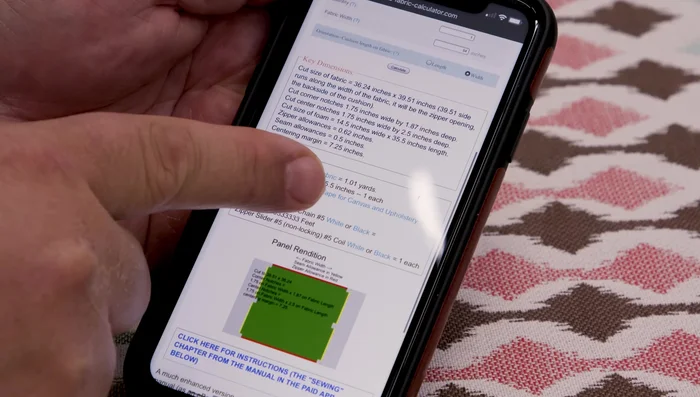
- Sailrite Fabric Calculator
- Foam (high-density polyurethane recommended)
- Serrated foam saw (or electric kitchen knife for medium-density foam)
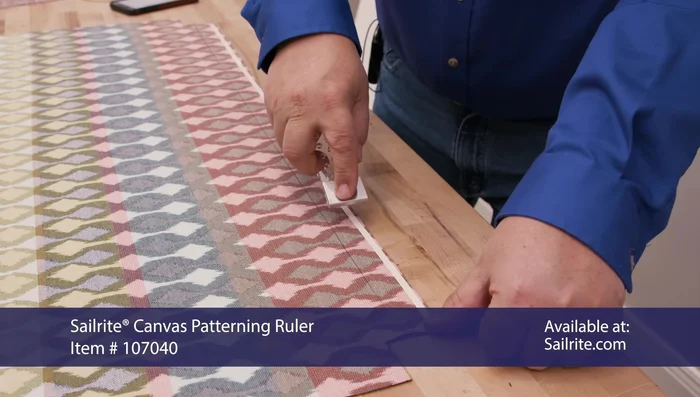
- Clear acrylic ruler
- Hot knife
- Fabric scissors (or hot knife for fabrics that unravel easily)
- Tempered cutting glass
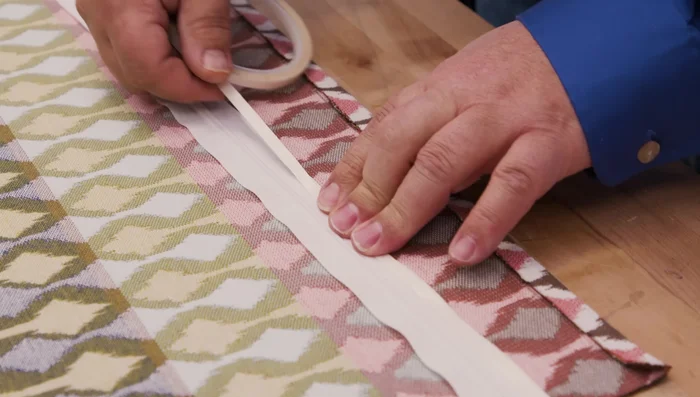
- Double-sided tape (SeamStick)
- Zipper (number five coil zipper recommended)
- Sailrite Ultrafeed LSZ-1 sewing machine (or similar)
- Deluxe 5 1/2 inch magnetic guide
- Basting tape
- Silk film (optional, for outdoor use)
- Vacuum (optional)
- Always supervise young children around the corner cushion to prevent falls or suffocation.
- Ensure the corner cushion is securely attached to the sharp corner to prevent it from shifting or falling off, potentially causing injury.
- Use appropriate adhesives or fasteners designed for the surface material of your furniture. Improper attachment could damage the furniture or cause the cushion to become dislodged.
Step-by-Step Instructions
Planning and Measurement
- Calculate fabric and foam needs using the Sailrite fabric calculator.

Planning and Measurement Foam Preparation
- Cut the foam to the calculated dimensions using a serrated foam saw (or electric kitchen knife for medium-density foam).
Foam Preparation Fabric Cutting
- Cut the fabric to size using a hot knife (recommended for fabrics that unravel easily) or fabric scissors.
- Cut corner notches and center notches in the fabric according to the fabric calculator's specifications using a hot knife.
Fabric Cutting Zipper Application
- Apply double-sided tape along the zipper placement line on the fabric.
- Apply the zipper, basting it in place using the double-sided tape and then sew it to the fabric.
Zipper Application Sewing the Cushion
- Baste the edges of the fabric together, ensuring the seam allowance is consistent.
- Sew the edges together using a 1/2 inch seam allowance, reinforcing corners and zipper edges.
Sewing the Cushion Foam Insertion
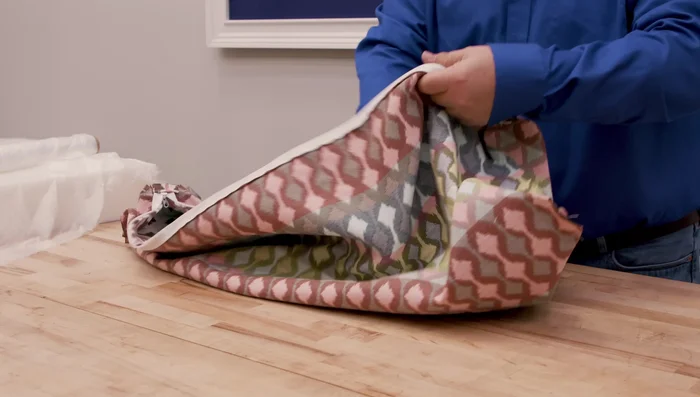
- Turn the cushion right-side out. Push the corners out and insert the foam (optionally wrapped in silk film).
Foam Insertion Final Touches
- Zip up the cushion, ensuring the slider is not caught on any silk film or excess fabric.
Final Touches


Read more: DIY Super Cute Whale Shower Curtain: A Step-by-Step Tutorial
Tips
- Use high-density foam for cushions that receive frequent use. Consider IFD (Indentation Force Deflection) for preferred firmness.
- Wrap outdoor foam in silk film to protect it from moisture. Dry-fast foam is a good choice for outdoor use.
- Utilize the Sailrite fabric calculator to determine the most efficient fabric orientation to minimize fabric usage and seam joining.
- Use a hot knife for clean fabric cuts and to prevent unraveling.
- Double-sided tape simplifies the process of applying the zipper and joining the fabric panels.