Tired of flimsy grocery bags that rip at the slightest weight? Yearning for a reusable tote that's both stylish and built to last? Then you've come to the right place! This tutorial will guide you through creating a remarkably strong and surprisingly fast two-toned grocery tote bag, perfect for carrying even the heaviest of weekly hauls. We’ll be using simple techniques accessible to even beginner sewists, focusing on durable construction and a clean, modern aesthetic. Forget about those expensive, mass-produced bags; you’ll be amazed at how quickly and easily you can sew your own customized, high-quality tote.
This project is designed to maximize efficiency and minimize frustration, so you can spend less time sewing and more time enjoying your perfectly crafted, robust grocery bag. We'll walk you through each step, from selecting your fabrics to finishing those crucial seams. Ready to get started creating the sturdiest, fastest-to-make grocery tote you've ever owned? Let's dive into the step-by-step instructions!
Preparation and Safety Guidelines
- Cotton webbing (approx. 2 yards)
- Thread (Aurifil 40 weight cotton recommended)
- Microtex needles
- Fabric (canvas and contrasting print)
- Ruler
- Pins
- Scissors
- Iron
- Sewing Machine
- Chalk (optional)
- Clover Clips (optional)
- Always use sharp sewing machine needles and appropriate thread weight for your fabric to prevent skipped stitches and fabric damage. Dull needles can cause injury.
- Be mindful of your fingers when working with the sewing machine. Keep fingers away from the needle and moving parts.
- Ensure the tote bag's handles are securely attached and reinforced, especially if you intend to carry heavy items. Weak handles can lead to breakage and spilled groceries.
Step-by-Step Instructions
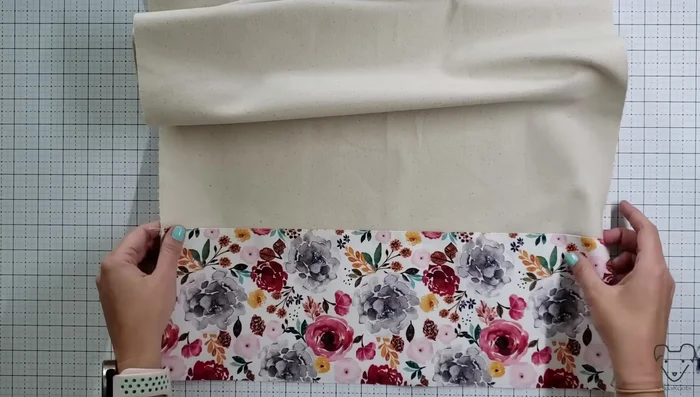
Prepare the Exterior Fabric
- Attach contrasting fabric strips to the base canvas piece using a quarter-inch seam allowance. Top stitch along the contrasting fabric to reinforce the seam.

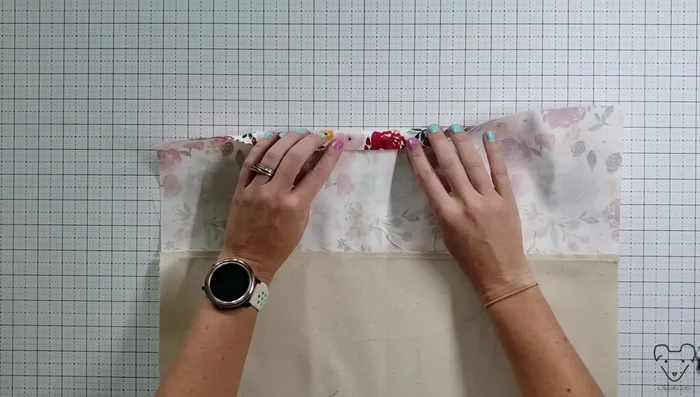
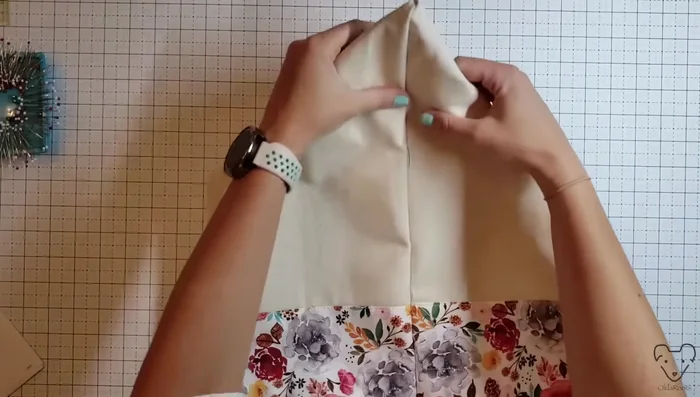
Prepare the Exterior Fabric Prepare the Top Edge
- Press down the top 18-inch edge ½ inch towards the wrong side, then fold and press again 1 ½ inches for a clean, reinforced top edge. Repeat for the opposite side.
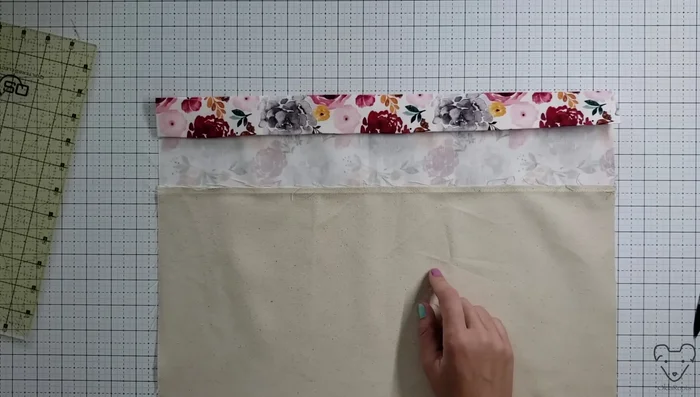
Prepare the Top Edge Add the Lining
- Place lining piece right side up, exterior piece right side down (wrong sides together). Tuck the lining under the folded top edge and secure.
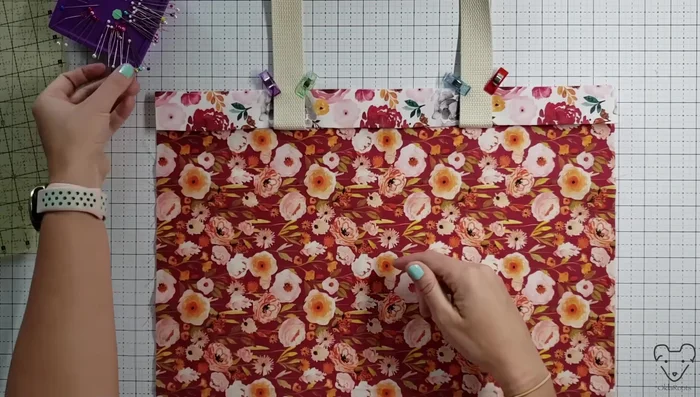
Add the Lining Attach the Handles
- Fold handles in half, marking the center. Position handles 3 inches from each side of the top edge, securing with clips. Fold handles up, securing with clips.
- Sew two lines of stitching on each side – one ¼ inch from the top of the fold, and another ¼ inch from the bottom, securing handles.
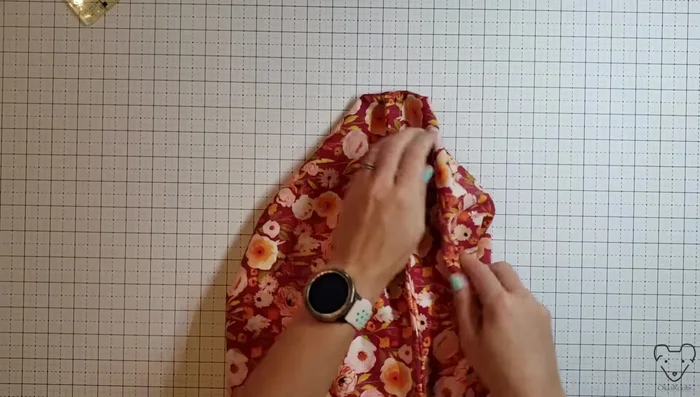
Attach the Handles Sew Side Seams
- Pin the side seams together (lining and outer fabric), ensuring the top edges are aligned. Sew with a ¼ inch seam allowance. Turn inside out.
Sew Side Seams Box the Corners (Part 1)
- Flip the bag upside down. Mark 2 ½ inch lines from the bottom corners to create boxed corners. Sew along the marked lines, trim excess, and flip right-side out.
Box the Corners (Part 1) Box the Corners (Part 2)
- Mark lines 4 inches from the bottom corners to hide raw edges. Sew along the marked lines, trim excess fabric, and press.
Box the Corners (Part 2)

Read more: DIY Quilted Makeup Pouch Tutorial: The Easiest and Fastest Method
Tips
- Use inexpensive fabric for the bottom of the bag, as this area is prone to dirt.
- For precise folds on starchy fabrics like canvas, draw lines with a pencil, crease the fabric along the line, and then press with an iron.
- Use clips to hold fabric pieces together instead of pins for cleaner results with thicker fabrics.