Elevate your hairstyle with a touch of handcrafted elegance! This tutorial guides you through the creation of a stunning beaded hair accessory using the art of wire wrapping. Forget expensive salon purchases – you'll learn how to design a unique and personalized piece that perfectly complements your style, whether it's a delicate headband, an intricate barrette, or a charming hair vine. This project is surprisingly accessible, requiring only basic crafting supplies and a willingness to embrace your creativity. The process allows for endless customization; experiment with different bead colors, shapes, and wire thicknesses to achieve your desired aesthetic.
From simple to sophisticated, the possibilities are truly limitless. Prepare to be amazed by how easily you can transform ordinary beads and wire into a beautiful, wearable work of art. Ready to get started? Let's dive into the step-by-step instructions and begin crafting your own elegant, beaded hair accessory.
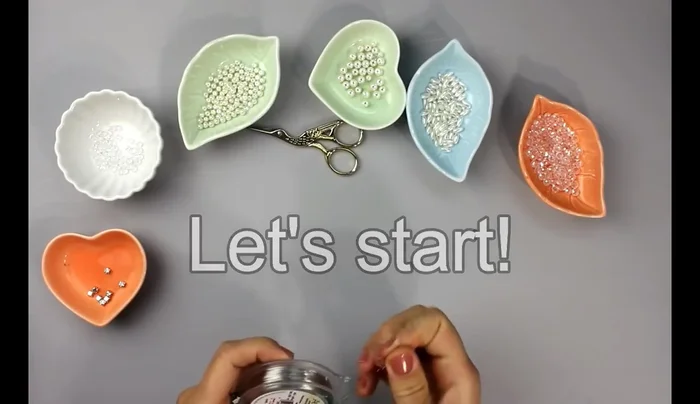
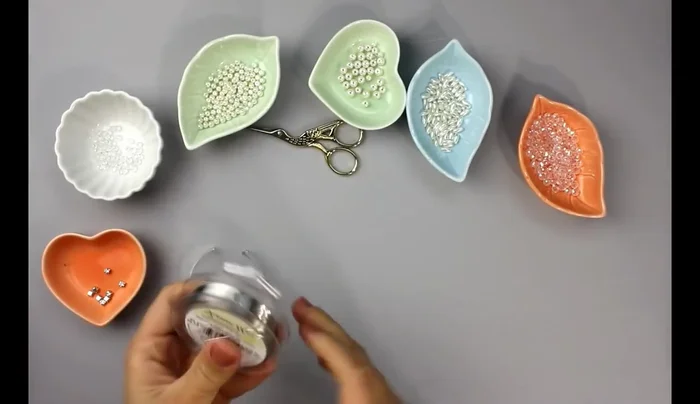
Preparation and Safety Guidelines
- wire
- beads
- Always use blunt-ended wire cutters to avoid accidental cuts. Sharp edges can easily injure fingers.
- Be mindful of small beads and wires; keep them away from young children and pets to prevent choking hazards.
- If working with jewelry wire, wear safety glasses to protect your eyes from any stray pieces or wire fragments.
Step-by-Step Instructions
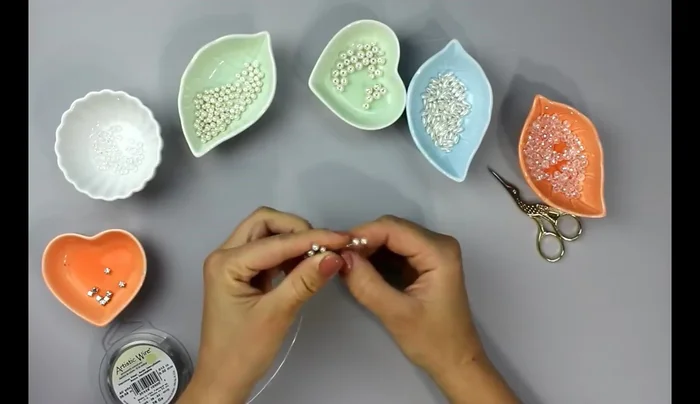
Prepare the Wire
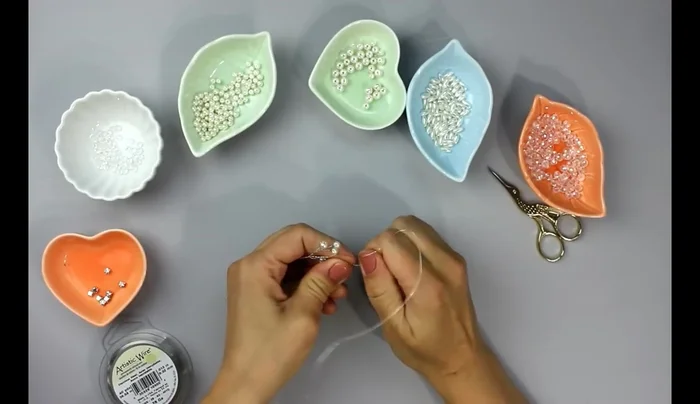
- Prepare 20 inches of wire.
- Create a base loop by twisting the wire.

Prepare the Wire Attach the First Bead and Create the Initial Branch
- Attach the first bead by stringing it onto the wire.
- twist the wire around the bead six to seven times.
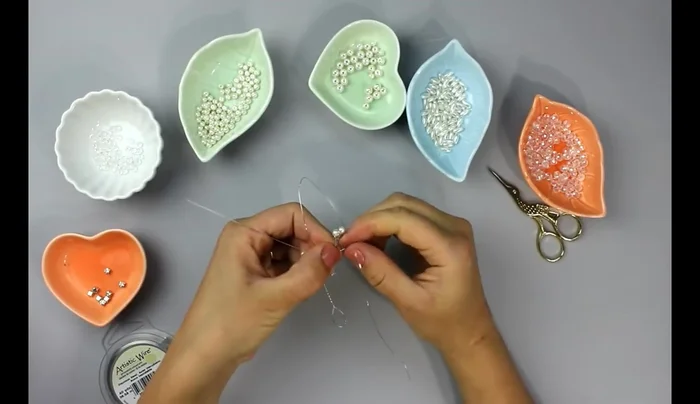
Attach the First Bead and Create the Initial Branch Create a Single Branch
- Make additional branches, each about 2 inches long, with 5 rows of beads (3 small beads and 2 six-millimeter beads per row).
- For each branch, measure 2 inches of wire, fold it in half, attach a bead in the middle, then twist around 6-7 times. Add a 1-inch neck.
- Repeat step 6 until all five rows of beads are added to the branch.
Create a Single Branch Complete the Hair Accessory
- Repeat the branch-making process until the desired design is complete.
Complete the Hair Accessory


Read more: DIY Stretchy Fingerless Gloves: Easy Sewing Tutorial
Tips
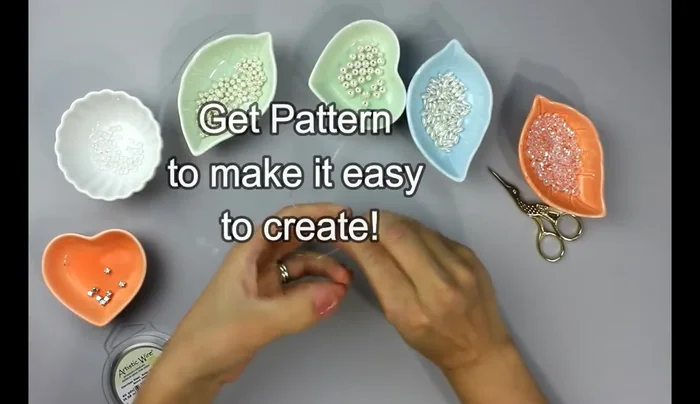
- Understanding the bead pattern will be helpful.