Baseball caps: a timeless accessory, a symbol of style, and a practical shield against the sun. But what if you could design and create your own, perfectly tailored to your preferences and showcasing your unique personality? Forget generic store-bought options; this guide unlocks the world of DIY baseball cap creation, empowering you to sew your dream hat from scratch. Imagine the satisfaction of wearing a cap you've crafted with your own hands, choosing the fabric, the stitching, and every detail along the way.
This comprehensive guide will take you through every step, from selecting the right materials and patterns to mastering the essential sewing techniques. We'll cover everything you need to know to create a high-quality, durable baseball cap that you'll be proud to wear. Ready to transform your sewing skills and unleash your inner designer? Let's dive into the step-by-step process and start making your own unique baseball cap!
Preparation and Safety Guidelines
- Sewing machine
- Seam ripper
- Iron
- Pinking shears
- Interfacing
- Fabric (old cap and a shirt)
- Paper
- Pencil
- Bias tape
- Elastic
- Zipper foot
- Always use sharp, well-maintained sewing machine needles and pins to prevent fabric snags and injuries. Dull needles require more force, increasing the risk of accidents.
- Be mindful of your fingers when operating the sewing machine. Keep fingers clear of the needle and moving parts at all times.
- If using fabric glue, ensure adequate ventilation and follow the manufacturer's instructions carefully. Some adhesives can be flammable or irritating to the skin.
Step-by-Step Instructions
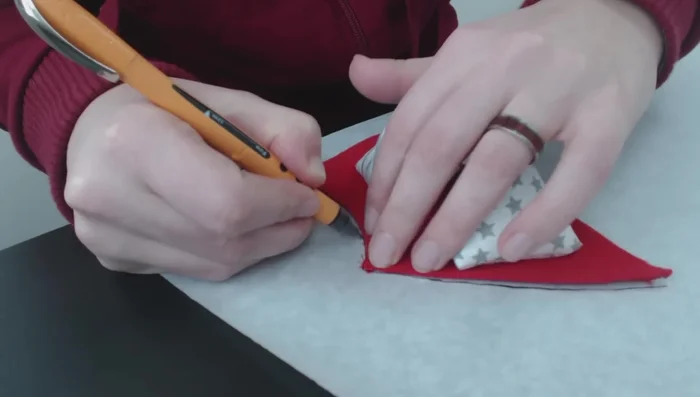
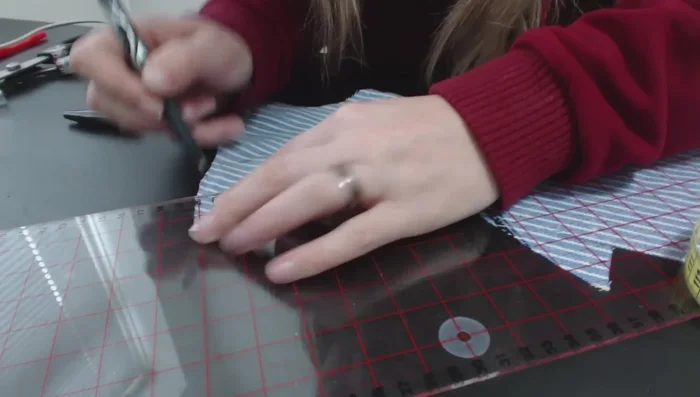
Prepare the Pattern
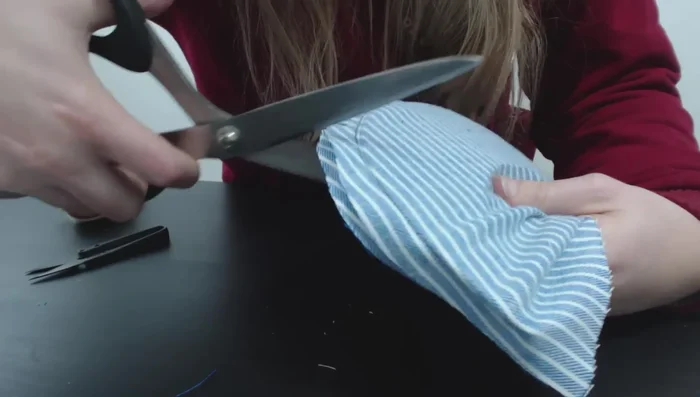
- Disassemble an old baseball cap to use as a pattern.
- Trace the cap pieces onto paper, adding a seam allowance.

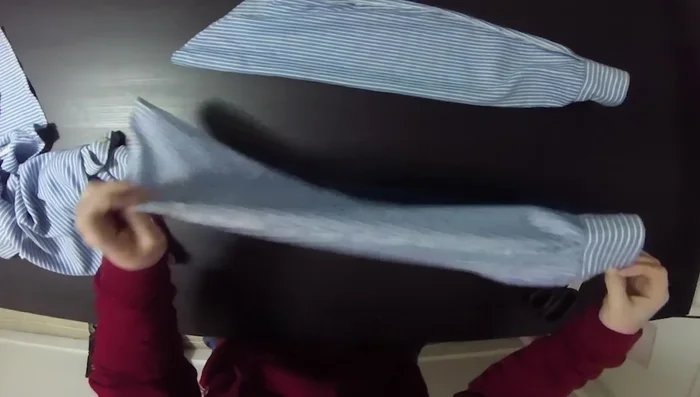
Prepare the Pattern Cut Fabric Pieces
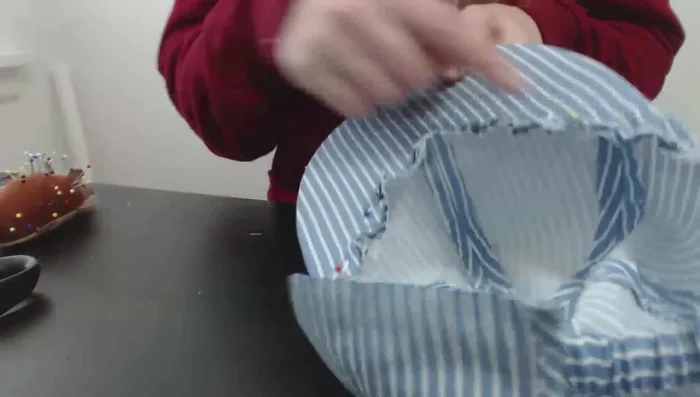
- Cut out the pattern pieces from your chosen fabric. Add interfacing to thin fabrics for added structure, especially to the front panels.
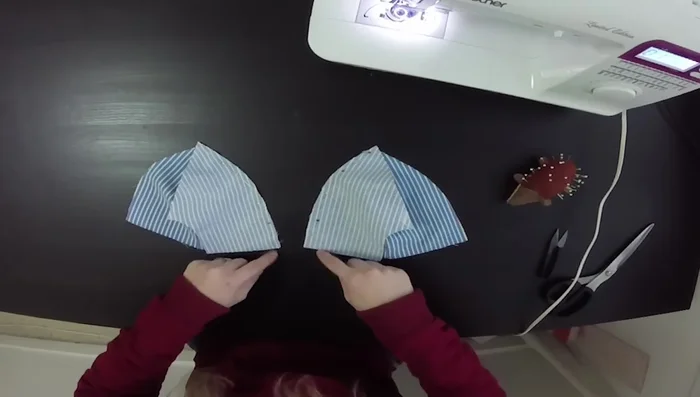
Cut Fabric Pieces Assemble Cap Halves
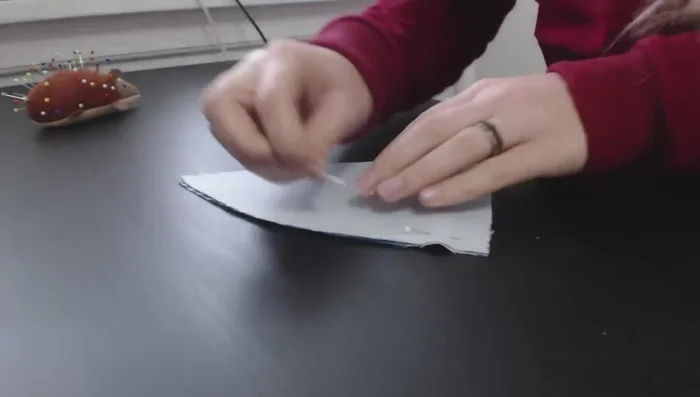
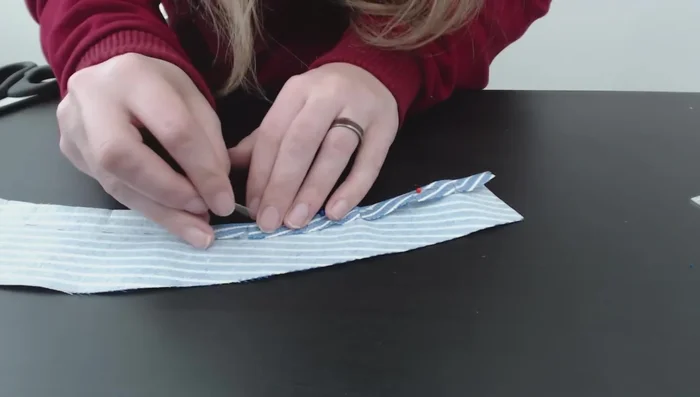
- Sew the front and middle panels together for each cap half, leaving a gap at the top.
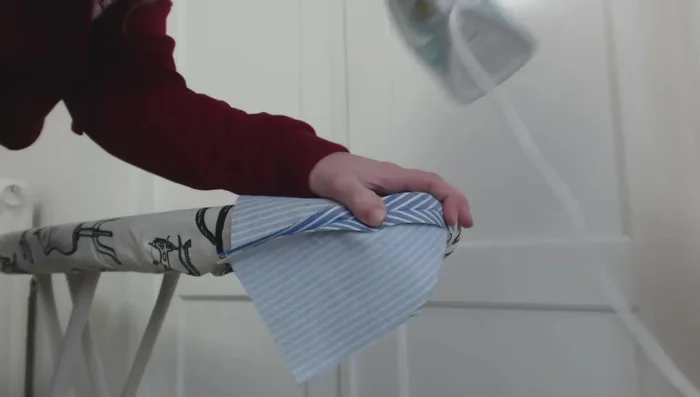
- Press open the seams and topstitch to create clean, professional-looking seams.
- Attach the back panel to the cap halves, repeating the pressing and topstitching steps.
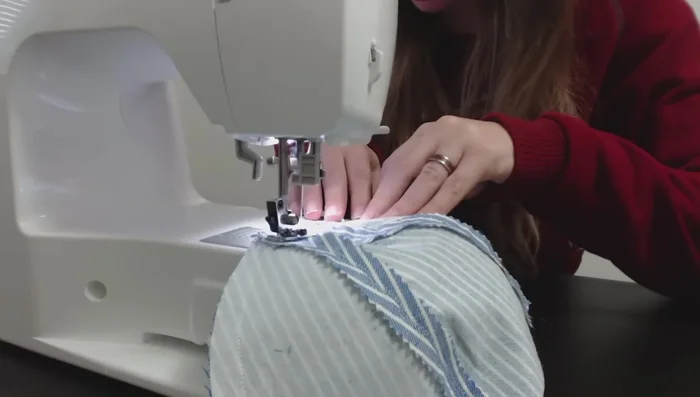
Assemble Cap Halves Join Cap Halves & Adjust Fit
- Join the two cap halves together, sewing along the top seam. Check the fit and adjust if necessary by removing and resewing the back seam for proper fit.
Join Cap Halves & Adjust Fit Create and Attach Back Closure
- Finish the back opening with bias tape.
- Create and attach an elastic closure to the back of the cap.
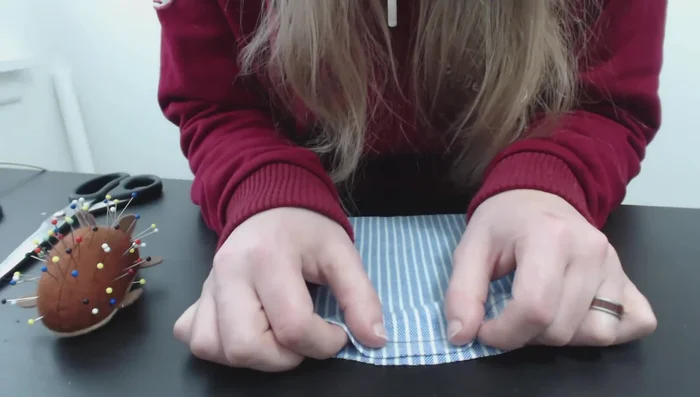
Create and Attach Back Closure Make and Attach Brim Cover
- Make the brim cover by sewing two layers of fabric together, with the bottom layer slightly smaller than the top to create a neat seam on the underside.
- Attach the brim cover to the brim insert, carefully stretching the fabric to ensure a snug fit.
- Sew the brim to the front of the cap, using a zipper foot for precision.
Make and Attach Brim Cover Attach Facing
- Attach the facing to the inside of the cap, making sure to create clean edges and secure the facing in place with stitching.
Attach Facing


Read more: DIY Stretchy Fingerless Gloves: Easy Sewing Tutorial
Tips
- Pressing open the seams is crucial for a professional finish.
- Use a zipper foot for precise stitching, especially when working with the brim.
- Take your time and check the fit regularly to ensure the cap is the right size for you.
- Use interfacing to add structure to thin fabrics.
- Use pinking shears to prevent fraying of the fabric edges.