Winter's chill calls for cozy accessories, and what's cozier than a handcrafted scarf? But why stop at simple knits or crochet? Adding a playful touch of pom-poms elevates your handmade scarf from cozy to captivating, transforming a simple winter essential into a statement piece. Whether you prefer the classic chunky feel or a cascade of miniature fluffiness, pom-poms offer a fantastic opportunity to personalize your creations and inject a burst of personality into your wardrobe. The addition of these delightful embellishments is surprisingly simple, even for beginners.
This guide provides a clear and concise step-by-step process to seamlessly integrate pom-poms into your next knit or crochet scarf project, regardless of your chosen yarn or stitch pattern. Get ready to learn how to add these fun and fluffy finishing touches, transforming your scarves from ordinary to extraordinary. Let's dive into the detailed instructions and discover how effortlessly you can add a dash of whimsy to your winter wear!
Preparation and Safety Guidelines
- Yarn
- Scissors
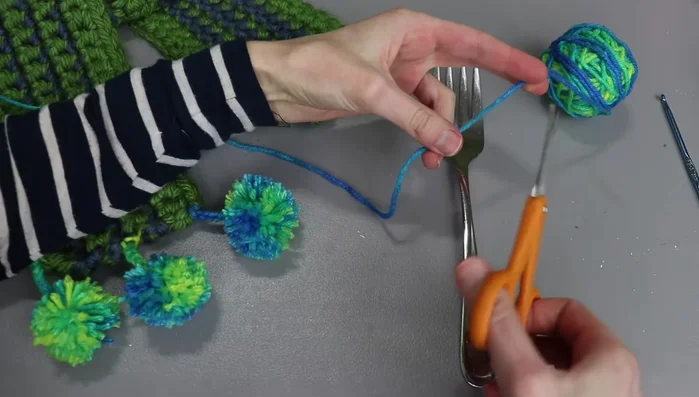
- Serving Fork (or similar for sizing)
- Crochet Hook
- Securely fasten all pom-poms to prevent them from detaching and becoming a choking hazard, especially for children.
- Use strong yarn or thread to attach pom-poms; consider using a knotting technique that prevents unraveling.
- If using hot glue, exercise extreme caution to avoid burns. Ensure adequate ventilation and work on a heat-resistant surface.
Step-by-Step Instructions
Prepare Materials and Make Pom-Pom Base
- Prepare a long piece of yarn (approx. 18 inches or longer) for tying and creating a chain.
- Wrap the yarn around the tines of a serving fork multiple times (35-40 times for desired thickness).

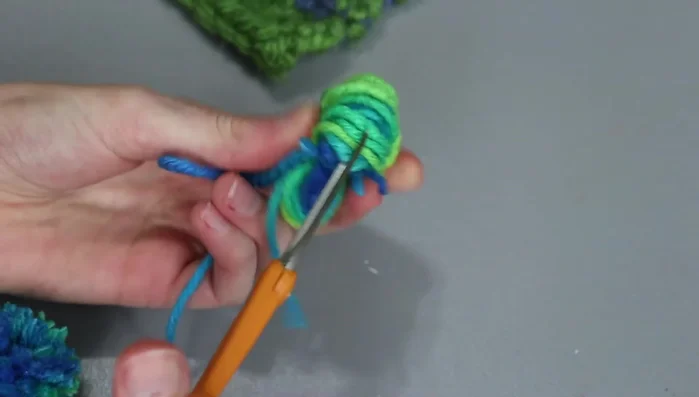
Prepare Materials and Make Pom-Pom Base Tie and Secure Pom-Pom
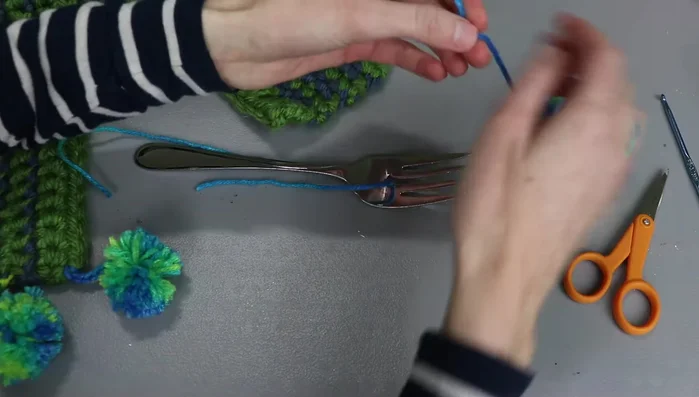
- Cut the yarn tail, tie it tightly around the center of the wrapped yarn on the fork, leaving one long tail and a shorter tail.
- Slide the wrapped yarn off the fork, pull the knot tight, and tie a second knot.
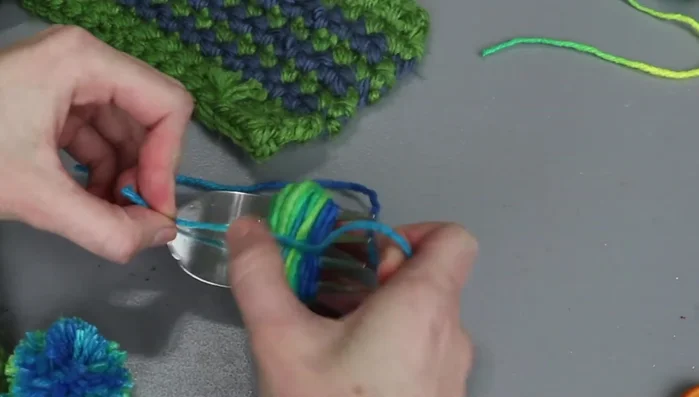
Tie and Secure Pom-Pom Create Connecting Chain
- Create a chain using the long tail and crochet hook (or another method if not familiar with crochet).
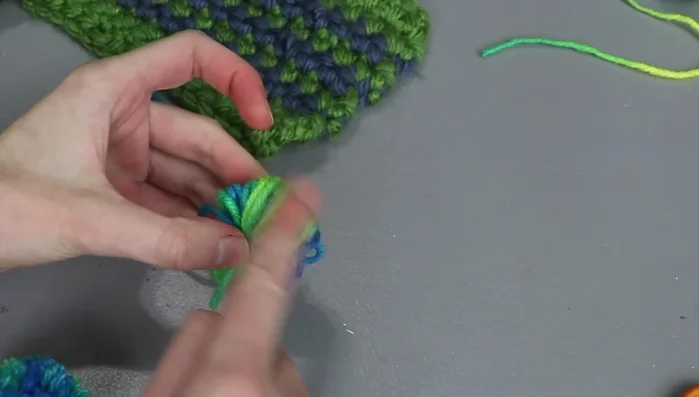
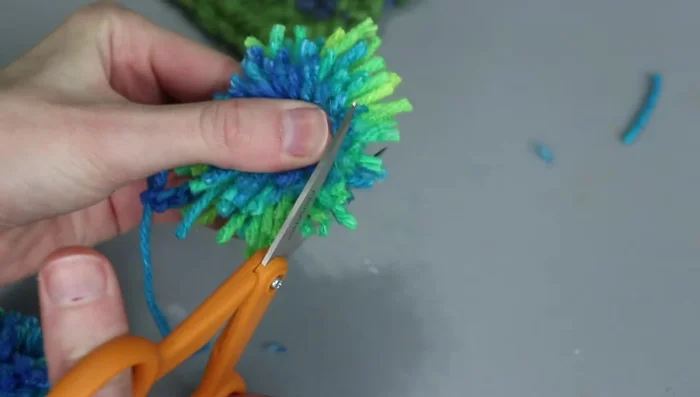
Create Connecting Chain Shape the Pom-Pom
- Cut the loops of the wrapped yarn to create the pom-pom. Do this over a trash can for less mess.
- Trim any long pieces sticking out, making sure to not cut the chain.
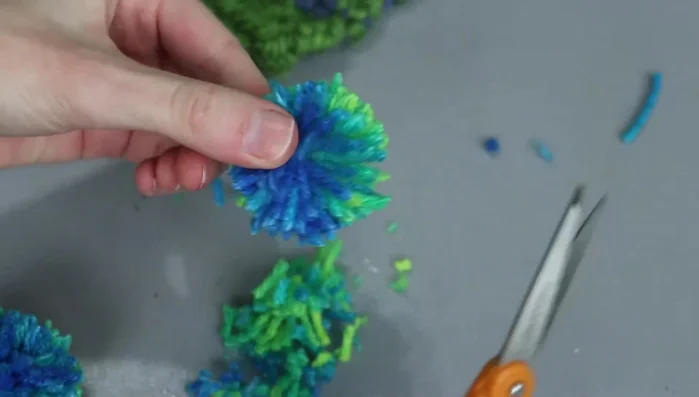
- Fluff the pom-pom and trim any stray pieces.
Shape the Pom-Pom Attach Pom-Pom to Scarf
- Attach the pom-pom to the scarf corner by using the crochet hook to run through the chain and scarf, then fasten it off by pulling the tail piece through the loop and tightening it.
- Hide the tail piece inside the scarf stitching and trim the excess yarn.
Repeat for Other Pom-Poms
- Repeat for additional pom-poms (2 more suggested).

Read more: DIY Stretchy Fingerless Gloves: Easy Sewing Tutorial
Tips
- Use a serving fork to ensure consistently sized pom-poms.
- Count the number of times you wrap the yarn around the fork for uniform pom-pom sizes.
- Tie the pom-pom securely to avoid unraveling.
- Create the chain before cutting the pom-pom for easier attachment.
- Cut pom-pom loops over a trash can to reduce mess.