Cozy up this winter with a handmade scarf that's as unique as you are! This tutorial will guide you through creating a delightfully scrappy fleece-backed scarf using the incredibly simple self-binding method. Forget complicated seams and intricate patterns; this project is perfect for beginners and experienced crafters alike, offering a fantastic way to utilize fabric scraps and unleash your creativity. The beautiful, plush fleece backing adds an extra layer of warmth and comfort, making this scarf a perfect gift or a treat for yourself.
This self-binding technique eliminates the need for hemming, significantly reducing the time and skill required for creation. You'll be amazed at how quickly you can transform a collection of fabric remnants into a wonderfully warm and stylish accessory. Ready to get started on your own unique, scrappy masterpiece? Let's dive into the step-by-step instructions below.
Preparation and Safety Guidelines
- Scraps of fabric
- Fleece fabric (or repurposed fleece blanket)
- Sewing machine
- Walking foot (recommended)
- Quarter inch foot (optional)
- Iron
- Starch
- Pins
- Scissors
- Always use sharp scissors or rotary cutter to prevent fraying and ensure clean cuts. Dull blades can cause fabric to stretch or tear.
- Be mindful of the fleece backing. While soft, it can be slippery. Use pins to secure layers before sewing, especially around curves, to prevent shifting and ensure accurate stitching.
- If using a sewing machine, adjust the stitch length and tension to accommodate the thickness of the fleece and fabric layers. A longer stitch length is often preferred for fleece to prevent puckering.
Step-by-Step Instructions
Prepare Fabric
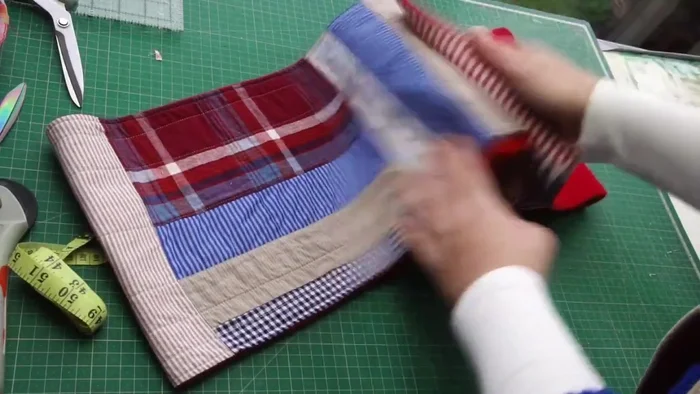
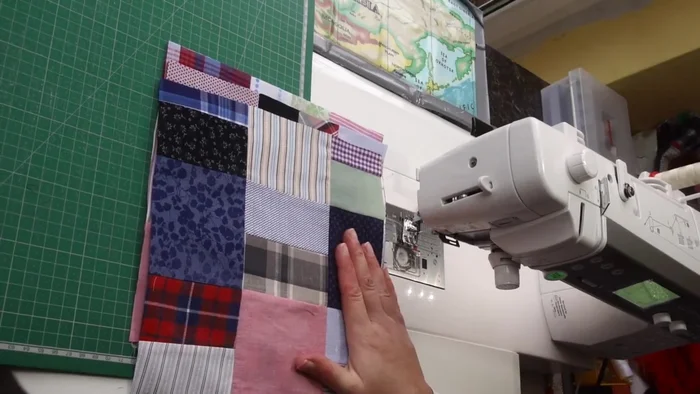
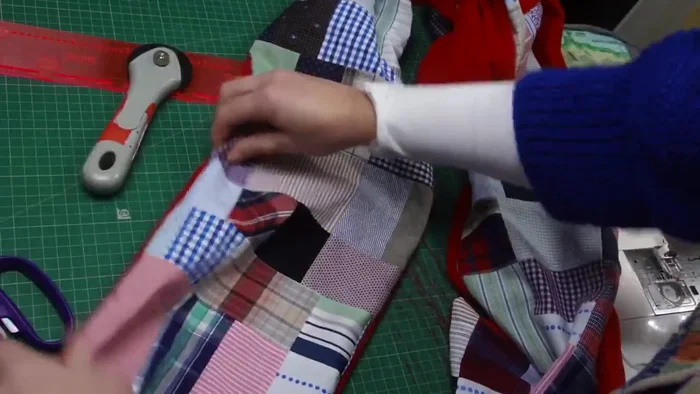
- Square up your fabric blocks to the desired finished size (e.g., 10.5 inches unfinished, resulting in 9.5 inches finished). The tutorial uses 8 blocks for an approximately 80-inch-wide scarf.

Prepare Fabric Assemble Fabric Strip
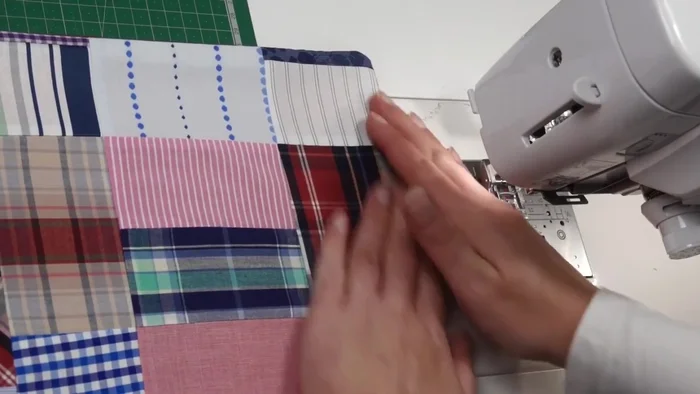
- Sew the prepared fabric blocks together to create a long strip. Ensure straight seams.
Assemble Fabric Strip Prepare Fleece Backing
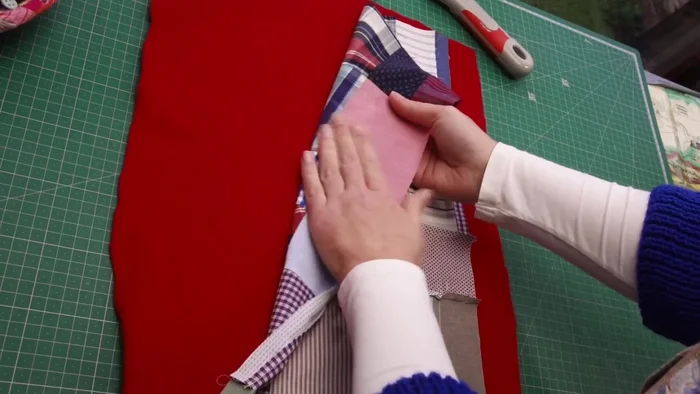
- Cut a strip of fleece slightly larger than the fabric strip. The nicer side of the fleece should face the fabric strip.
Attach Fleece
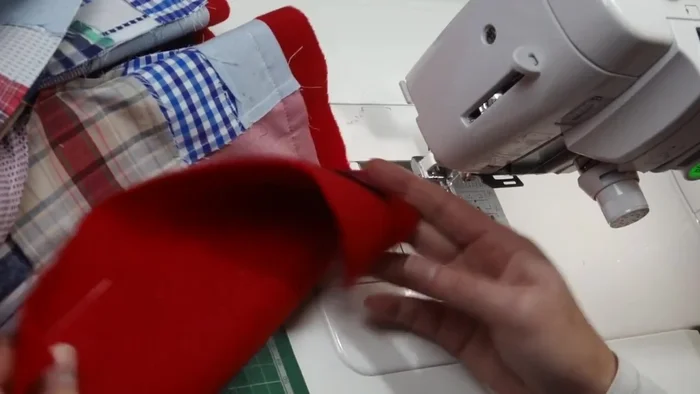
- Place the right side of the fabric strip against the right side of the fleece. Pin generously, especially around the edges, to prevent shifting during sewing. Use a walking foot to sew all around, leaving a gap for turning.
Attach Fleece Turn and Trim
- Trim the excess fleece and fabric around the edges. Carefully clip the corners. Turn the scarf right side out through the gap, pushing out the corners to create sharp points.
Turn and Trim Finishing Touches
- Iron the scarf flat, paying attention to the seams and corners. Top stitch around all edges to close the gap and finish the scarf.
- If desired, quilt the scarf to secure any loose pieces. The tutorial uses a wide zigzag stitch.
- Wash the scarf to set the fabric and give it a soft, finished look.
Finishing Touches

Read more: DIY Stretchy Fingerless Gloves: Easy Sewing Tutorial
Tips
- Use starch to make the fabric crisp and prevent shifting during sewing, especially if using a self-binding method.
- Pin generously to prevent shifting. The tutorial uses numerous pins to secure the layers.
- Use a walking foot to prevent puckering when sewing the fleece and fabric together.
- Leave a generous opening for turning the scarf right-side out.
- Use a lighter iron when ironing the fleece to avoid melting.