Are you dreaming of adding a touch of delicate elegance to your winter wardrobe without spending hours hunched over complex stitches? Then look no further! This easy crochet lace trim scarf pattern is perfect for beginners, offering a beautiful and rewarding project that won't intimidate even the newest crocheters. You'll learn simple yet effective techniques to create a stunning lace trim that elevates a basic scarf into a fashionable accessory. Forget about complicated charts and confusing instructions – this pattern uses clear, concise language and straightforward diagrams, guiding you every step of the way.
This project utilizes only basic crochet stitches, making it ideal for those still mastering their craft. The delightful lace trim adds a touch of sophistication without requiring advanced skills, resulting in a scarf you'll be proud to wear or gift. Ready to transform simple yarn into a gorgeous, wearable piece? Let's dive into the step-by-step instructions and create this beautiful easy crochet lace trim scarf together!
Preparation and Safety Guidelines
- worsted weight yarn
- 6mm crochet hook
- tapestry needle
- scissors
- tape measure
- Use sharp scissors to cut your yarn. Dull scissors can snag the yarn, causing fraying and uneven edges on your lace trim.
- Always fasten off your yarn securely to prevent unraveling. A secure knot is crucial for the longevity of your scarf.
- If you're using a hook size different than recommended, be aware that this may affect the drape and tension of your lace. Your finished project might be tighter or looser than the pattern suggests.
Step-by-Step Instructions
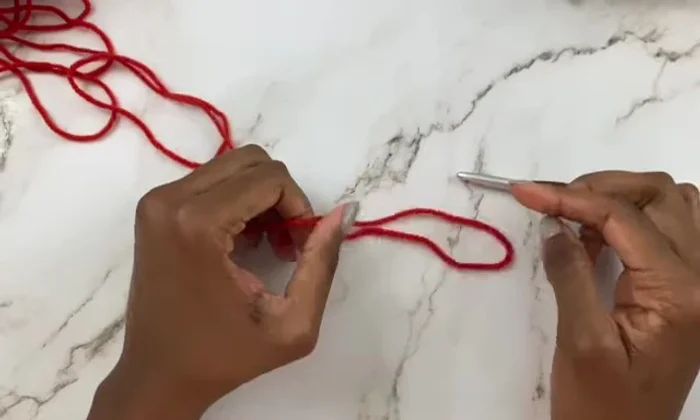
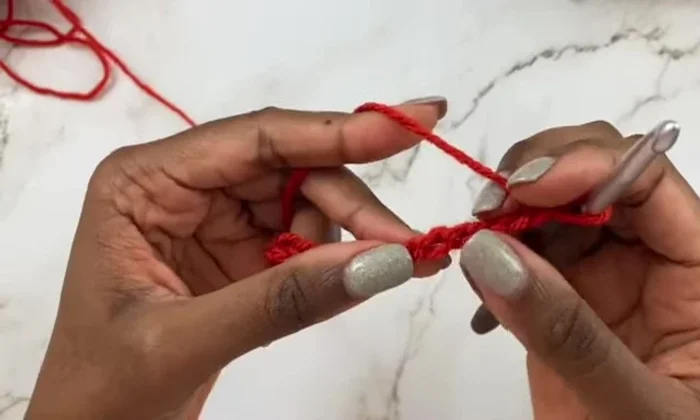
Foundation Chain
- chain 30 for an 8-9 inch wide scarf).

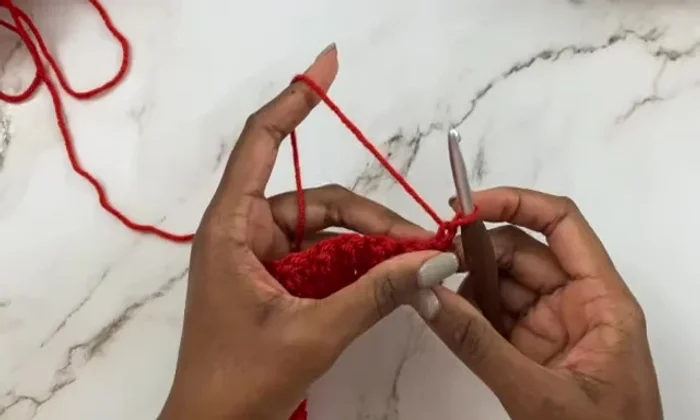
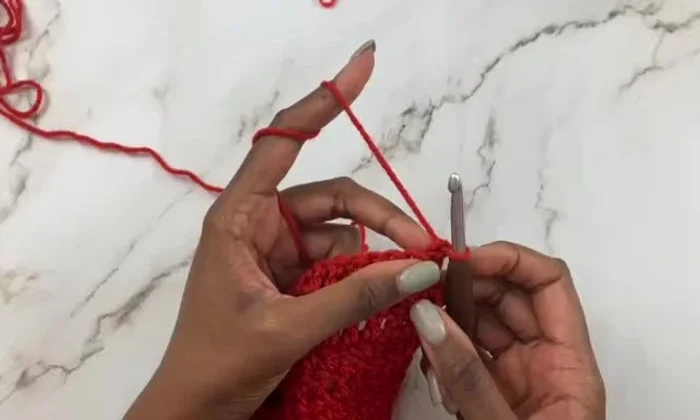
Foundation Chain Initial Rows
- Double crochet across the chain, working into the bottom bump of each chain stitch.
- Alternate single crochet and double crochet across the row.
- Double crochet across the row.
Initial Rows Scarf Body
- Repeat Rows 2 and 3 until the scarf reaches the desired length (approximately 55 inches).
Scarf Body Begin Lace Trim (First End)
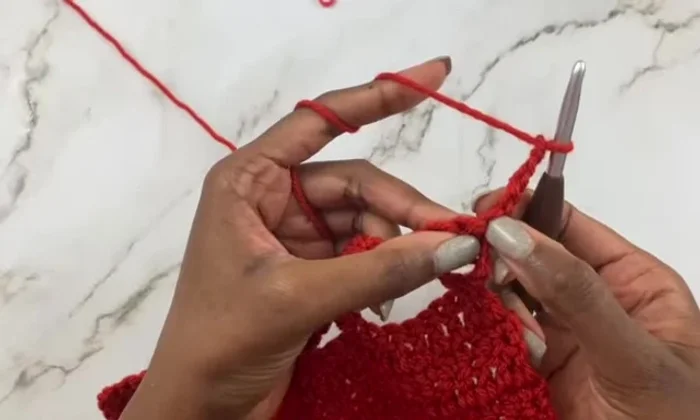
- Attach yarn to the opposite end. Chain 4, which counts as a double crochet and chain 1. Work a double crochet in the same stitch at the base of the chain 4. This forms a V-stitch.
- Chain 4, skip 6 stitches, and work another V-stitch in the 7th stitch. Repeat this pattern across the row, using chain 3 between double crochets for center V-stitches.
Begin Lace Trim (First End) Lace Trim Rows (First End)
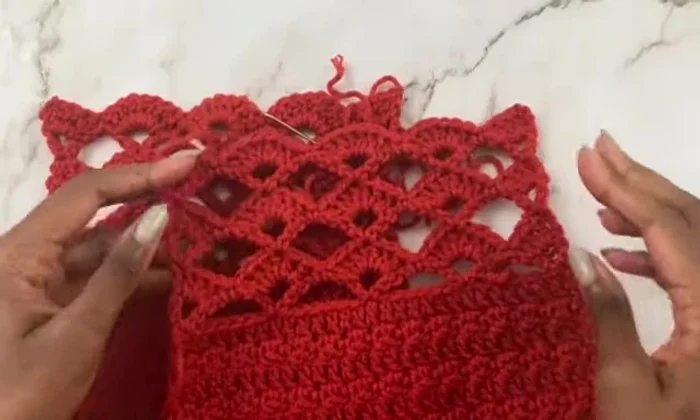
- Chain 3, work 3 double crochets into the first V-stitch. Single crochet around the chain 4 of the next V-stitch, then 7 double crochets into the next V-stitch. Repeat this pattern across the row.
Lace Trim Rows (First End) Complete Lace Trim (Both Ends)
- Repeat Rows 3 and 4 (V-stitches and shells) on both ends of the scarf for desired lace trim length.
Complete Lace Trim (Both Ends) Finishing
- Weave in the ends and consider blocking the lace sections for a neat finish.
Finishing


Read more: DIY Stretchy Fingerless Gloves: Easy Sewing Tutorial
Tips
- Working into the bottom bump of the chain stitches makes it easier to see the stitches when working the lace trim.
- Lightly steam or dampen and pin the lace edges to keep them flat and wide.