Are you ready to elevate your wardrobe with a stylish, handcrafted accessory? This guide will walk you through the process of creating a sophisticated viscose twill belt featuring elegant piping detail. Viscose twill, with its luxurious drape and subtle texture, is a perfect choice for a belt that’s both comfortable and visually striking. Adding piping not only adds a touch of high-end fashion but also provides a professional finish, showcasing your attention to detail. This project is surprisingly achievable, even for beginners, requiring minimal sewing experience and readily available materials.
Forget expensive designer belts – this DIY project empowers you to create a unique piece that perfectly complements your personal style. We’ll cover everything from choosing the right materials and cutting your fabric to expertly attaching the piping and finishing the belt to a polished perfection. Ready to get started? Let's dive into the step-by-step instructions and create your own stunning viscose twill belt with piping.
Preparation and Safety Guidelines
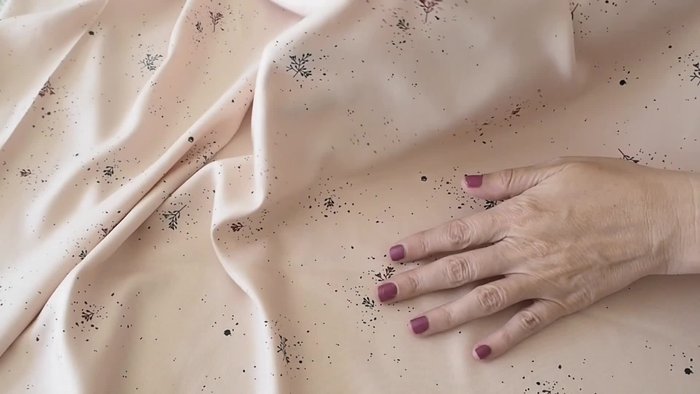
- Viscose twill fabric
- Press-on cotton interfacing
- Satin viscose fabric (for piping)
- Craft cotton
- Piping foot (for sewing machine)
- Sewing machine
- Marking pen
- Loop turner
- Basic buckle kit
- Pliers
- Eyelet kit
- Seam ripper (optional)
- Always use sharp fabric scissors to prevent fraying and ensure clean cuts. Dull scissors can lead to uneven cuts and potential injury.
- When working with the piping, be mindful of the needle and your fingers. Use a walking foot or slowly feed the fabric to prevent puckering and potential needle injury.
- Handle the viscose twill carefully as it can be prone to stretching. Pre-wash your fabric to prevent shrinkage after the belt is completed and take care to avoid pulling or stretching it during construction.
Step-by-Step Instructions
Prepare Fabric Pieces
- Cut two pieces of viscose twill fabric, using the fold underneath.
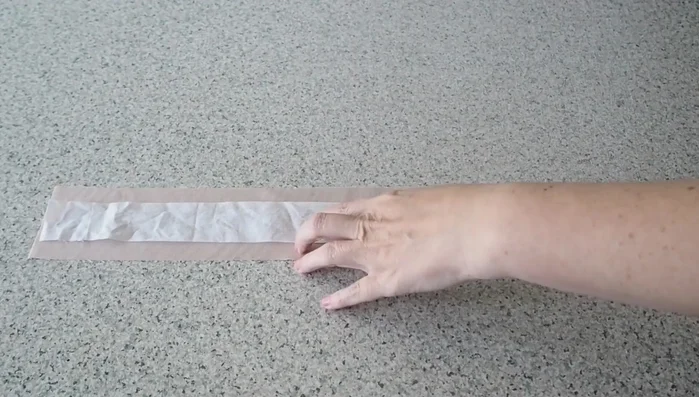
- Apply press-on cotton interfacing to both fabric pieces for structure.

Prepare Fabric Pieces Make the Piping
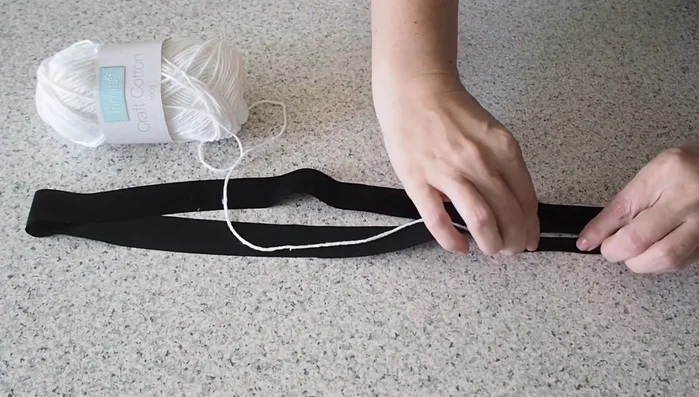
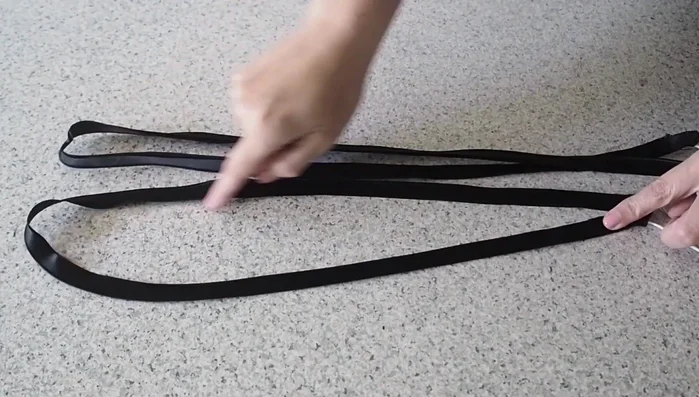
- Cut bias satin viscose fabric, enclose craft cotton twine, and stitch using a piping foot.
Make the Piping Attach Piping and Sew Belt
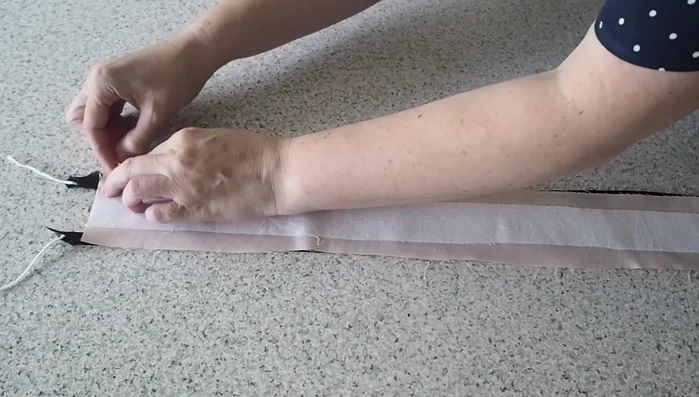
- Line up raw edges of piping and fabric, stitch with piping foot, ensuring piping stays in the groove.
- Place right sides of both fabric pieces together, stitch with piping foot through all layers.
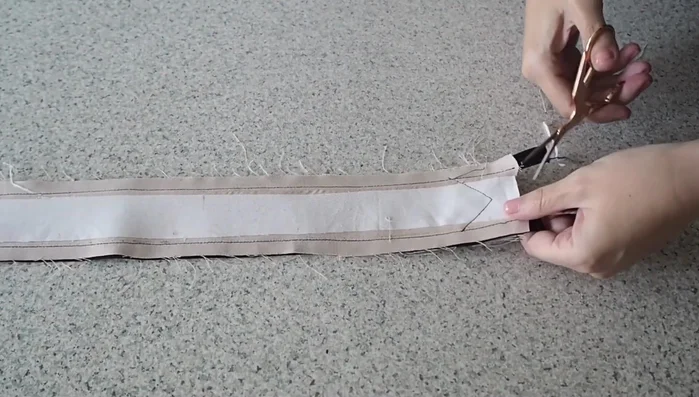
Attach Piping and Sew Belt Shape the Belt
- Stitch diagonally from one end to the center, then back down to the other side, creating a triangle.
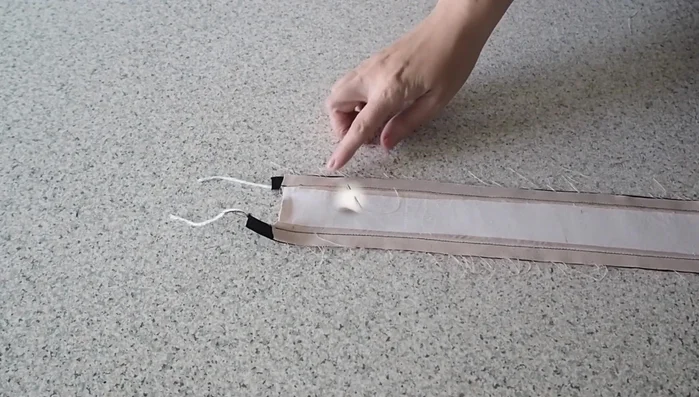
Shape the Belt Turn and Finish Belt
- Trim excess fabric, turn the belt right side out, using a loop turner or similar tool to help with corners.
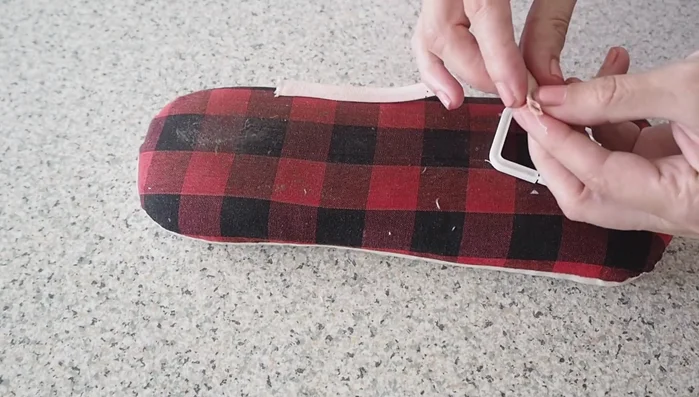
Turn and Finish Belt Prepare and Attach Buckle
- Cover the buckle pieces with bias-cut fabric and stitch, turn right side out, and press.
- Feed the fabric-covered buckle through the belt and hand stitch to secure.
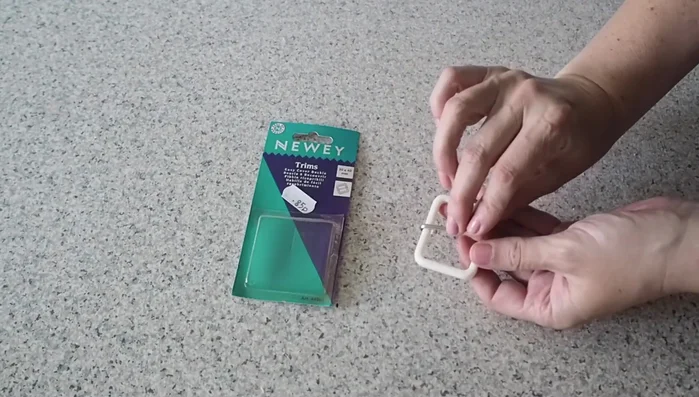
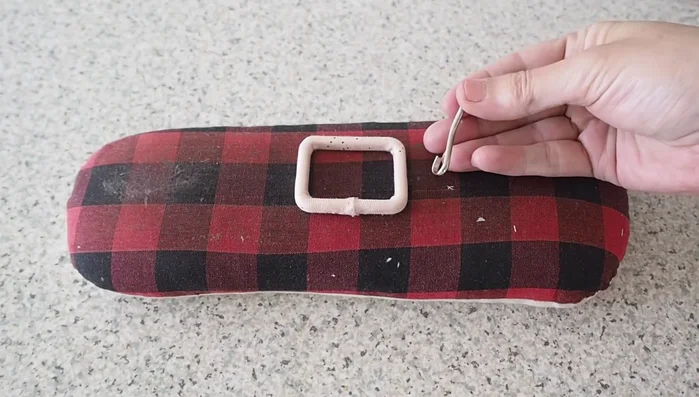
Prepare and Attach Buckle Add Fastening Hardware
- Attach the buckle hook using pliers.
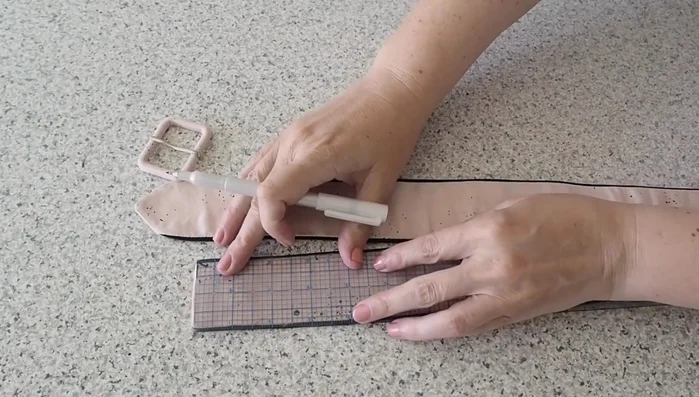
Add Fastening Hardware Create Belt Holes and Eyelets
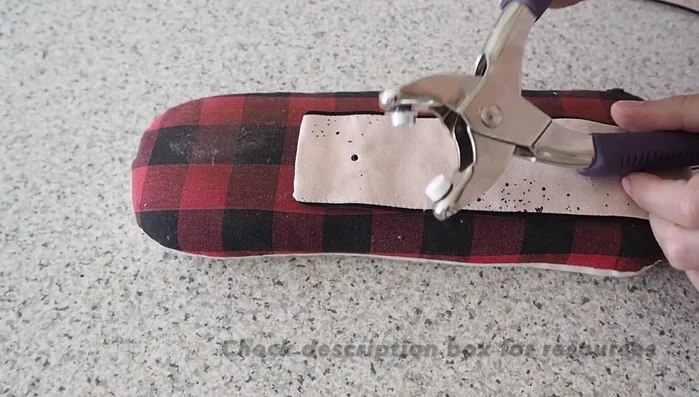
- Punch holes at 1.5-inch intervals using an appropriate tool.
- Attach eyelets using the provided tool and pliers.
Create Belt Holes and Eyelets Add Belt Loops
- Cut fabric strips, add interfacing, fold, stitch, turn right side out, and press. Stitch completed loops to the belt.
Add Belt Loops
Read more: DIY Stretchy Fingerless Gloves: Easy Sewing Tutorial
Tips
- Use a piping foot for neat piping application.
- Backstitch at the beginning and end of all seams for durability.
- Press seams for a professional finish.
- Use a loop turner to easily turn fabric pieces right side out.