Velcro, that ubiquitous fastening wonder, is a staple in countless crafting projects and even everyday repairs. But achieving a truly professional, neat, and durable attachment can sometimes feel elusive. Frayed edges and loose stitching are common frustrations, leading to a less-than-perfect finish. This isn't just about aesthetics; a poorly attached Velcro strip can significantly compromise the longevity and functionality of your creation. Say goodbye to those frustrating setbacks!
This guide will empower you with the secrets to mastering the easy edge stitch method, ensuring your Velcro projects are not only functional but also aesthetically pleasing. We'll walk you through each step, providing you with the techniques to create a strong, invisible seam that will stand the test of time. Ready to sew like a pro? Let's dive into the step-by-step instructions.
Preparation and Safety Guidelines
- Sewing Machine
- Zipper Foot (or adjustable needle foot)
- Strong Needle (Universal, Non-stick, or Jean Needle)
- Fabric Scissors
- Always use a sharp needle appropriate for your fabric type to prevent skipped stitches or fabric damage. Dull needles can cause the fabric to snag or break.
- Pin Velcro pieces securely before stitching to prevent shifting and ensure accurate placement. Use plenty of pins, especially around curves.
- Adjust your sewing machine's stitch length to a setting suitable for your fabric and Velcro type. A shorter stitch length (around 2.0-2.5) generally provides better durability.
Step-by-Step Instructions
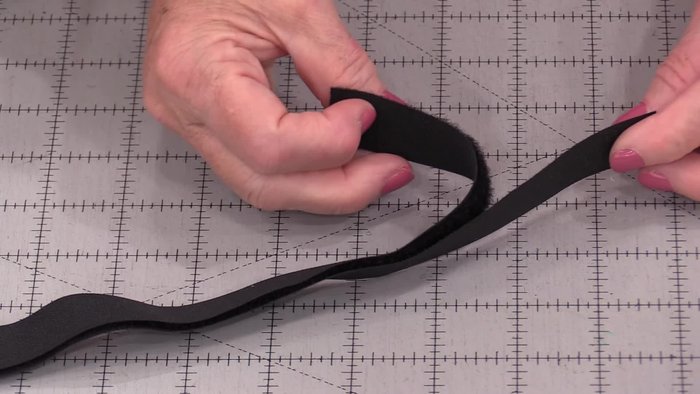
Prepare the Velcro
- Identify the rough side of the Velcro. The rough side has loops that can catch the thread.

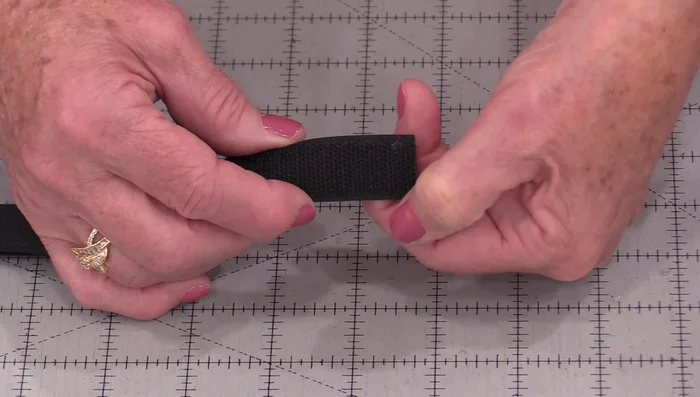
Prepare the Velcro Prepare for Sewing
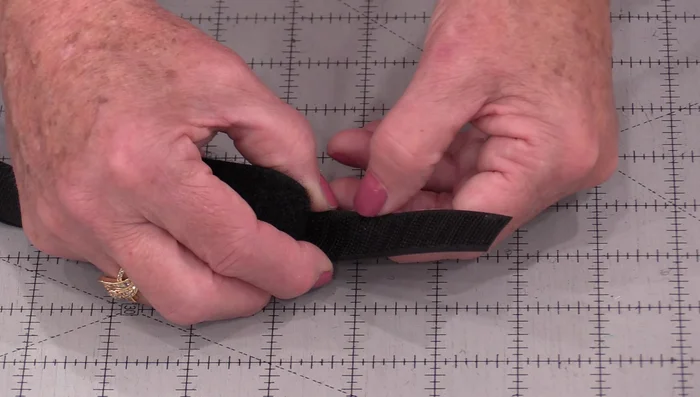
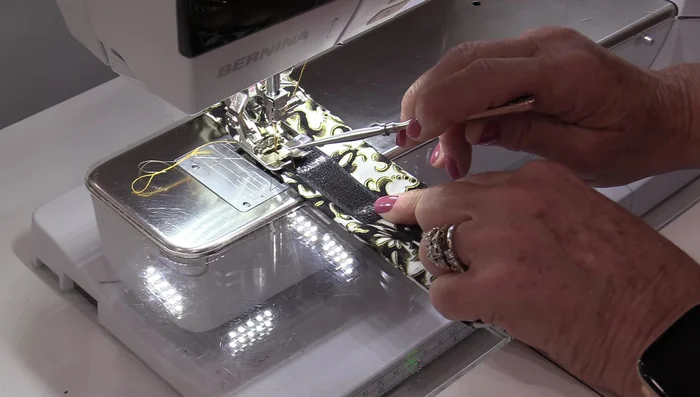
- If stitching over the rough side, carefully trim small channels along the edges of the velcro to remove some of the loops. Create these channels approximately three rows deep in order to facilitate easier stitching.
- Attach a zipper foot or an adjustable needle foot to your sewing machine. This allows you to sew very close to the edge of the Velcro.
- Adjust your needle position so it stitches right along the edge of the Velcro, inside the channels you created.
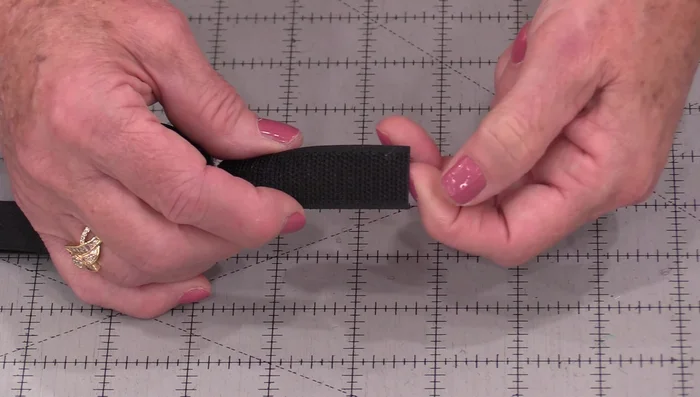
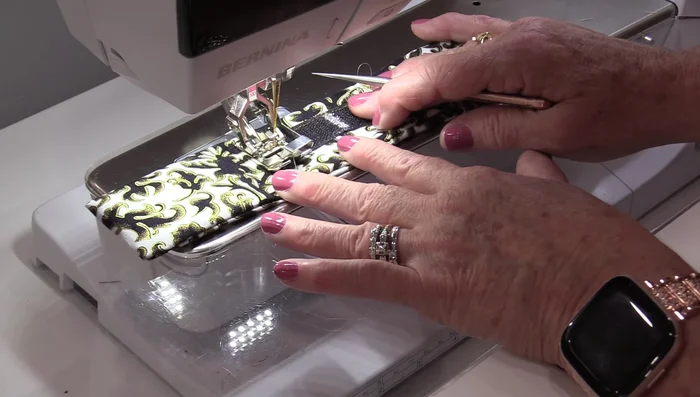
Prepare for Sewing Stitch the Rough Side
- Carefully guide your fabric so that the metal plate of the foot runs alongside the Velcro teeth. The machine will naturally follow these edges.
- When reaching a point where you need to turn the fabric (like at the corners of a channel), simply stop the machine, pivot the fabric, and continue stitching along the next edge.
- To ensure the Velcro is securely attached, use a backstitch at the beginning and end of your seam.
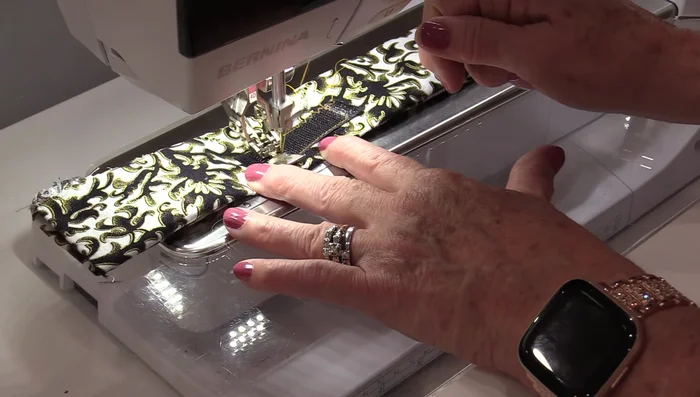
Stitch the Rough Side Stitch the Soft Side
- Sew the softer side of the Velcro using the same technique. This side is much easier to sew.
Stitch the Soft Side

Read more: DIY Stretchy Fingerless Gloves: Easy Sewing Tutorial
Tips
- Use a strong needle: A universal, non-stick, or jean needle is recommended to pierce the strong backing of the Velcro.
- Check Velcro Packaging: Always check the packaging for instructions, especially if using pre-cut Velcro or peel-and-stick varieties.