Thrift stores are treasure troves of forgotten potential, brimming with unique pieces waiting for a second life. Among the discarded gems, humble belts often languish, overlooked and underappreciated. But what if we could transform these simple accessories into vibrant expressions of personal style? This project explores the exciting possibilities of upcycling a thrift store belt, breathing new life into a forgotten find and creating a stunning boho patchwork masterpiece. We’ll take a plain, possibly even damaged, belt and turn it into a stylish and individual statement piece, perfect for adding a touch of eclectic flair to any outfit.
This guide will take you through a step-by-step process of upcycling a found belt into a beautiful boho-chic accessory. We'll delve into the selection of fabrics, the essential techniques for cutting and sewing patchwork pieces, and the final touches that will elevate your upcycled belt from ordinary to extraordinary. Prepare to unleash your creativity and discover the joy of transforming something old into something truly unique and beautiful.
Preparation and Safety Guidelines
- Thrift store belt
- Fabric scraps
- Pinking shears
- Seam ripper
- Sewing machine
- Iron and ironing board
- Brown thread
- Pink thread
- Muslin (optional)
- Vintage lace (optional)
- Always use sharp, clean scissors or rotary cutter when cutting fabric to avoid injury. Handle blades with care.
- If using a glue gun, be mindful of hot glue. Work on a heat-resistant surface and avoid touching the glue until it cools completely.
- When working with vintage or pre-owned materials, be aware of potential allergens. Wash fabrics thoroughly before starting the project, if possible, and consider wearing a mask.
Step-by-Step Instructions
Prepare the Belt
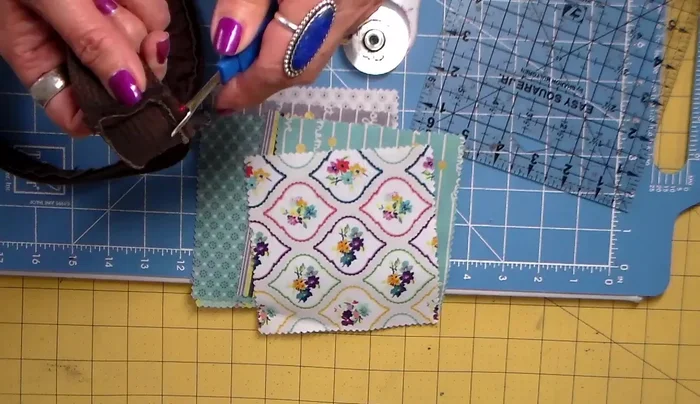
- Remove the buckle from the thrift store belt using a seam ripper.

Prepare the Belt Prepare the Fabric
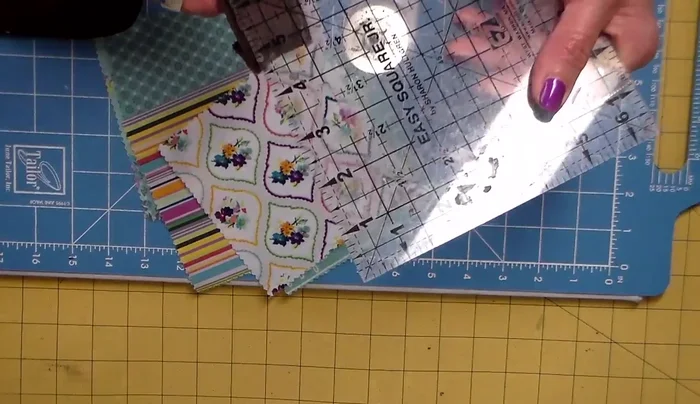
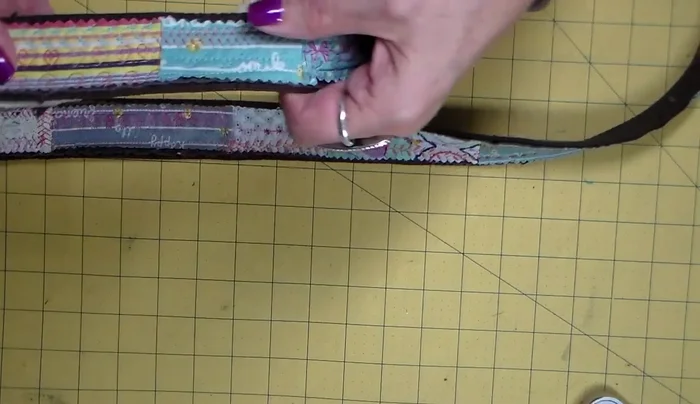
- Cut fabric scraps into strips, adding 1.25 inches to the width of the belt for each strip. Pink the edges of the fabric.
Prepare the Fabric Sew the Fabric to the Belt
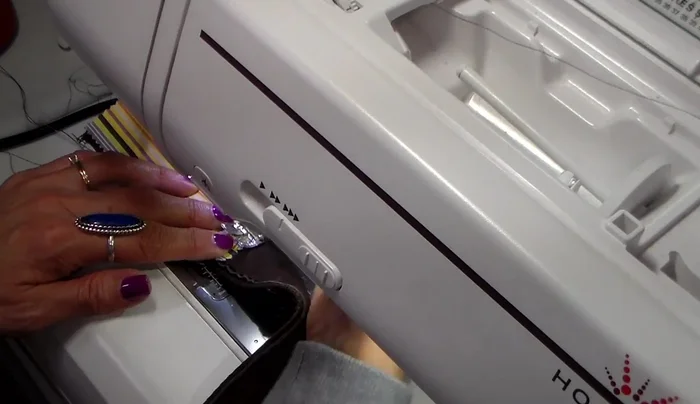
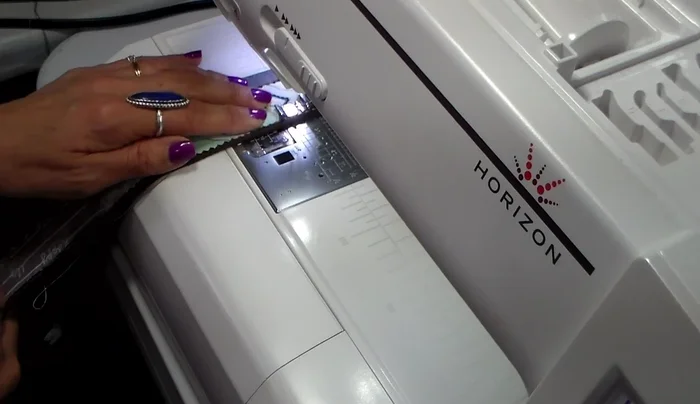
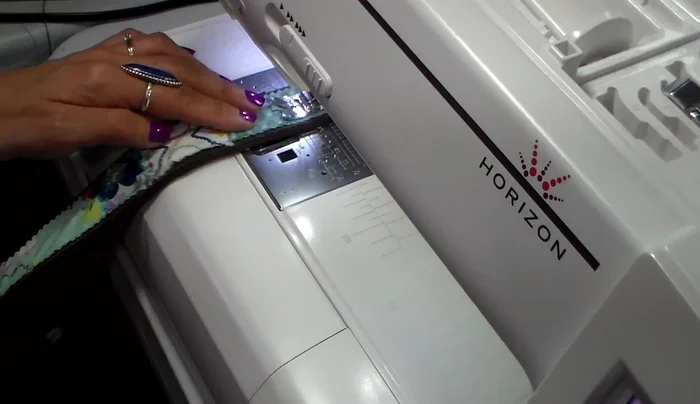
- Sew the fabric strips onto the belt, one at a time, using a quarter-inch seam allowance. Iron each strip after sewing.
Sew the Fabric to the Belt Secure the Edges
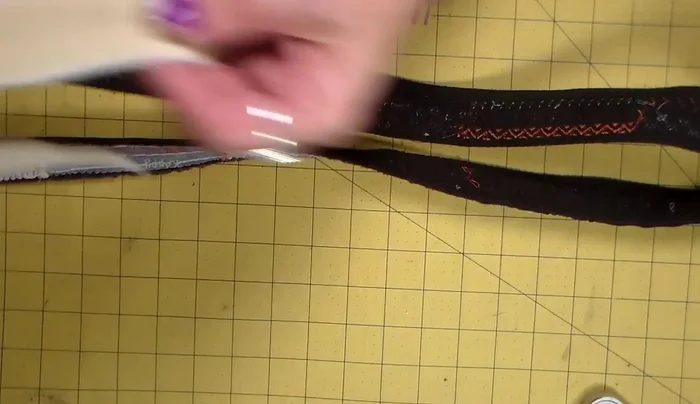
- Edgestitch along both sides of the belt, a quarter-inch away from the edge.
Secure the Edges Add Decorative Stitches
- Add decorative stitches using various colors of thread.
Add Decorative Stitches Finish the Back
- Sew a piece of muslin to the back of the belt to cover any messy seams.
Finish the Back Attach the Buckle
- Reattach the buckle to the finished belt.
Attach the Buckle
Read more: DIY Stretchy Fingerless Gloves: Easy Sewing Tutorial
Tips
- Vary the lengths of the fabric strips to avoid a monotonous look.
- Use a variety of decorative stitches to add visual interest.
- Add embellishments like fabric yo-yos or vintage lace for extra flair.