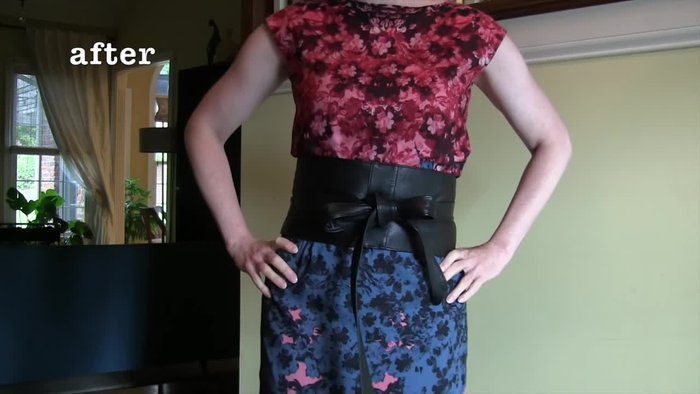
Leather belts are a timeless accessory, adding a touch of sophistication and durability to any outfit. But what happens to those beloved leather jackets or bags when they've seen better days? Instead of discarding them, consider the possibilities of upcycling! This guide will show you how to transform a piece of discarded leather, perhaps from an old jacket or even a forgotten handbag, into a stunning, unique Obi belt. The rich texture and inherent strength of leather make it a perfect material for this stylish and surprisingly simple project. You'll be amazed at the transformation!
This step-by-step guide will walk you through the entire process, from selecting your leather and measuring your waist to adding finishing touches that perfectly reflect your personal style. Prepare to be inspired as we delve into the world of creative reuse and discover how a little ingenuity can turn something old into something new and beautifully wearable. Get ready to upcycle your way to a fashionable, eco-friendly accessory!
Preparation and Safety Guidelines
- Rotary cutter
- Ruler
- Leather needle
- Quilting thread
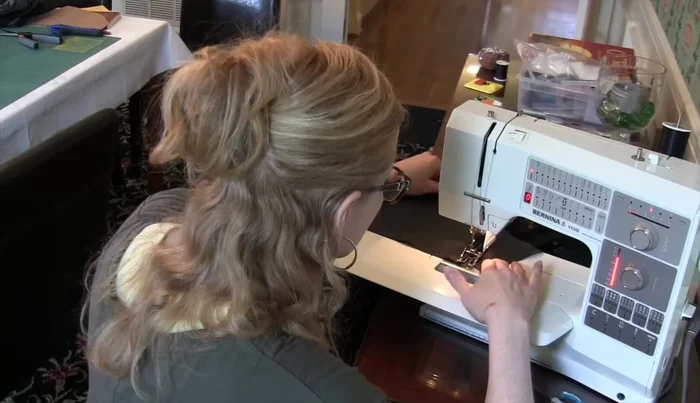
- Sewing machine
- Always use sharp, well-maintained tools to avoid injury. Leather can be difficult to cut and improper tools increase the risk of slips and cuts.
- Wear appropriate safety glasses to protect your eyes from flying debris when cutting or sanding leather.
- Handle any chemicals used (e.g., leather dyes or sealants) in a well-ventilated area and according to the manufacturer's instructions. Wear gloves if necessary.
Step-by-Step Instructions
Prepare Leather Strips
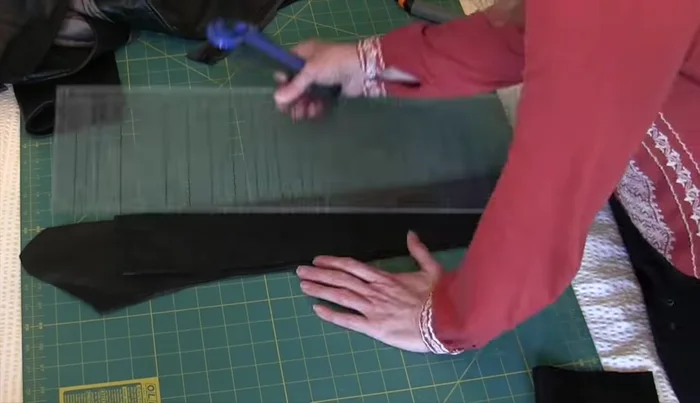
- Cut the leather strips (3 1/2 inches wide) from a recycled leather coat. You'll need two strips for each side of the belt.

Prepare Leather Strips Sew and Reinforce Strips
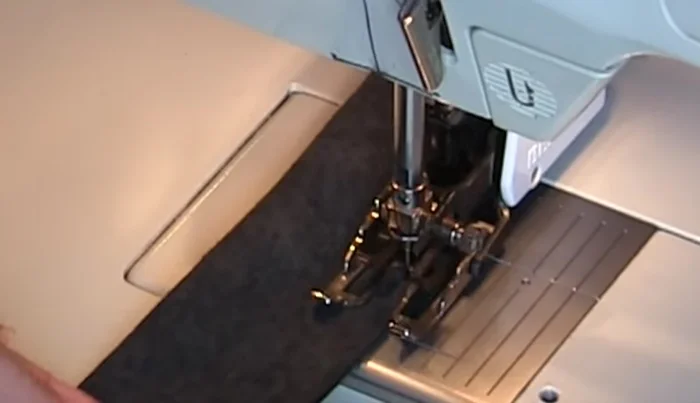
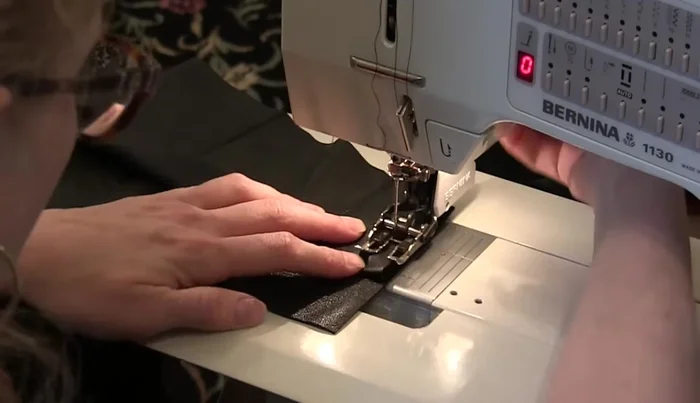
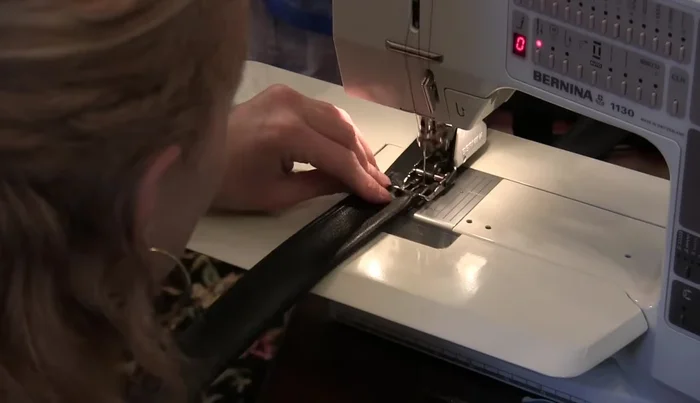
- Sew the two strips for each side together with right sides facing, using a leather needle and quilting thread. Reinforce the seams with top stitching.
Sew and Reinforce Strips Sew Lengthwise and Shape Ends
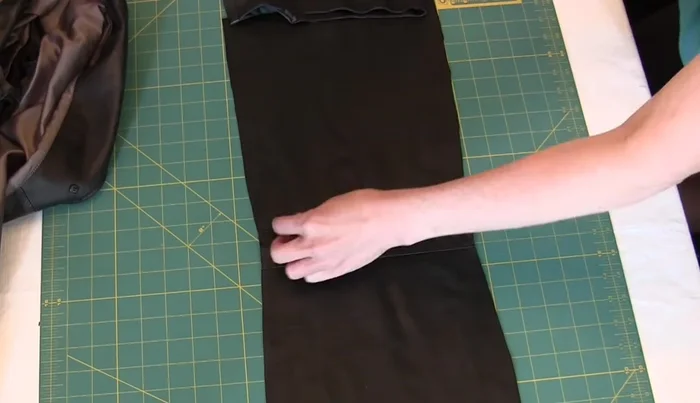
- Fold each strip lengthwise with right sides together, using a 1/4 inch seam allowance. Cut a 45° angle on the tie ends. Trim seam allowances.
Sew Lengthwise and Shape Ends Turn, Shape, and Add Front Pieces
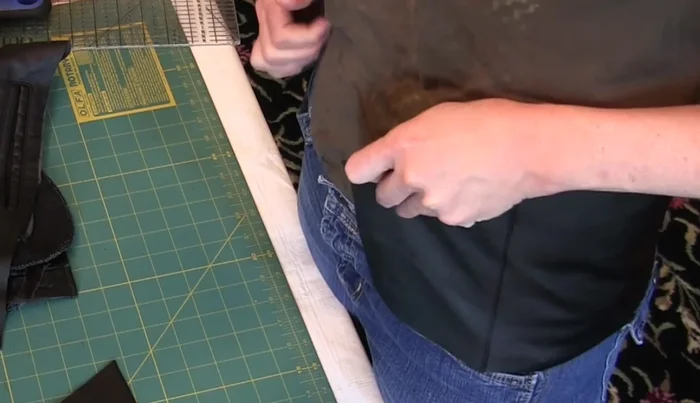
- Turn the sewn strips right side out. Add trapezoid-shaped pieces to the front section to shape the belt to a woman's body (narrower at the waist, wider at the hips).
Turn, Shape, and Add Front Pieces Adjust Back for Fit
- Measure and add extra trapezoid pieces to close the gap in the back. Ensure a small gap remains to allow for stretching when worn.
Adjust Back for Fit Reinforce All Seams
- Reinforce all seams with top stitching.
Reinforce All Seams Prepare Belt Lining
- Cut lining pieces (5 1/2 inches wide finished) from a recycled jacket lining. Piece together if necessary.
Prepare Belt Lining Attach Tie Parts
- Sew the tie parts to the belt.
Attach Tie Parts Attach and Finish Lining
- Sew the lining to the belt, leaving the ends open (or slightly overlapping and tucked to avoid showing).
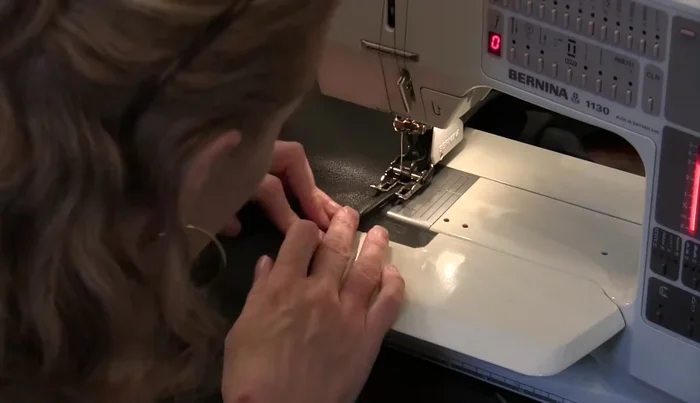
Attach and Finish Lining Final Top Stitching
- Top stitch all around the edge of the belt and tie parts.
Final Top Stitching

Read more: DIY Stretchy Fingerless Gloves: Easy Sewing Tutorial
Tips
- For precise cuts, use a rotary cutter and ruler.
- Leave a slight gap in the back pieces to account for the leather stretching when pulled tight.
- The angled ends of the belt will help it hug your waist and hips better.
- If desired, tuck the lining under when top stitching to prevent it from showing.