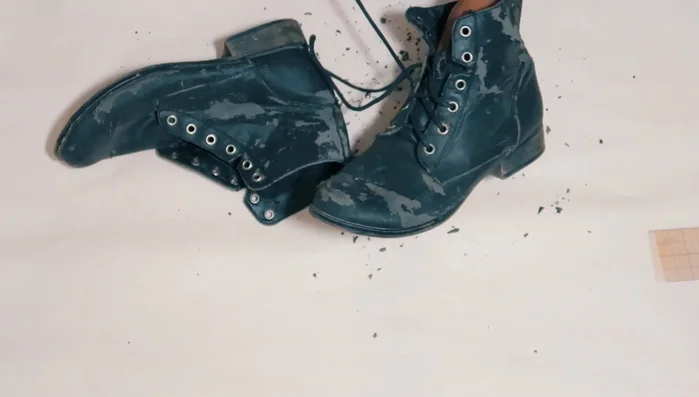
Doc Martens: iconic, durable, and undeniably stylish. But even these workhorses can show their age, their once-vibrant leather fading or scuffed beyond repair. Before consigning your beloved boots to the back of the closet, consider the transformative power of upcycling! This article explores the rewarding process of giving your worn Doc Martens a brand-new lease on life through creative fabric restoration. We'll delve into techniques that breathe fresh energy into tired leather, transforming them from well-loved to show-stopping.
Forget expensive replacements or settling for less; reclaiming your favourite footwear is both environmentally friendly and deeply satisfying. This guide will walk you through a step-by-step makeover, from prepping your boots to applying the chosen fabric and adding those finishing touches that truly personalize your Doc Martens. Let's get started and discover how to breathe new life into your trusty boots!
Preparation and Safety Guidelines
- Doc Martens Boots
- Fabric (old dress)
- Masking Tape
- Plaster Wrap (optional)
- Fabric Glue
- Mod Podge (ineffective in this case)
- Newspaper
- Scissors
- Sewing Machine
- Grommets
- Grommet Punch
- E6000 Glue
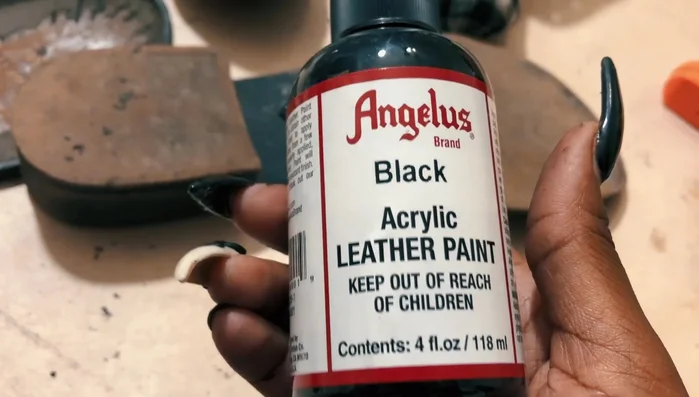
- Black Paint
- Clothes Pins
- Transfer Paper
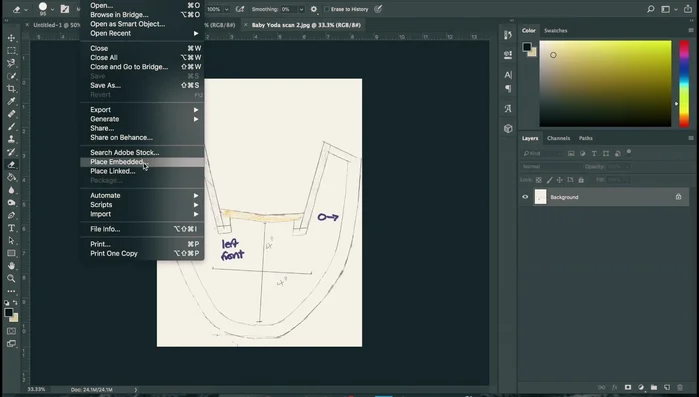
- Photoshop
- Printer
- Always test your chosen fabric and cleaning solution on a hidden area of the boot first to ensure it doesn't damage or discolor the leather.
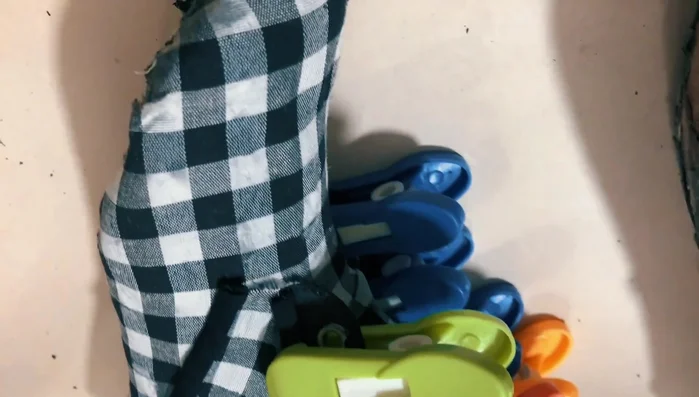
- Use appropriate adhesives and allow them to dry completely before handling or wearing the boots to prevent damage or residue.
- If you are unsure about any step of the process, it's always best to consult a professional cobbler or leather repair specialist.
Step-by-Step Instructions
Preparation
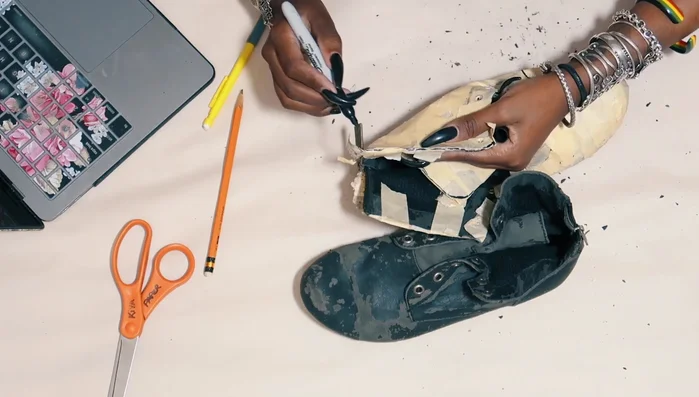
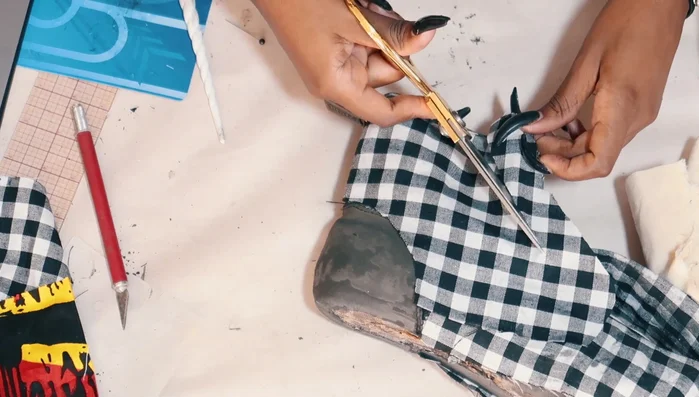
- Remove laces and scrape off damaged areas of the boots.
- Apply masking tape (and optionally plaster wrap) to protect details.

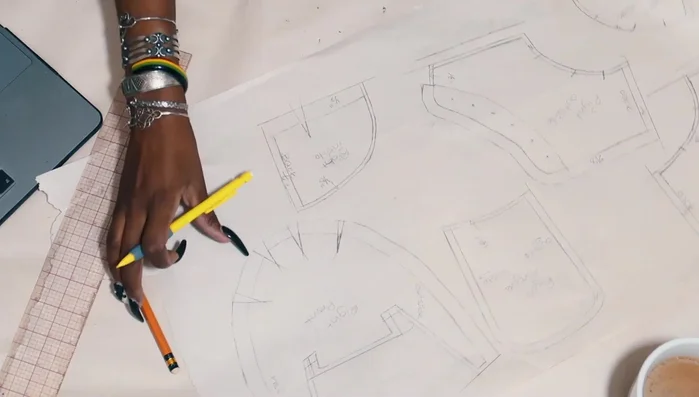
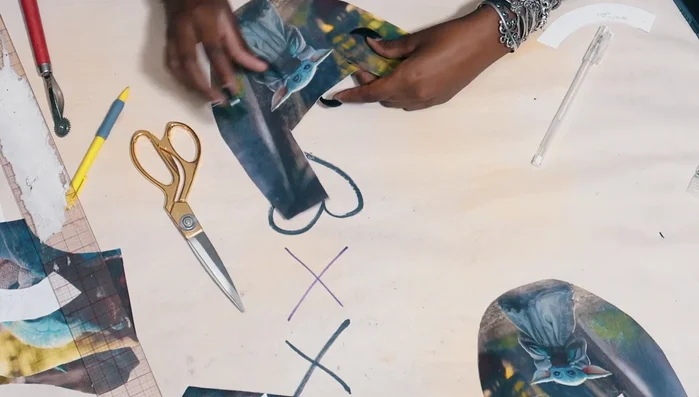
Preparation Pattern Making & Fabric Cutting
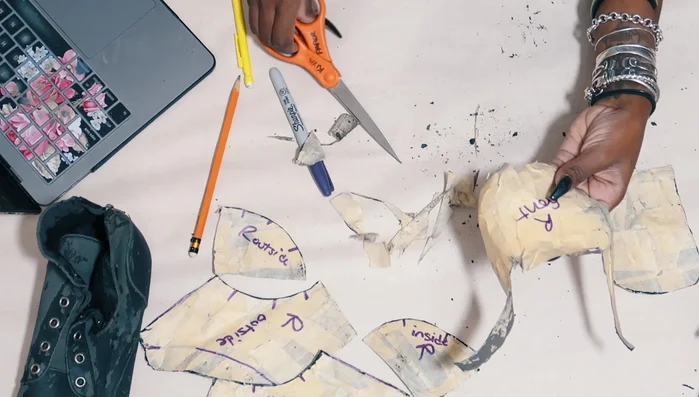
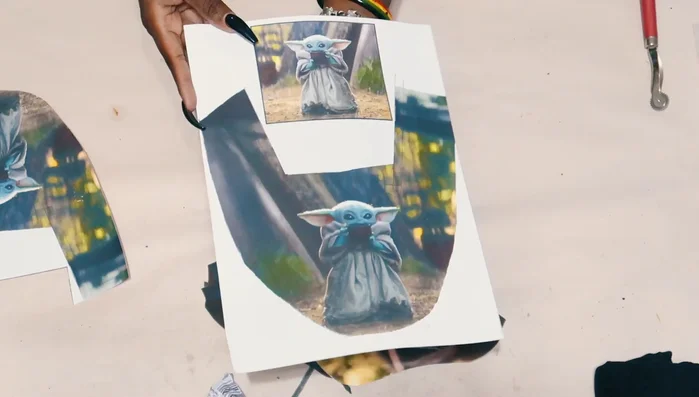
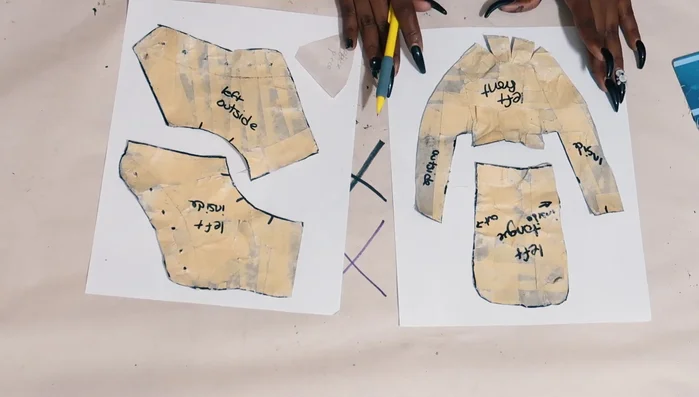
- Create fabric pattern pieces based on the boot shape.
- Cut slits in curved pattern pieces to make them lie flat.
- Cut fabric pieces using the pattern, adding seam allowance (though later removed).
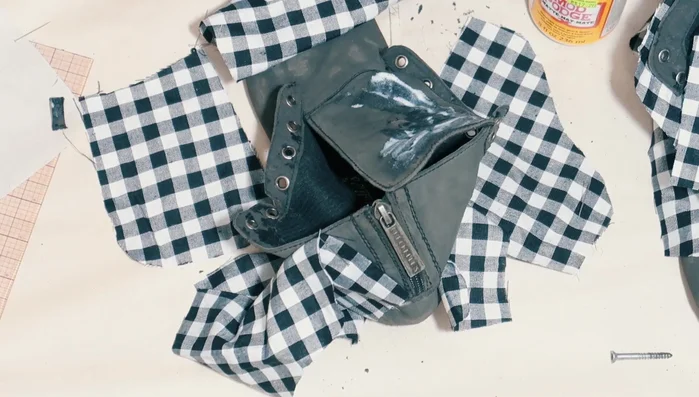
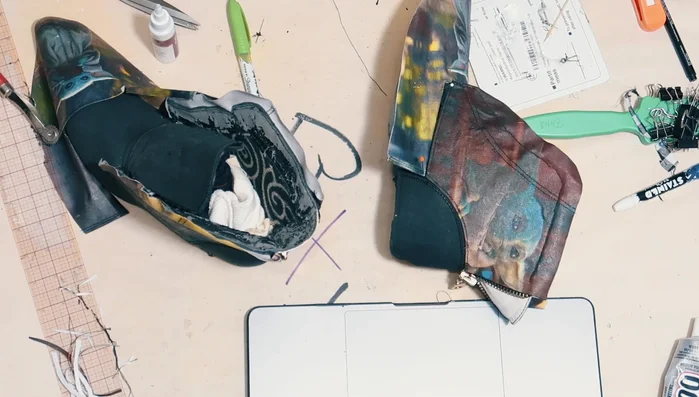
Pattern Making & Fabric Cutting Fabric Application (First Boot)
- Apply Mod Podge (ineffective due to fabric absorption); switch to fabric glue.
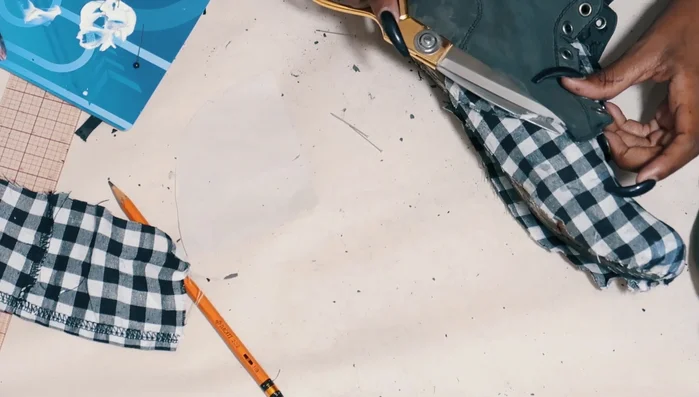
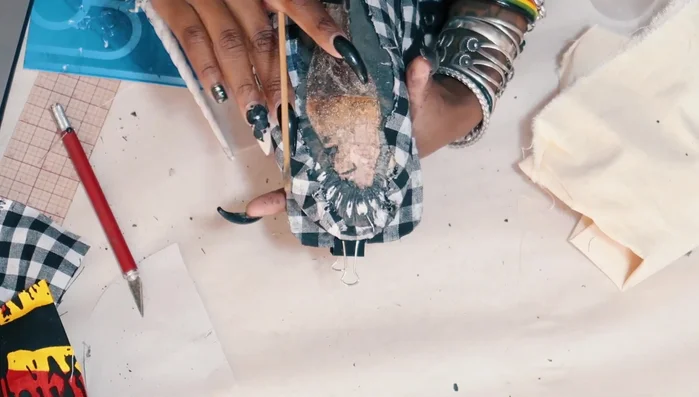
- Glue fabric to the boots, starting with the back and then the front. Fill out the front with scrap fabric or other filler.
- Remove excess seam allowance.
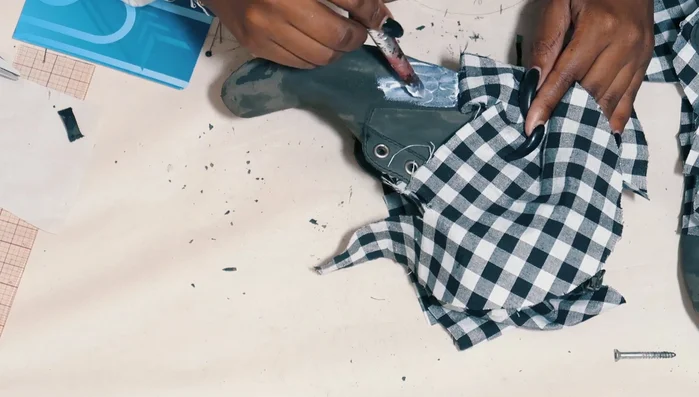
- Cut away fabric covering grommets and paint grommet areas black.
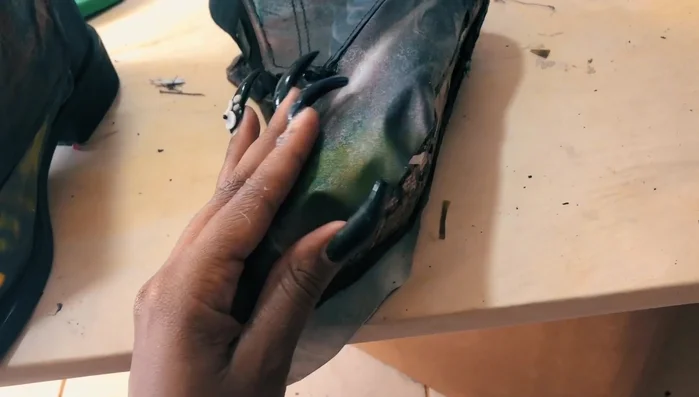
Fabric Application (First Boot) - Flatten and glue down the sole areas.
- Cover raw edges using strips of fabric from the old dress and other scraps.
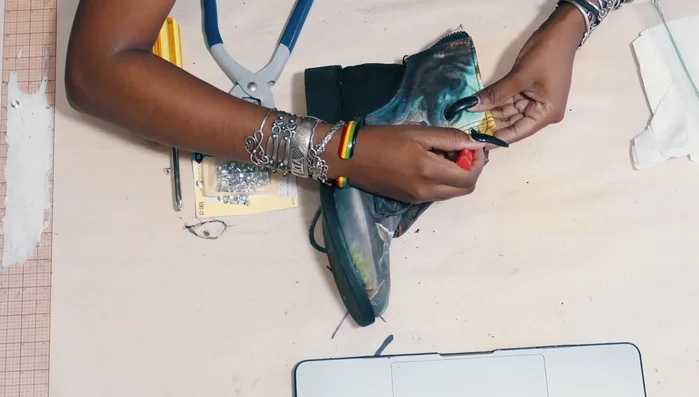
Fabric Application (First Boot) Sole Refinement (First Boot)
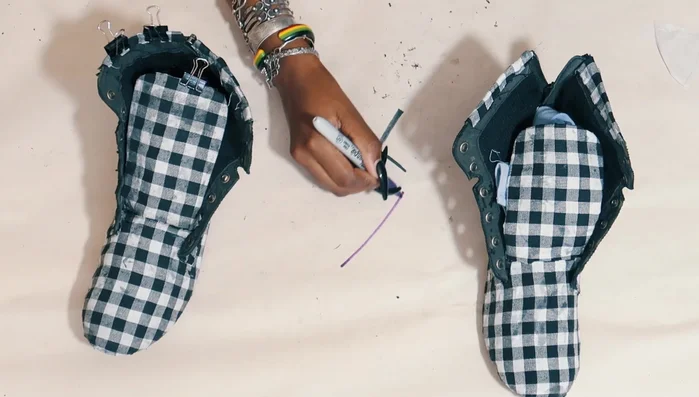
- Paint the soles black.
- Glue the soles back onto the boots.
Sole Refinement (First Boot) Advanced Techniques
- Use Photoshop to create custom fabric prints from scanned images of the boots.
- Print the designs onto transfer paper and apply to the fabric pieces.
Advanced Techniques Fabric Application (Second Boot)
- Repeat steps for the second boot, but improve pattern-making and fabric cutting.
- Sew and glue the upper parts of the boot together, then glue on the front pieces.
Fabric Application (Second Boot) Finishing Touches (Both Boots)
- Paint the tongue and sides black.
- Glue the soles back on.
- Add grommets and laces.
Finishing Touches (Both Boots)
Read more: DIY Reversible Baby Slippers: Easy Sewing Tutorial
Tips
- Use filler material (scrap fabric, etc.) to help shape the front of the boot while gluing.
- If using fabric glue, be prepared for a longer drying time.
- Carefully follow transfer paper instructions to avoid issues with heat application.
- Top stitch curved sections for added durability.