Keep those tiny toes warm and stylish with these adorable DIY reversible baby slippers! This easy sewing tutorial will guide you through creating a pair of incredibly versatile slippers that can be flipped for a whole new look. Forget expensive store-bought options – you'll be surprised how simple it is to whip up a pair using basic sewing skills and readily available materials. Perfect for beginners, this project offers a chance to personalize your baby's wardrobe with unique fabrics and colors, making them truly one-of-a-kind.
Imagine the joy of creating custom footwear for your little one, tailored perfectly to their size and your personal style. These reversible slippers offer double the fun, providing two distinct designs in one charming pair. Ready to get started on this delightful and rewarding project? Let's dive into the step-by-step instructions below!
Preparation and Safety Guidelines
- Fabric (100% cotton recommended)
- Cotton batting or quilt batting
- Sewing machine
- Scissors
- Pins
- Iron
- Elastic
- Safety pin
- Always supervise young children while they are wearing the slippers to prevent tripping or choking hazards. Small parts can pose a choking risk if detached.
- Use fabric that is soft, breathable, and non-irritating to a baby's delicate skin. Avoid using fabrics with loose threads or embellishments that could come undone.
- Ensure all seams are securely stitched and there are no sharp edges or points that could scratch the baby's skin. Thoroughly inspect the finished slippers before allowing your baby to wear them.
Step-by-Step Instructions
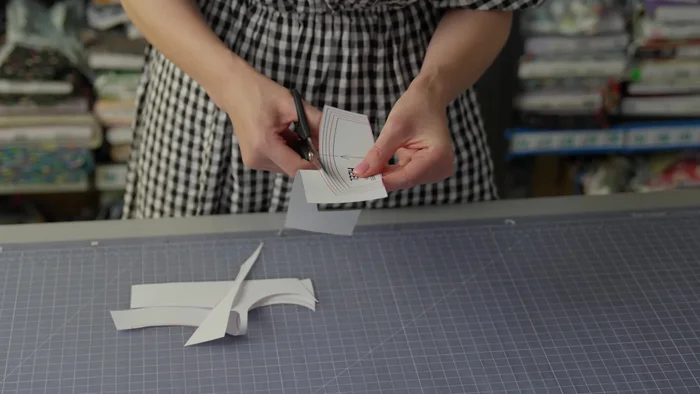
Prepare the Pattern and Fabric
- Print and cut out the necessary pieces according to the desired size.
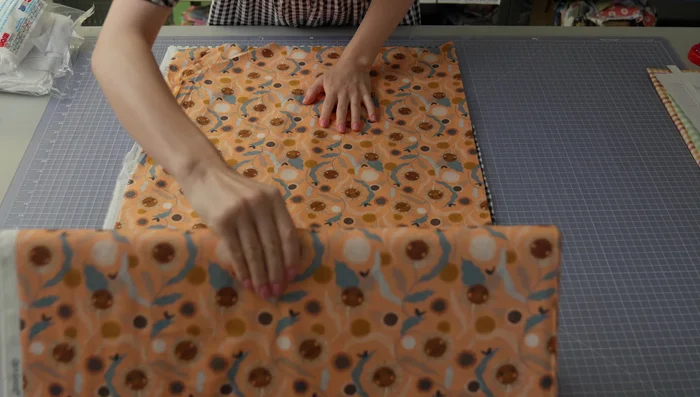
- Lay the fabric flat and place the pattern pieces on top, aligning them carefully with the grain line.

Prepare the Pattern and Fabric Assemble the Heel
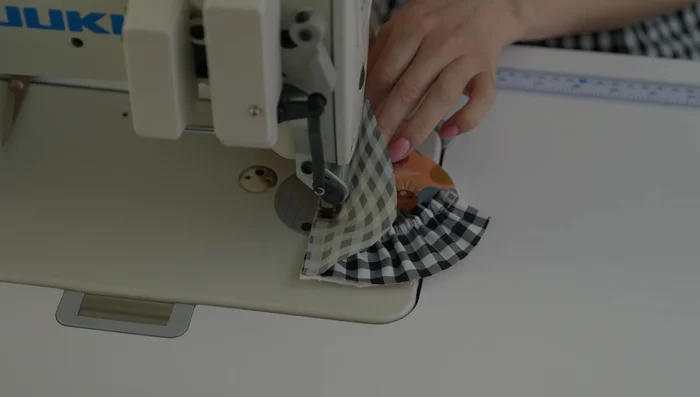
- Place the main fabric and lining fabric together and sew along the curved top edge, leaving a 1/4 inch seam allowance. Turn right side out and press the seam flat.
- Stitch 3/8 inch away from the pressed seam. Thread elastic through the casing using a safety pin and secure both ends.
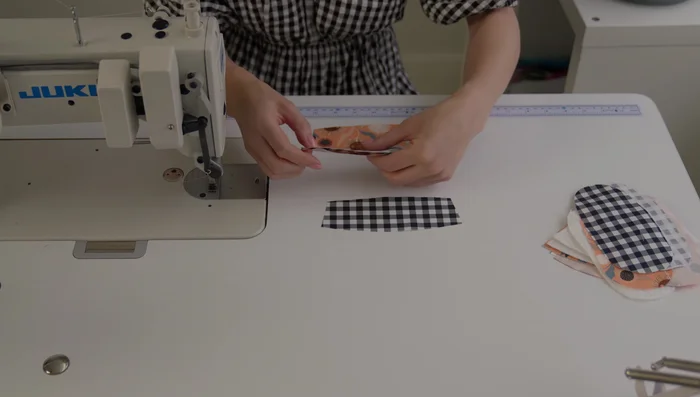
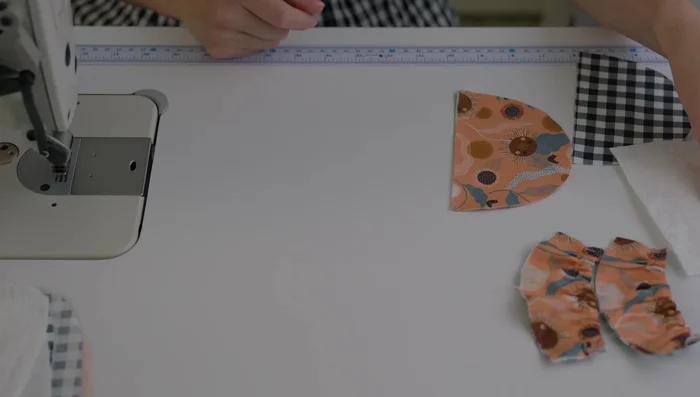
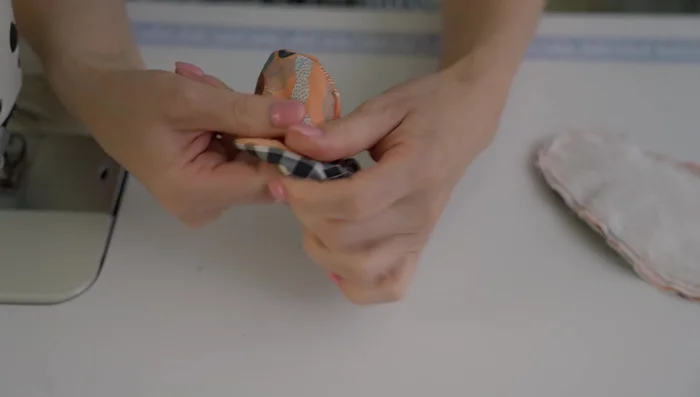
Assemble the Heel Assemble Toe and Heel
- Align the toe and heel sections, ensuring they align correctly. Stitch along the edge, leaving a 1/4 inch seam allowance.
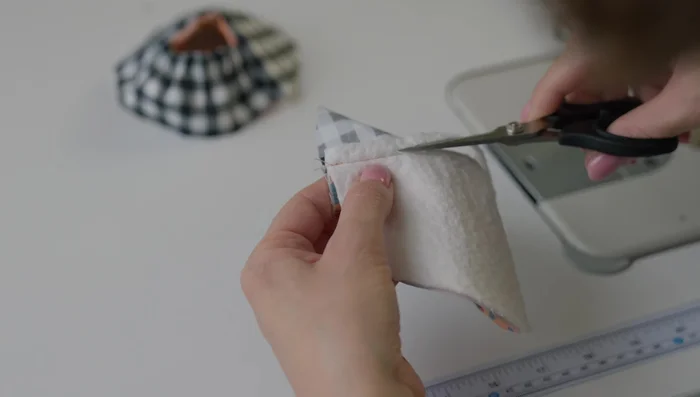
- Fold the lining fabric back and continue attaching the heel to the toe piece.
- Trim the padding close to the seam to reduce bulk. Press the seams of the upper slipper for a smooth finish.
Assemble Toe and Heel Gather Toe and Attach Sole
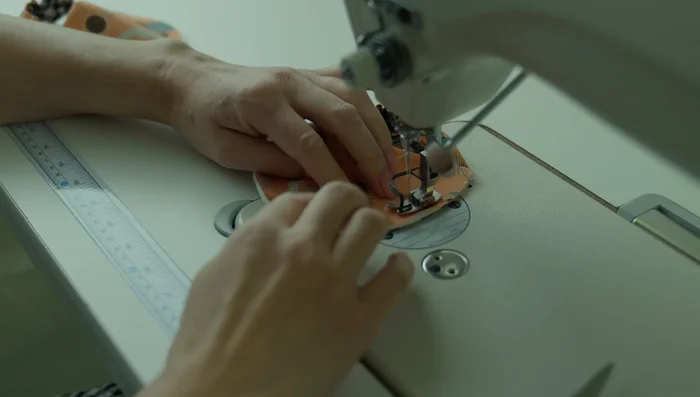
- Add a temporary basting stitch along the toe's curve. Pull on the thread ends to create a slight gather.
- Align the center marks of the upper and sole pieces and stitch them together with a 1/4 inch seam allowance. Sew around the entire perimeter.
Gather Toe and Attach Sole Attach Lining Sole and Finish
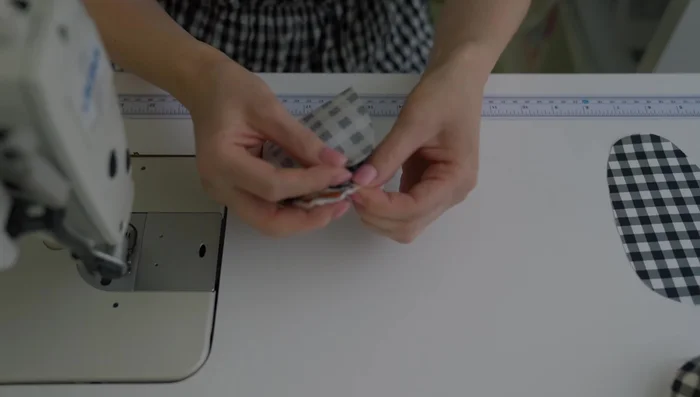
- Attach the lining sole, keeping the seam slightly inside the previous one. Leave a small opening for turning. Trim excess padding.
- Turn the slippers inside out through the opening. Use an invisible stitch to close the opening. Stuff the toe with soft fabric and steam to shape.
Attach Lining Sole and Finish


Tips
- Use 100% cotton fabric for breathability and softness.
- Pressing seams is key to achieving clean, crisp edges.
- Keep stitching straight and even for a neat finish.
- Using a small notch to mark the center of the toe piece helps with accurate assembly.