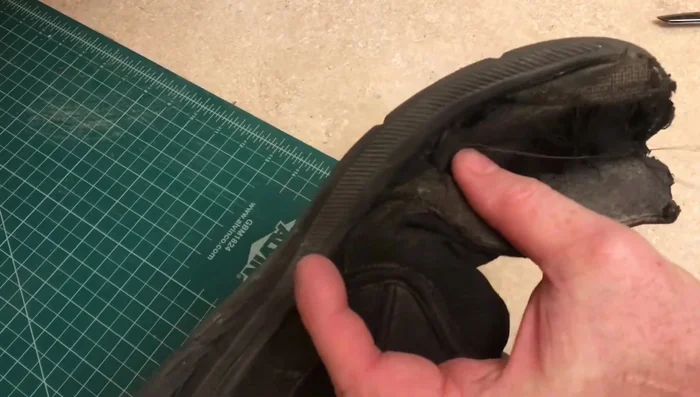
We all have that favourite pair of shoes – the ones that feel perfect, look great, but have unfortunately developed a hole in the sole. Before you resign them to the back of the closet or consider a costly replacement, consider the power of DIY shoe repair! A small hole in your sole doesn't automatically mean the end of your beloved footwear; with a little know-how and the right materials, you can extend their lifespan significantly and save some money in the process. Repairing your shoes yourself is surprisingly satisfying, a rewarding blend of practicality and creativity.
This guide will equip you with the skills and knowledge to tackle that pesky hole effectively. From identifying the best materials to the crucial steps in the repair process, we’ll walk you through each stage, transforming a worn-out sole into a sturdy, wearable surface once more. Ready to get started and breathe new life into your favourite shoes? Let's dive into the step-by-step instructions below.
Preparation and Safety Guidelines
- Strong needle
- Nylon thread
- Scissors
- Always work in a well-ventilated area, as shoe repair glues and solvents can release harmful fumes.
- Use appropriate safety gear like gloves to protect your skin from adhesives and sharp objects.
- Ensure the repair area is completely clean and dry before applying any adhesive or patch; this ensures a strong bond.
Step-by-Step Instructions
Prepare Materials
- strong needle, nylon thread, and scissors.

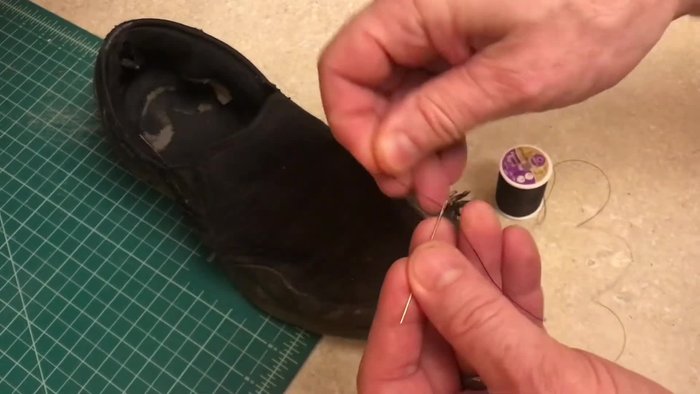
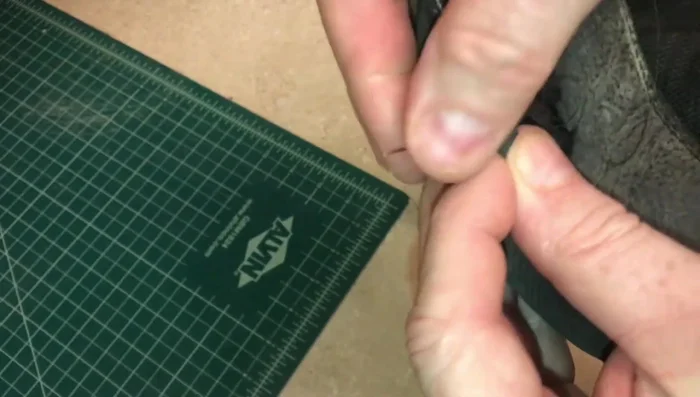
Prepare Materials Thread the Needle and Knot
- Thread the needle and create a knot. A quick knotting technique is to wrap the thread around your finger a couple of times, roll it, and pull to create a secure knot.
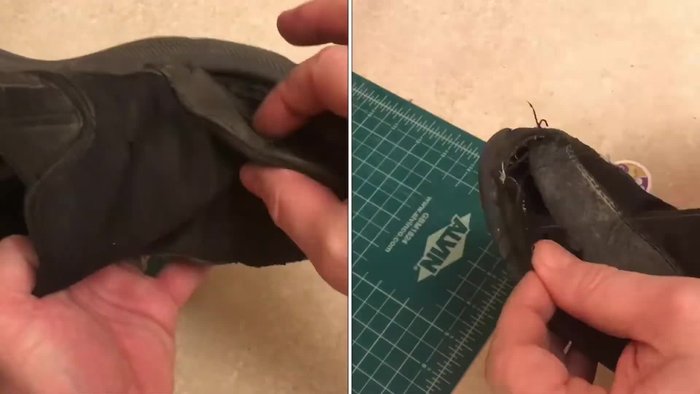
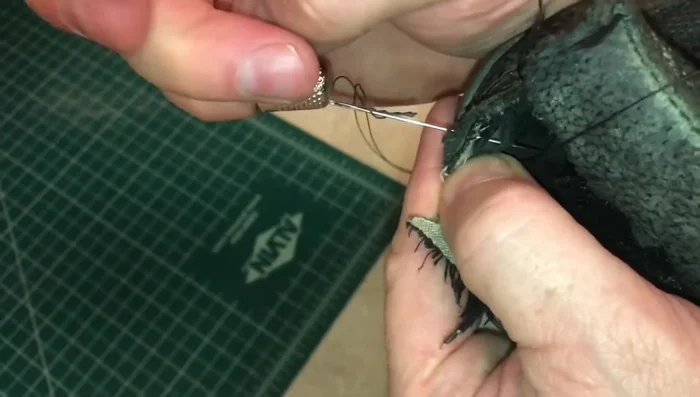
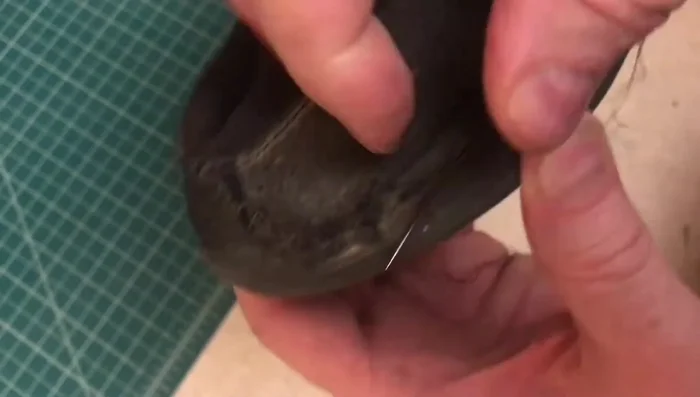
Thread the Needle and Knot Stitch Inner Fabric
- Start stitching from the end of the shoe, aiming for the fabric deep within the rubber. Go through the inside of the shoe and out.
- Continue stitching, aiming to catch both pieces of fabric whenever possible. Use small, tight stitches.
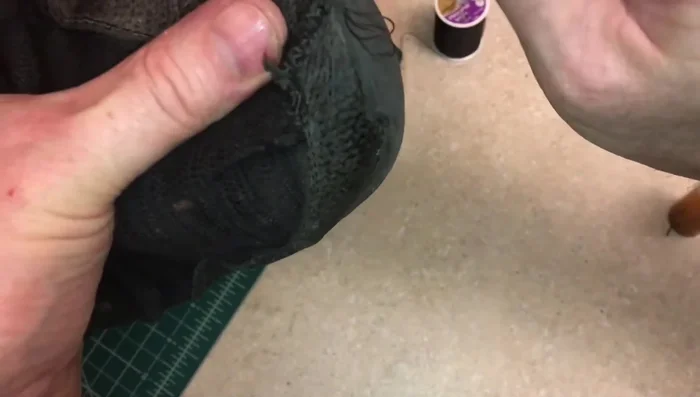
- Sew all the inner fabric together. You may need to dig to find the other side of the fabric.
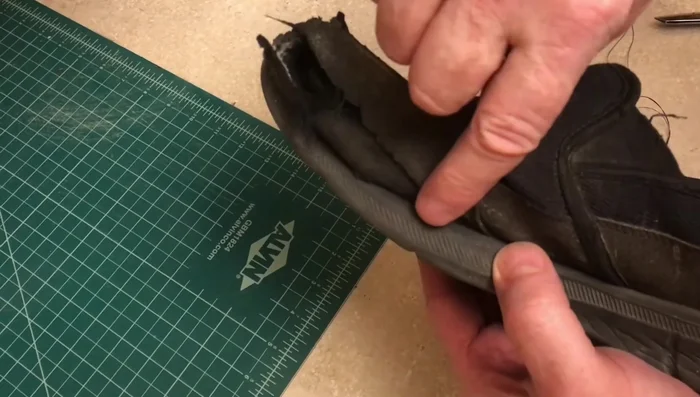
- Work your way to the toe of the shoe, stitching back and forth if necessary. Stay close to the rubber sole.
Stitch Inner Fabric - For thicker leather, you may need tools such as a thimble, bottle, or cork to push the needle through.
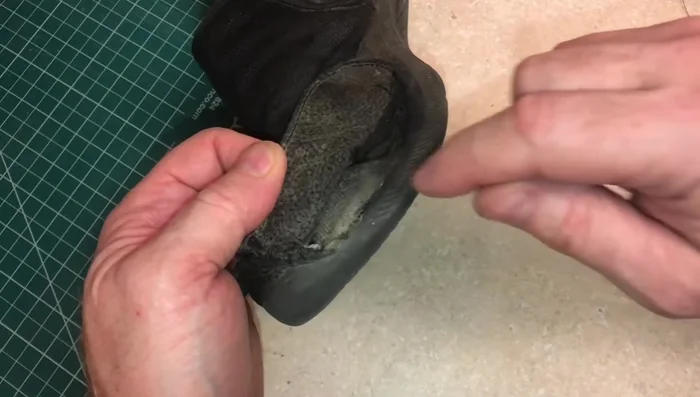
Stitch Inner Fabric Stitch Leather to Inner Fabric
- Once the inner fabric is stitched, align the leather piece as it was originally and stitch it to the cloth. Rock the needle back and forth for stiffer leather.
- Stitch the leather to the cloth behind it by pushing the needle from the bottom of the cloth, through the leather, and pulling it out.
- For tight areas, go sideways with the needle to ensure the stitch is secure. Stitch the leather tightly to the bottom of the shoe.
Stitch Leather to Inner Fabric Add New Thread
- When running out of thread, knot it securely, and add a new piece of thread.
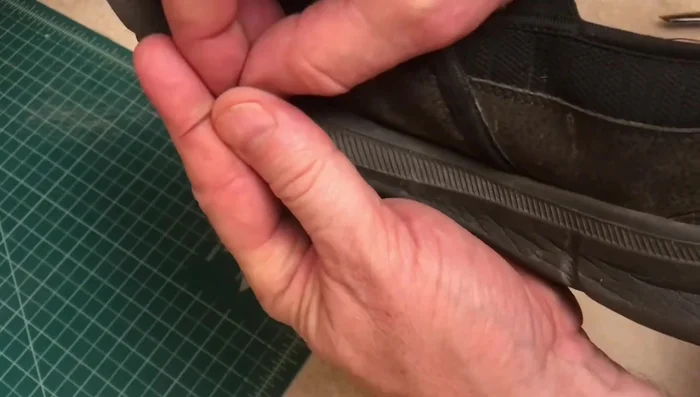
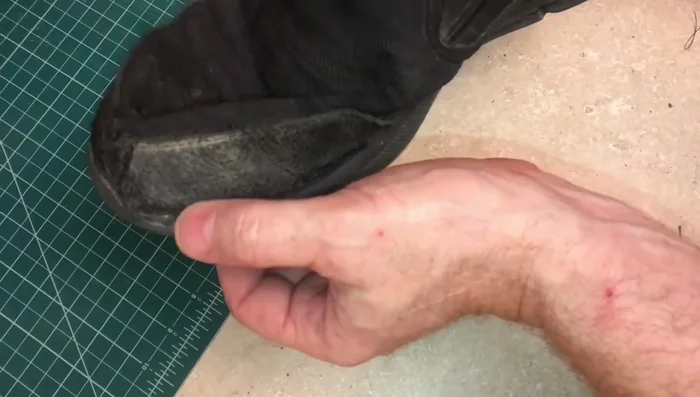
Add New Thread Finish and Secure
- When finishing, knot the thread securely.
Finish and Secure
Read more: DIY Reversible Baby Slippers: Easy Sewing Tutorial
Tips
- Use small, tight stitches for maximum durability.
- Use tools (thimble, bottle, cork) to aid in pushing the needle through tough materials.
- Keep the leather pulled down while stitching to ensure a tight fit.
- Stitch from the inside to the outside to ensure a clean and secure stitch.