Winter's chill can be wonderfully cozy, especially when you're snuggled up at home in a pair of warm, comfortable slippers. But what if you could create those cozy feelings while also being kind to the planet? This guide shows you how to craft delightful, DIY winter slippers entirely from recycled materials you likely already have around the house! Forget spending money on mass-produced footwear; let's get creative and sustainable with our footwear choices this season.
Imagine transforming old sweaters, discarded felt, or even repurposed denim into luxurious, foot-warming havens. This project is not only eco-friendly but also incredibly satisfying, offering a chance to unleash your inner crafter and personalize your winter footwear. Ready to transform trash into treasure and warm your toes? Let's dive into the step-by-step instructions below and begin crafting your unique, recycled winter slippers.
Preparation and Safety Guidelines
- Old blanket
- Old curtain lining (optional, for waterproof sole)
- A4 paper or scrap paper
- Scissors
- Needle and thread or sewing machine
- Pins
- Always supervise children during crafting and ensure they don't handle sharp objects like scissors or needles.
- Thoroughly clean and dry recycled materials before use to prevent skin irritation or infections.
- If using adhesives, work in a well-ventilated area and follow the manufacturer's safety instructions carefully.
Step-by-Step Instructions
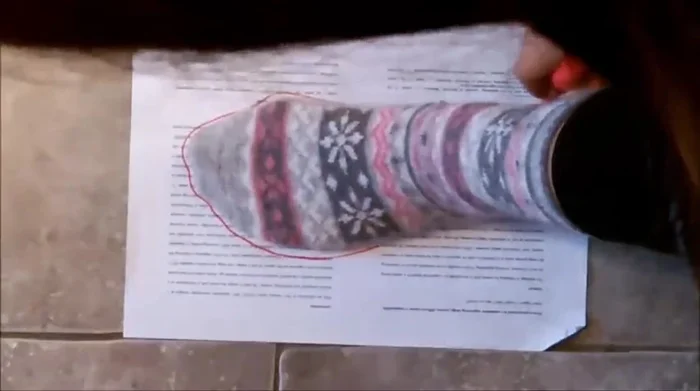
Foot Measurement and Pattern Creation
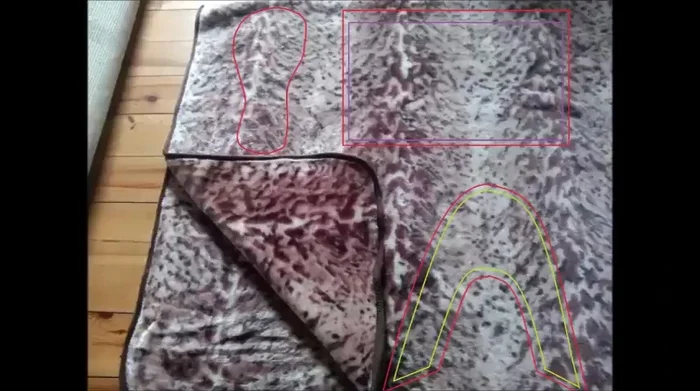
- Measure your foot using A4 paper. Trace your foot and add 1.5 inches from your toes to the front of your ankles.
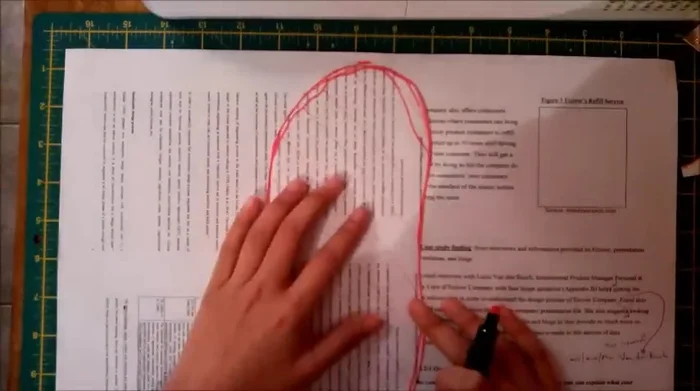
- Create the slipper pattern. Fold the paper in half, and mark 4.5 inches from the middle line at the bottom. Connect this point with the top folded line, then create an inward curve 2 inches from the folded line for the slipper's inside.

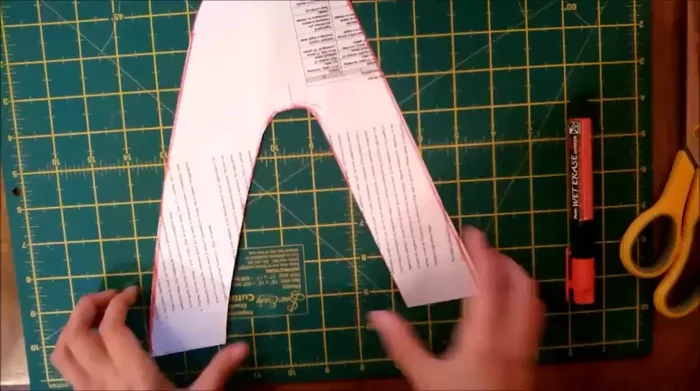
Foot Measurement and Pattern Creation Pattern Cutting
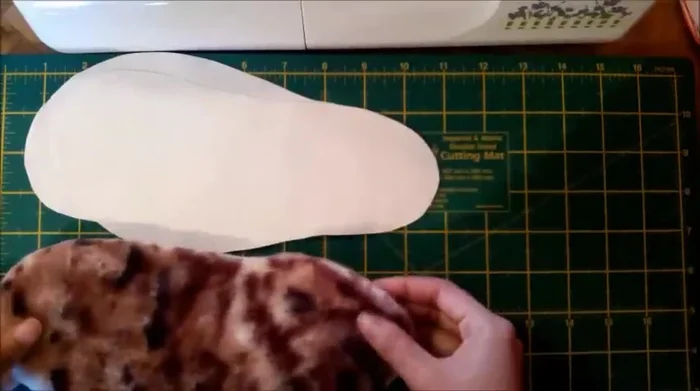
- Cut out the sole and upper patterns.
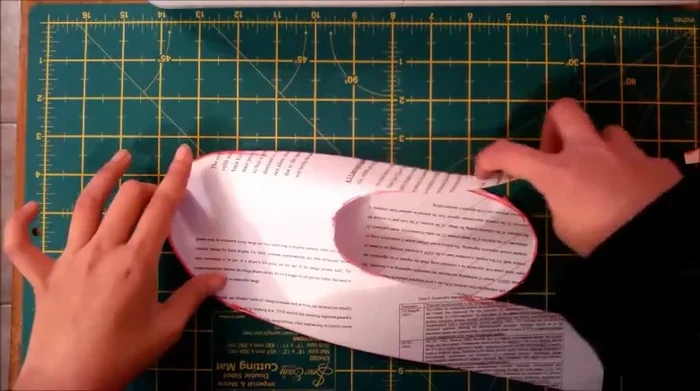
Pattern Cutting 3D Model Construction
- Create a 3D model by placing the sole and upper patterns together to visualize the slipper shape. Adjust for the curve of your foot.
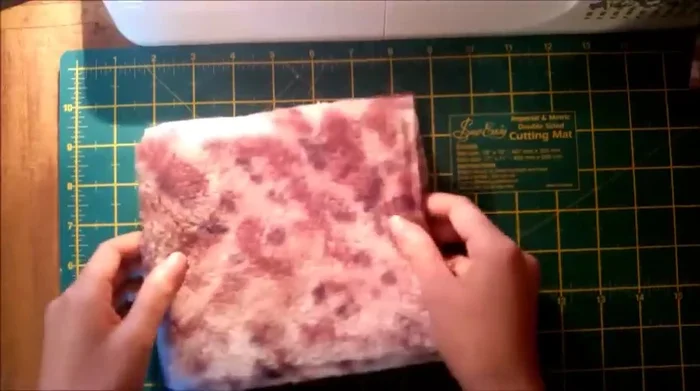
3D Model Construction Fabric Cutting
- Cut the fabric pieces. For the instep and shaft, add 1 cm seam allowance. For the sole, cut without seam allowance if you are using a stiff material.
Fabric Cutting Sole Assembly
- Assemble the soles. Place the wrong side of the insole fabric and the right side of the sole fabric together. Sew using a zigzag stitch.
Sole Assembly Upper Assembly
- Assemble the upper part of the slipper. Place the right sides of the instep and shaft patterns together and sew. Trim the edges and turn right side out.
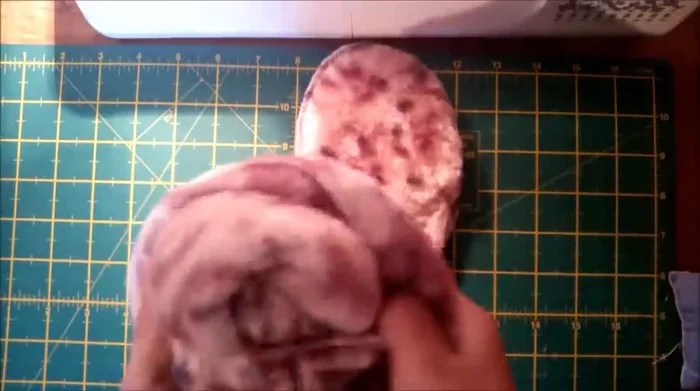
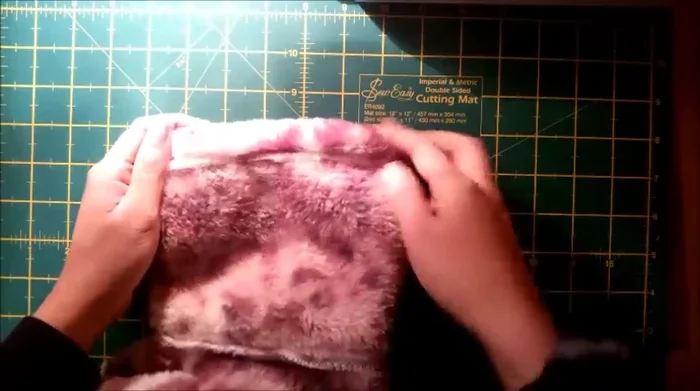
Upper Assembly Attaching Upper and Sole
- Attach the upper and sole pieces. Pin the upper and sole together, ensuring the right sides are facing out. Hand sew or machine sew all the way around.
Attaching Upper and Sole Finishing Touches
- Finish the slippers. Trim any excess thread. Check that the slippers are the correct size and shape.
Finishing Touches
Read more: DIY Reversible Baby Slippers: Easy Sewing Tutorial
Tips
- Use scrap paper to save resources.
- Consider using waterproof material for the sole of the slipper.
- Make sure your seams are secure and properly finished to ensure durability.