Have you ever dreamed of crafting your own unique footwear, expressing your personal style with every step? The world of shoemaking might seem intimidating, filled with specialized tools and complex techniques. But what if we told you that creating a stylish, wearable half shoe is surprisingly accessible? This DIY project allows you to unleash your creativity and design a pair of shoes perfectly tailored to your taste, all from the comfort of your home. Forget expensive, mass-produced footwear; you'll be surprised by the simplicity and satisfaction of bringing your own design to life.
This guide will walk you through the process of making your very own half shoes, focusing on a manageable, beginner-friendly approach. We'll cover material selection, essential tools, and clear, concise instructions for each stage of construction, empowering you to craft a beautiful and functional pair of half shoes. Let's dive into the step-by-step process, transforming your crafting aspirations into a reality.
Preparation and Safety Guidelines
- Basket material
- Leather
- Leather lining
- Gum
- Tassles (or similar decorative element)
- Sewing machine
- Punching tools
- Last (shoe form)
- Always use sharp, well-maintained tools. Dull tools require more force, increasing the risk of slips and cuts.
- Wear appropriate safety gear, including eye protection and gloves, throughout the process. Leather can be abrasive and tools can cause injury.
- Work in a well-ventilated area, especially when using adhesives or solvents. Inhale fumes can be harmful.
Step-by-Step Instructions
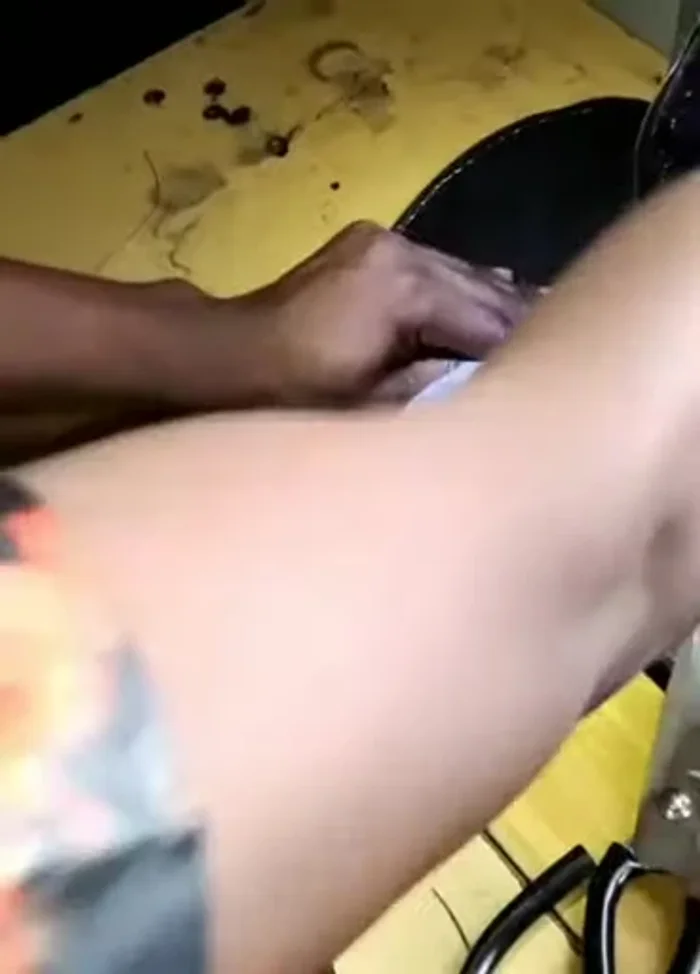
Material Preparation
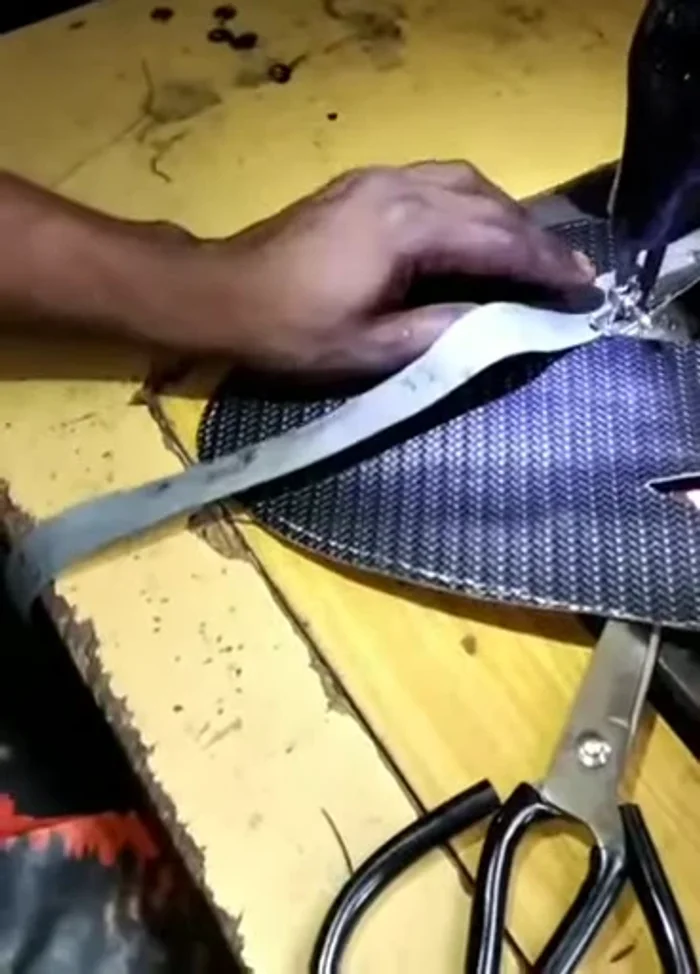
- Cut out leather and basket material.
- Sew leather lining to basket material.
- Prepare the basket material (attaching T-rope and lining).
- Lining is added *before* attaching the T-rope for a clean finish.

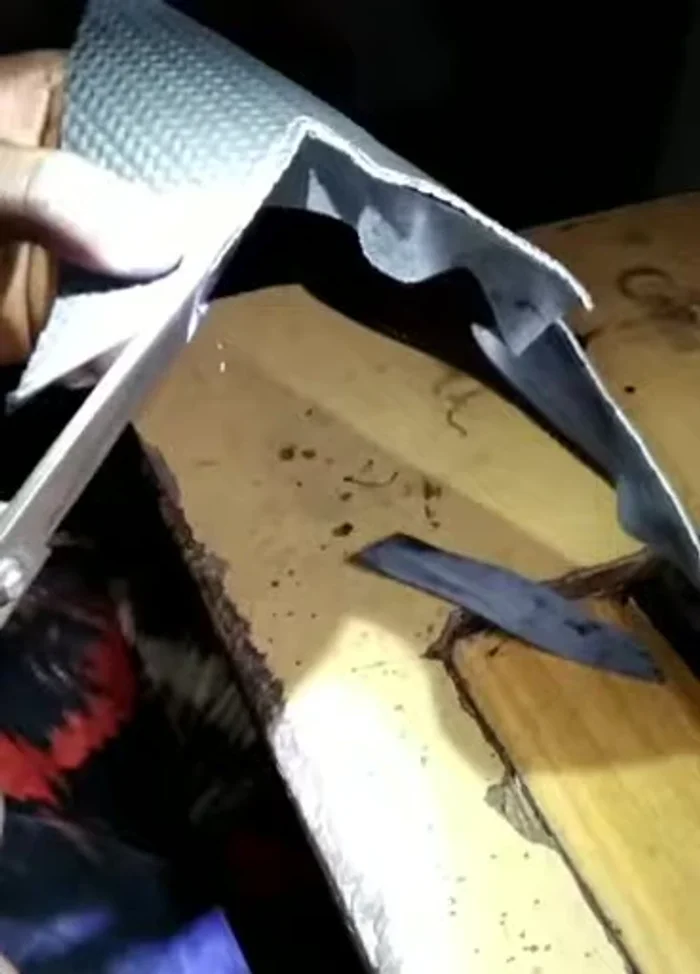
Material Preparation Lining and Taping
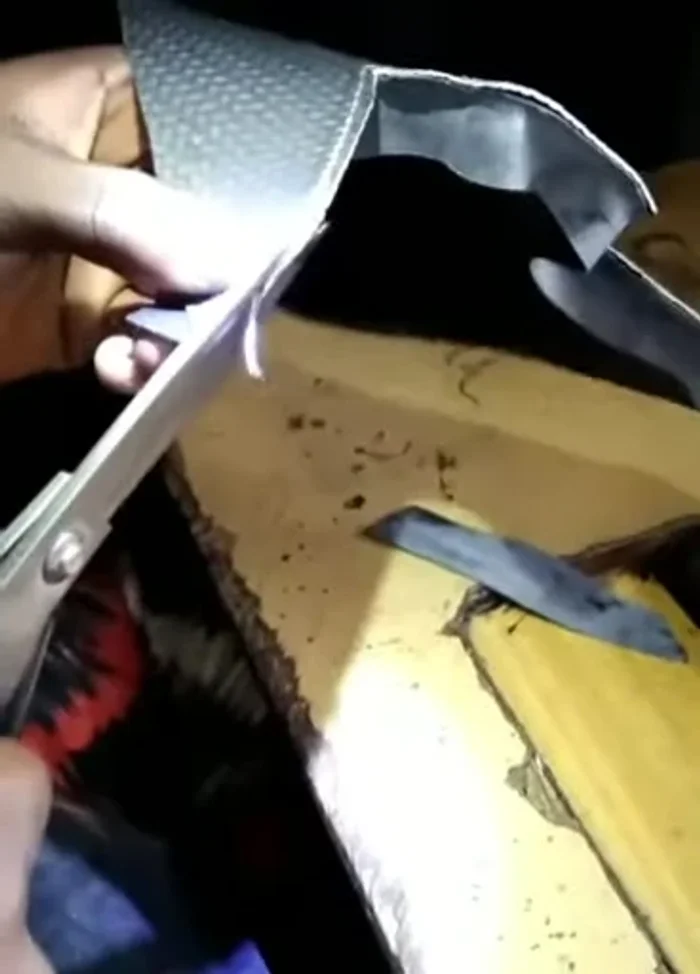
- Join leather lining to basket material using taping.
- Trim excess leather lining.
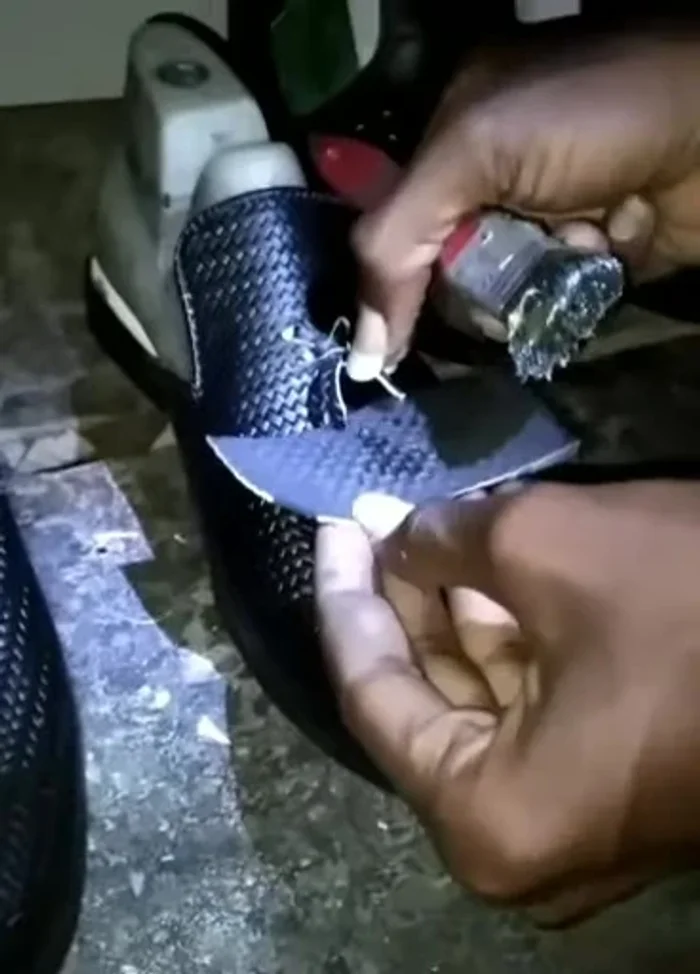
- Apply gum and let it dry.
- Fold the pieces together.
Lining and Taping Fastening and Shaping
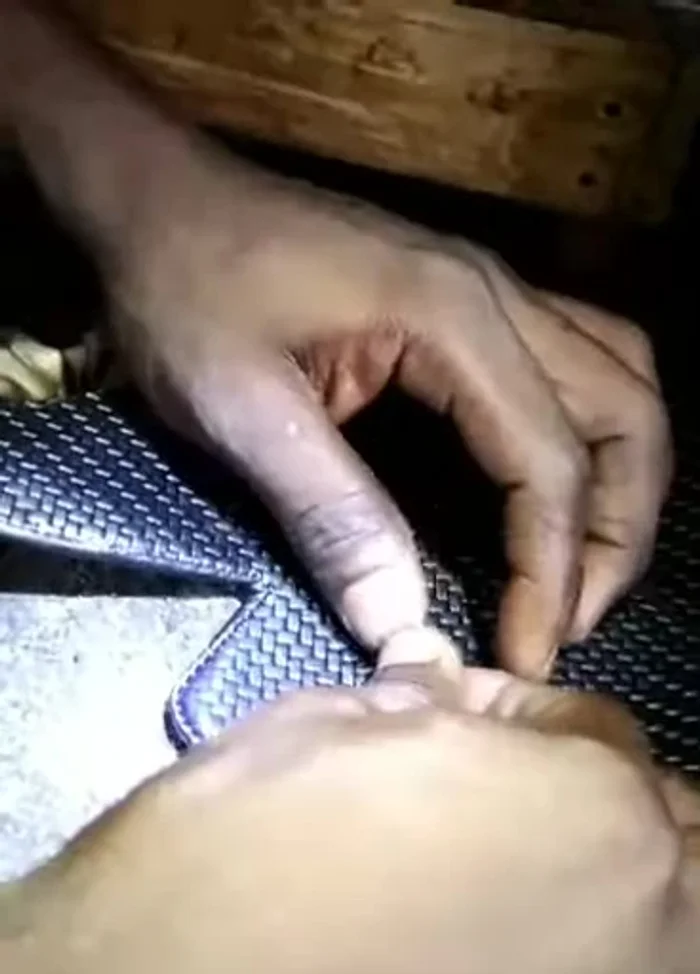
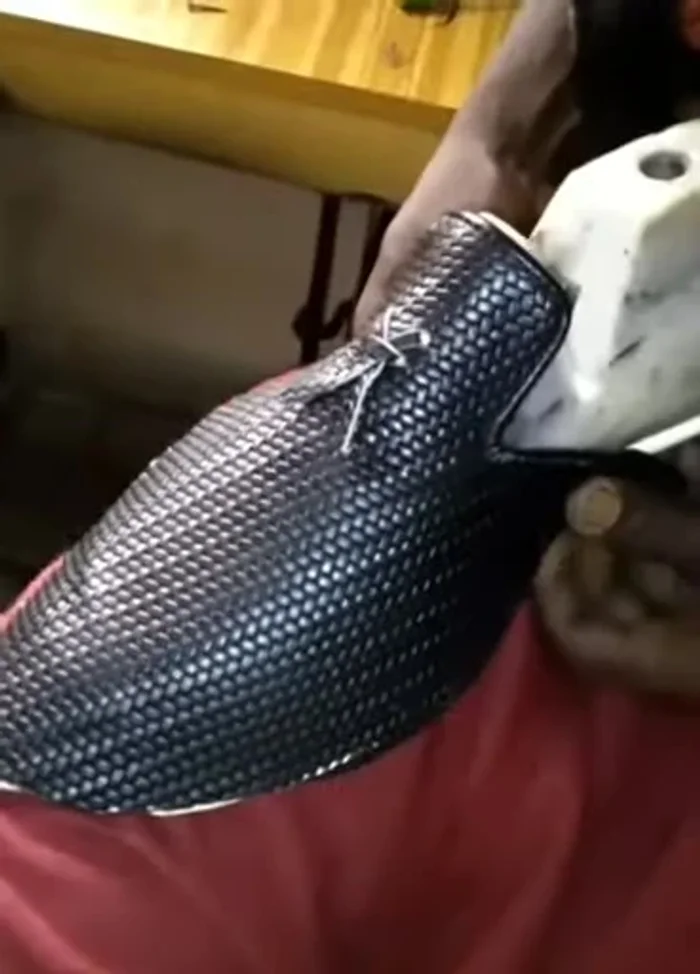
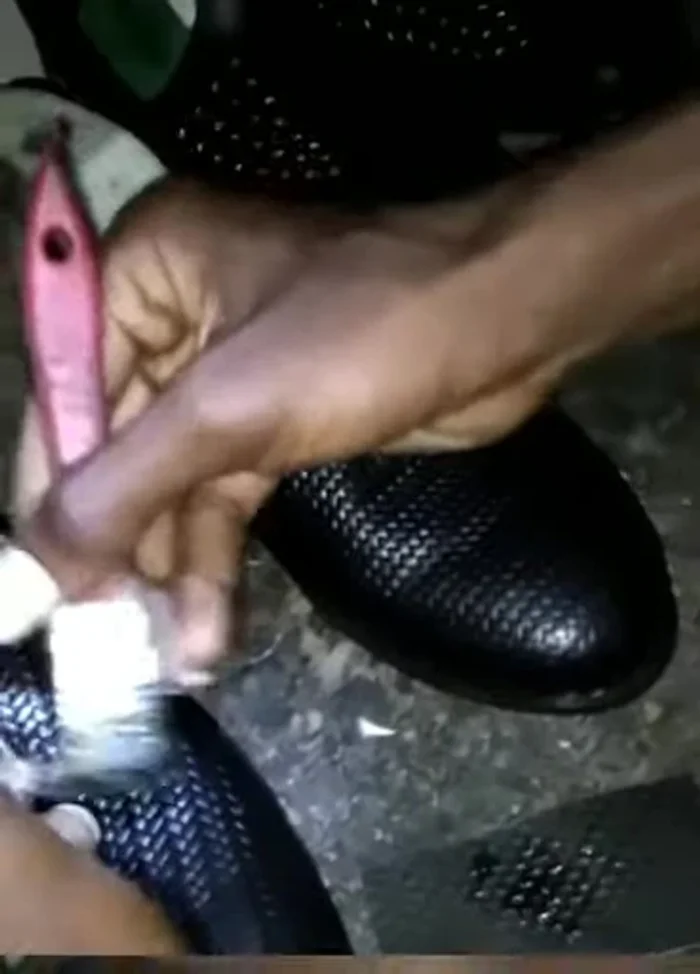
- Punch holes and insert laces (or similar fastening).
- Fold remaining lining to create a neat finish.
- Attach the shoe to the last (shoe form).
- Finish the edges of the leather.
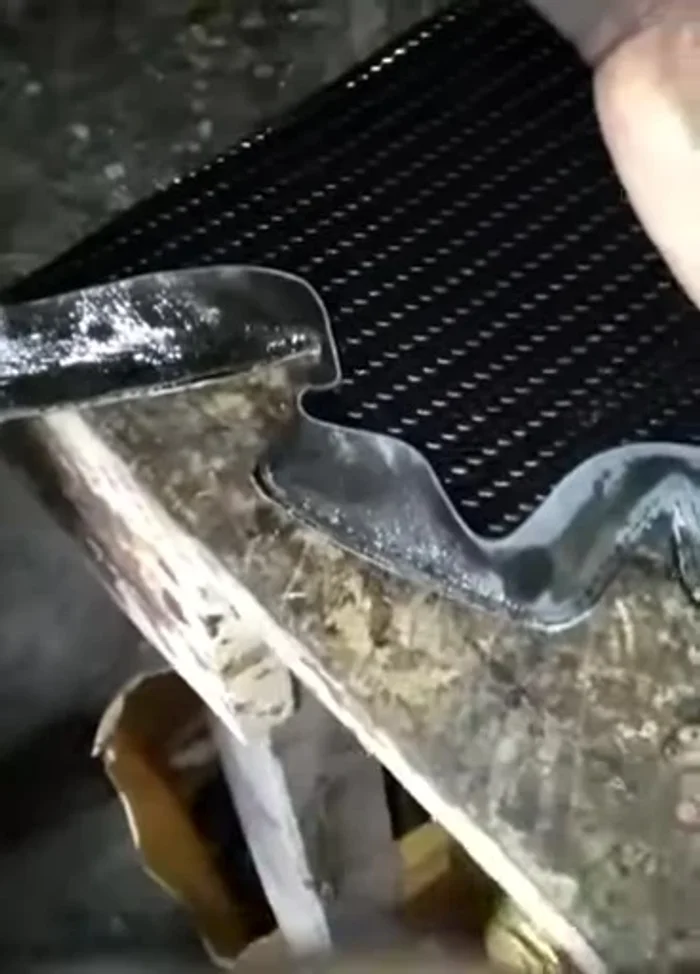
Fastening and Shaping Sole Attachment
- Add gum to the bottom of the shoe and attach the sole.
Sole Attachment Finishing Touches
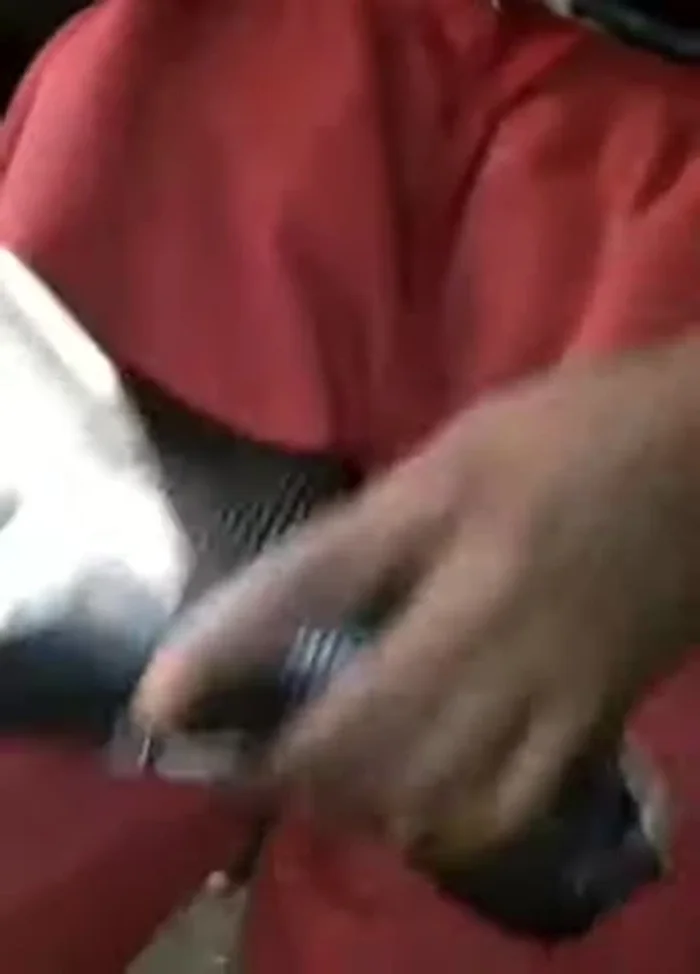
- Add tassels (or other embellishments).
- Clean and finish the shoe.
Finishing Touches

Read more: DIY Reversible Baby Slippers: Easy Sewing Tutorial
Tips
- N/A