Denim, a fabric synonymous with durability and timeless style, often finds its end in landfills despite its inherent resilience. But what if we could breathe new life into those discarded jeans, transforming them into something stylish and useful? This guide introduces a fast and efficient method for upcycling old denim into a fashionable hat, perfect for beginners and seasoned sewers alike. We'll explore a technique that minimizes time and effort while maximizing the impact of your repurposed fabric, showing you just how easy it is to contribute to a more sustainable lifestyle.
Forget complex patterns and lengthy instructions; this project prioritizes simplicity and speed. Using readily available materials and straightforward steps, you’ll learn how to construct a sturdy and attractive denim hat in a fraction of the time it takes to make other sewn projects. Ready to transform your old jeans into a chic new accessory? Let's dive into the step-by-step process and begin creating your upcycled denim hat!
Preparation and Safety Guidelines
- Sewing machine
- Scissors
- Fabric marker/tailor's chalk
- Iron (optional)
- Recycled jeans
- Lining fabric
- Heavy craft felt
- Bias cotton tape
- Measuring tape
- Always use sharp sewing machine needles and sharp scissors to prevent fabric snags and injuries. Dull tools require more force, increasing the risk of accidents.
- Be mindful of the denim's thickness. Adjust your machine's stitch length and pressure accordingly to avoid broken needles or skipped stitches. Consider using a denim needle for best results.
- When cutting and sewing, always use a cutting mat and keep your fingers clear of the needle and blade. Take your time and focus on each step to minimize the risk of cuts.
Step-by-Step Instructions
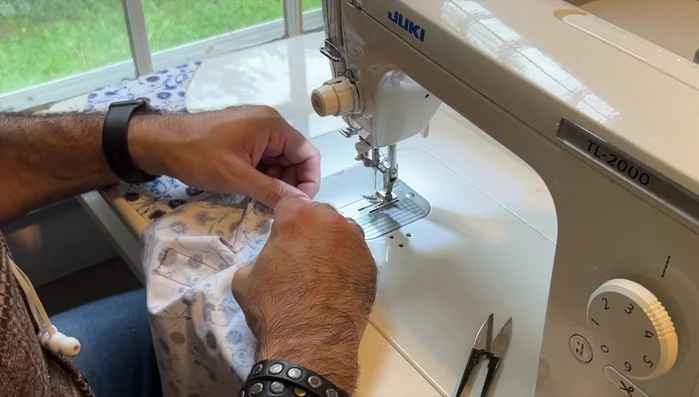
Pattern & Fabric Preparation
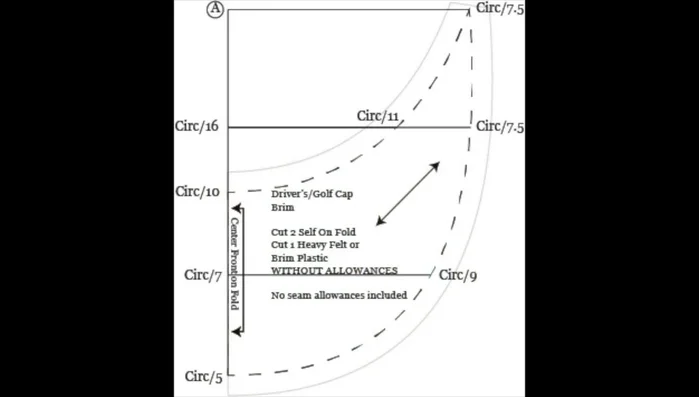
- Measure your head circumference and use the provided proportional draft to create a scaled pattern.
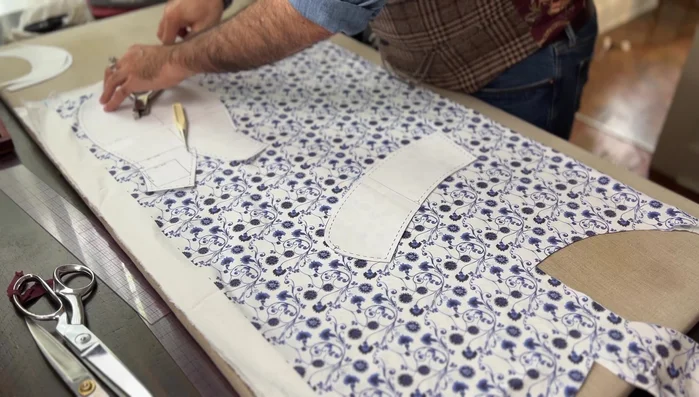
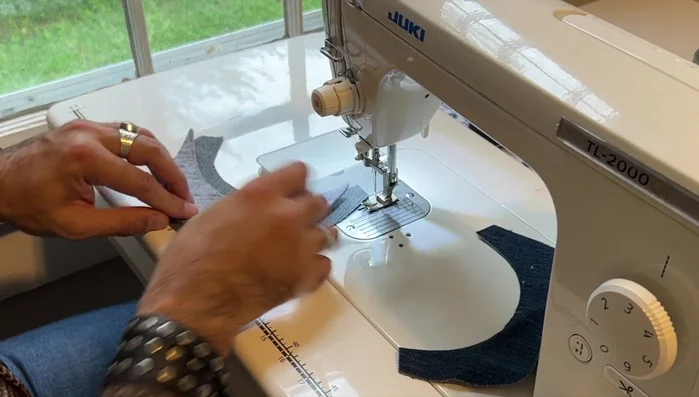
- Cut out two sets of hat pieces (lining and exterior fabric) simultaneously for efficiency. Pay close attention to notches for accurate alignment.
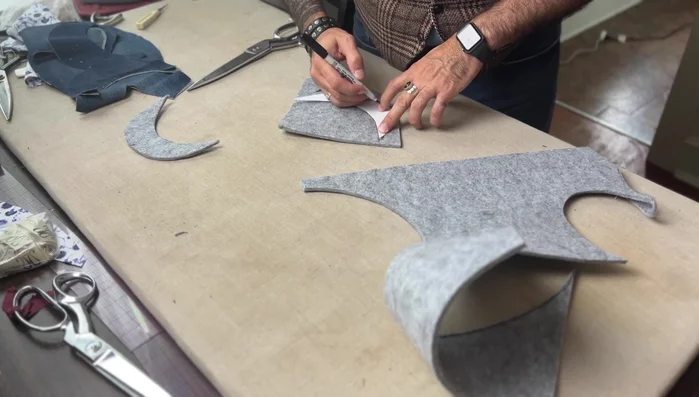
- Cut out two bill pieces from heavy craft felt. The pattern should have seam allowances removed, and the inner edge should be scooped out for shaping.

Pattern & Fabric Preparation Lining Construction
- Sew the smallest lining pieces first (darts, center front seam). Finger press seams open for speed.
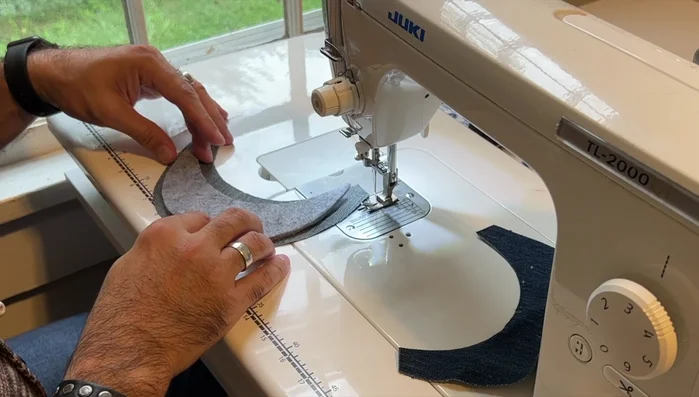
- Sew the lining sides to the crown, using notches for alignment and a no-pin technique to maintain efficiency.
Lining Construction Exterior Construction
- Sew exterior fabric pieces following the same order as lining, using top stitching for decoration and structure.
Exterior Construction Bill Assembly
- Sew the felt bill to the lining pieces, using top stitching to secure it. Trim excess felt from the forehead edge.
- Attach the felt brim to the front of the hat, carefully aligning edges. Flip inside out and top stitch the brim edge to the underside of the bill.
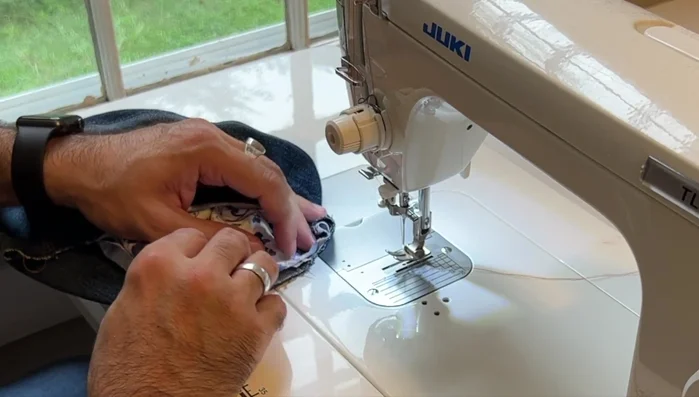
Bill Assembly Hat Assembly
- Place the lining inside the exterior pieces, matching notches. Sew the edge together with a small seam allowance.
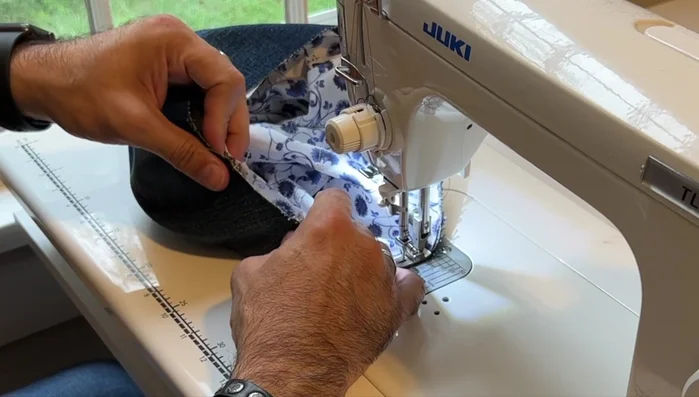
Hat Assembly Finishing Touches
- Attach the bias cotton tape hat band to the inside of the crown.
- Add the stay tape inside the crown, ensuring it's taut and the marks align with the seams.
- Top stitch the hat band to the inside of the hat. Trim threads, press and shape the hat.
Finishing Touches


Read more: DIY Stretchy Fingerless Gloves: Easy Sewing Tutorial
Tips
- Cut two hats simultaneously for efficiency.
- Use notches for precise alignment—avoid pins whenever possible for speed and efficiency.
- Finger press seams instead of ironing to save time.
- Use a no-pin technique when sewing curved seams to control fabric and avoid stretching.
- Top stitching adds both structure and a professional look, eliminating the need for interfacing in some cases.